2023. 3. 1. 12:51ㆍDIY projects
부엌 리모델링이 끝나고 화장실 리모델링에 돌입했다.
I started working on the bathroom after my kitchen remodeling.
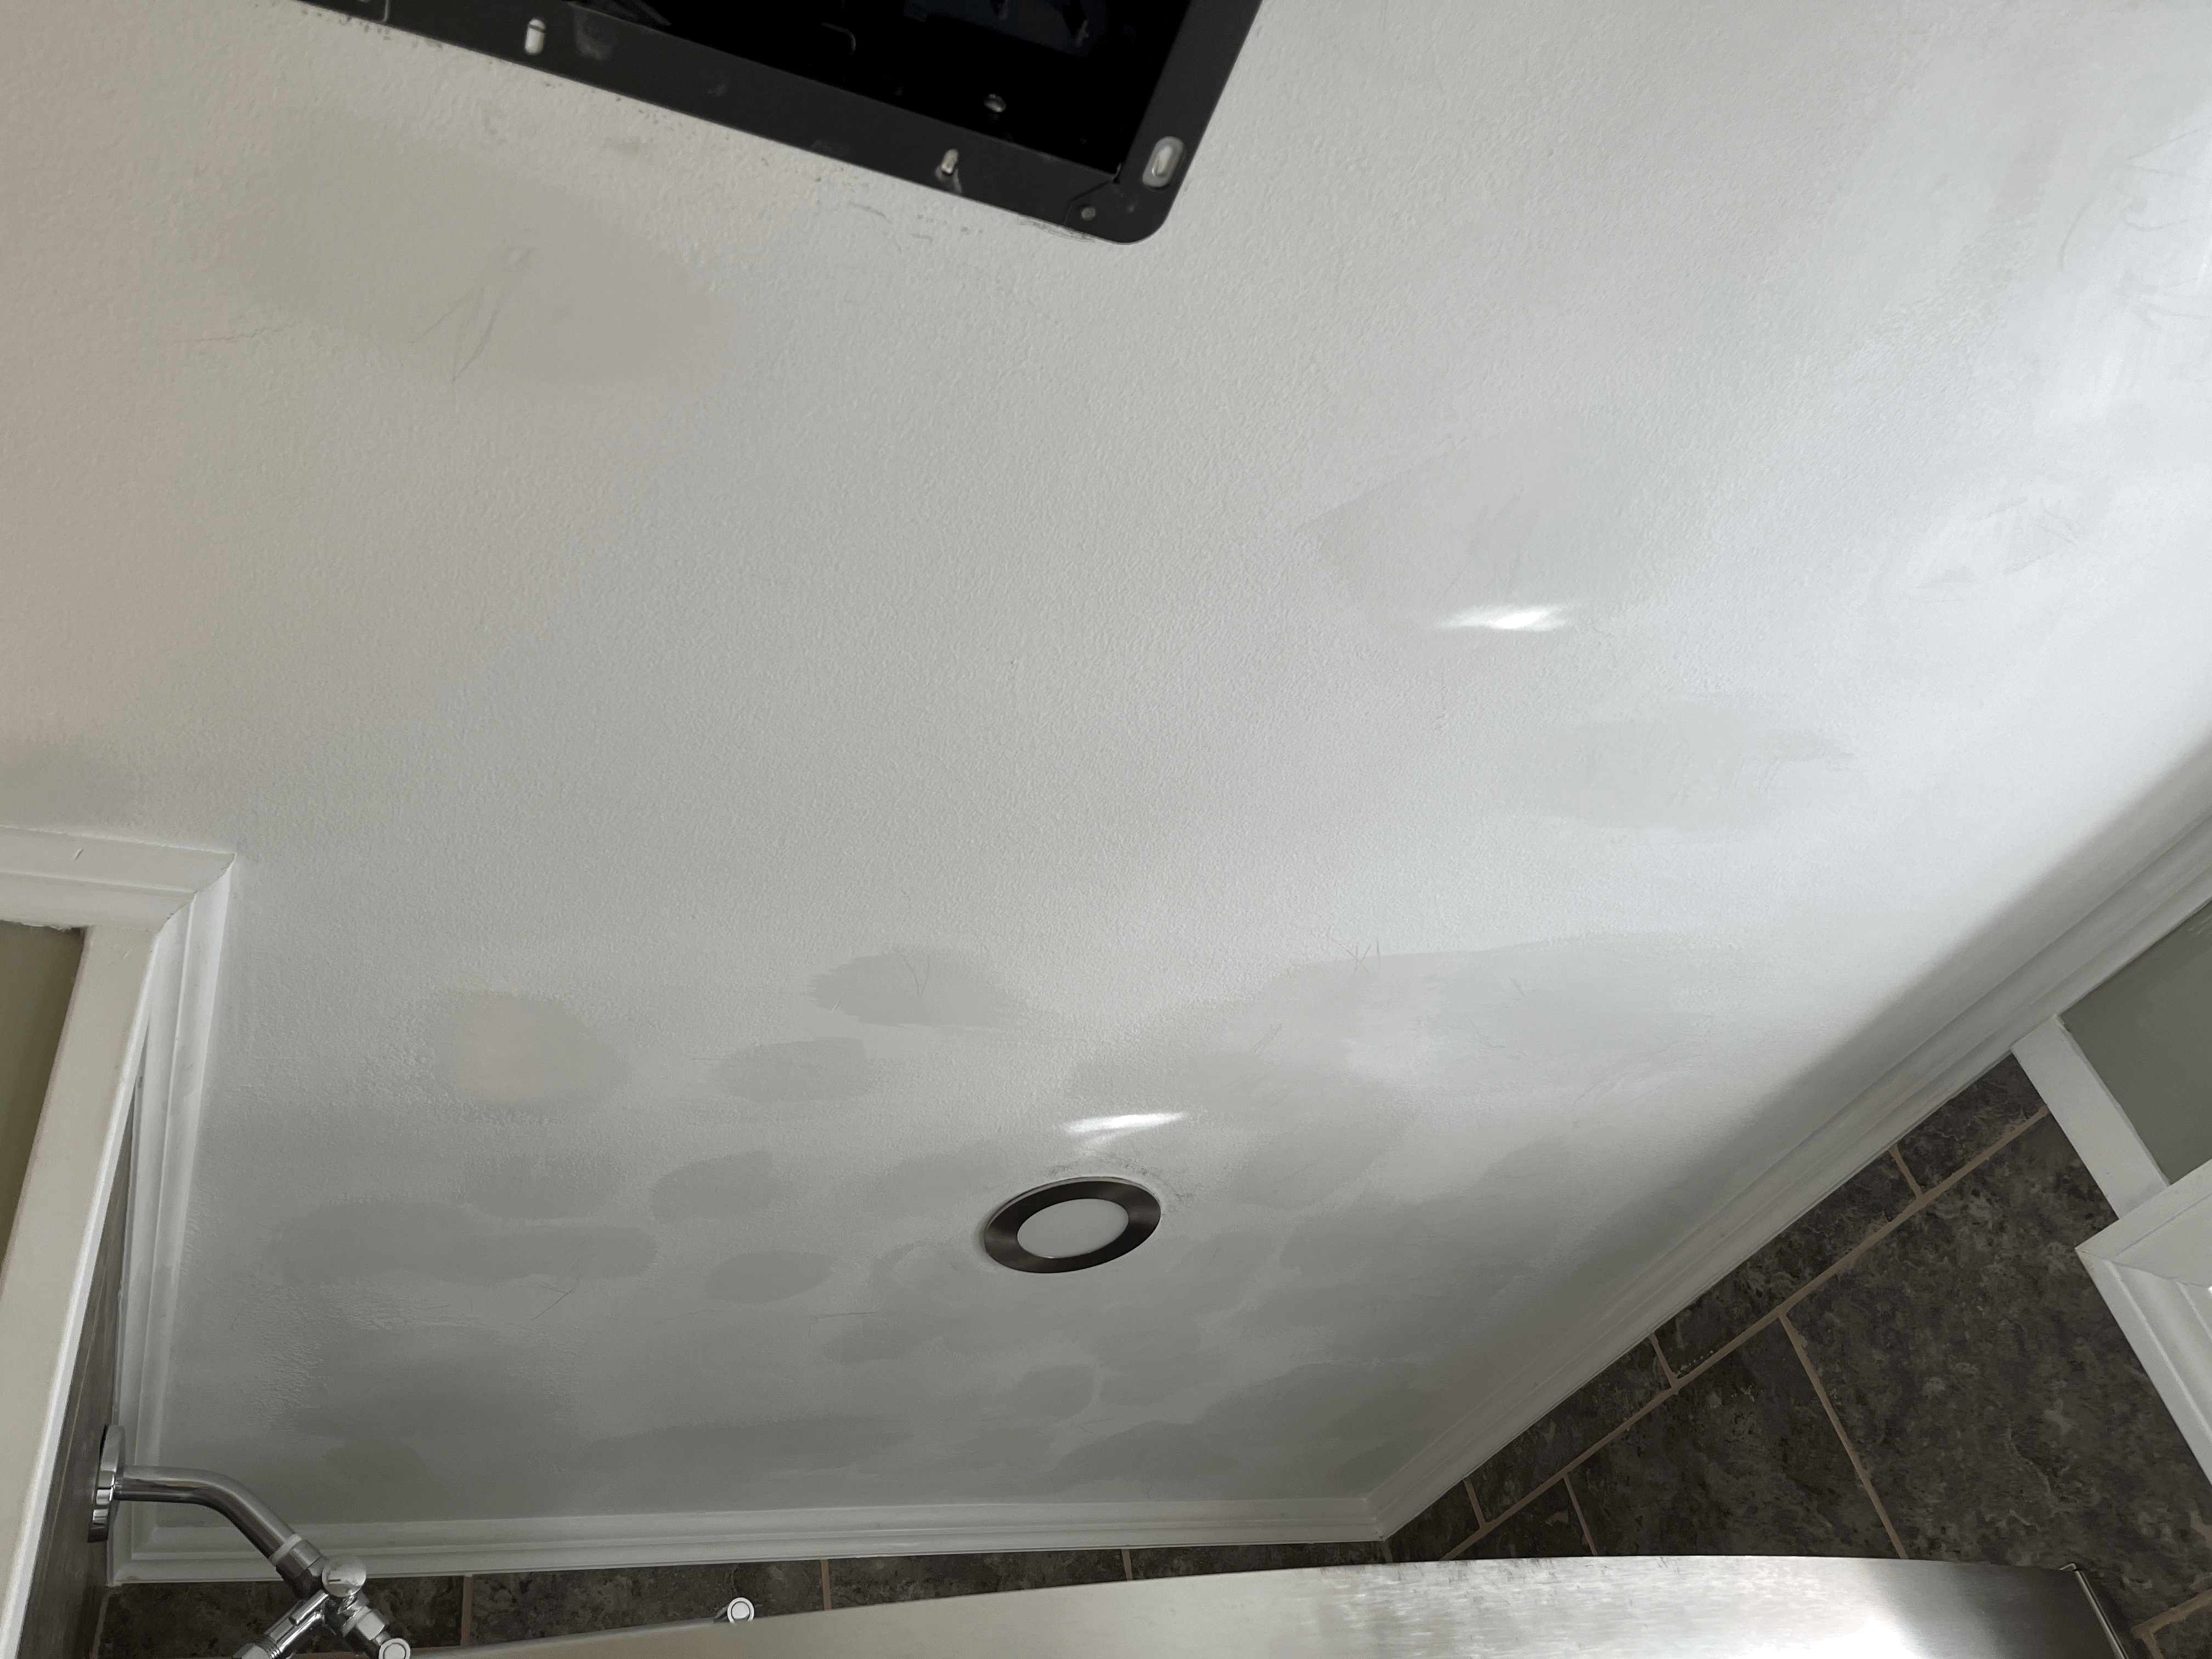
우리집은 1층에 샤워가 달린 화장실이 있고, 2층에 변기와 세면대만 있는 화장실이 있다. 근데 특이하게도 2층에 환풍기가 있는데 1층에 환풍기가 없었다.
I have a full bathroom on the first floor and a half bathroom on the second floor. Weirdly, the half bathroom has an exhaust fan but the full bathroom doesn't have one.
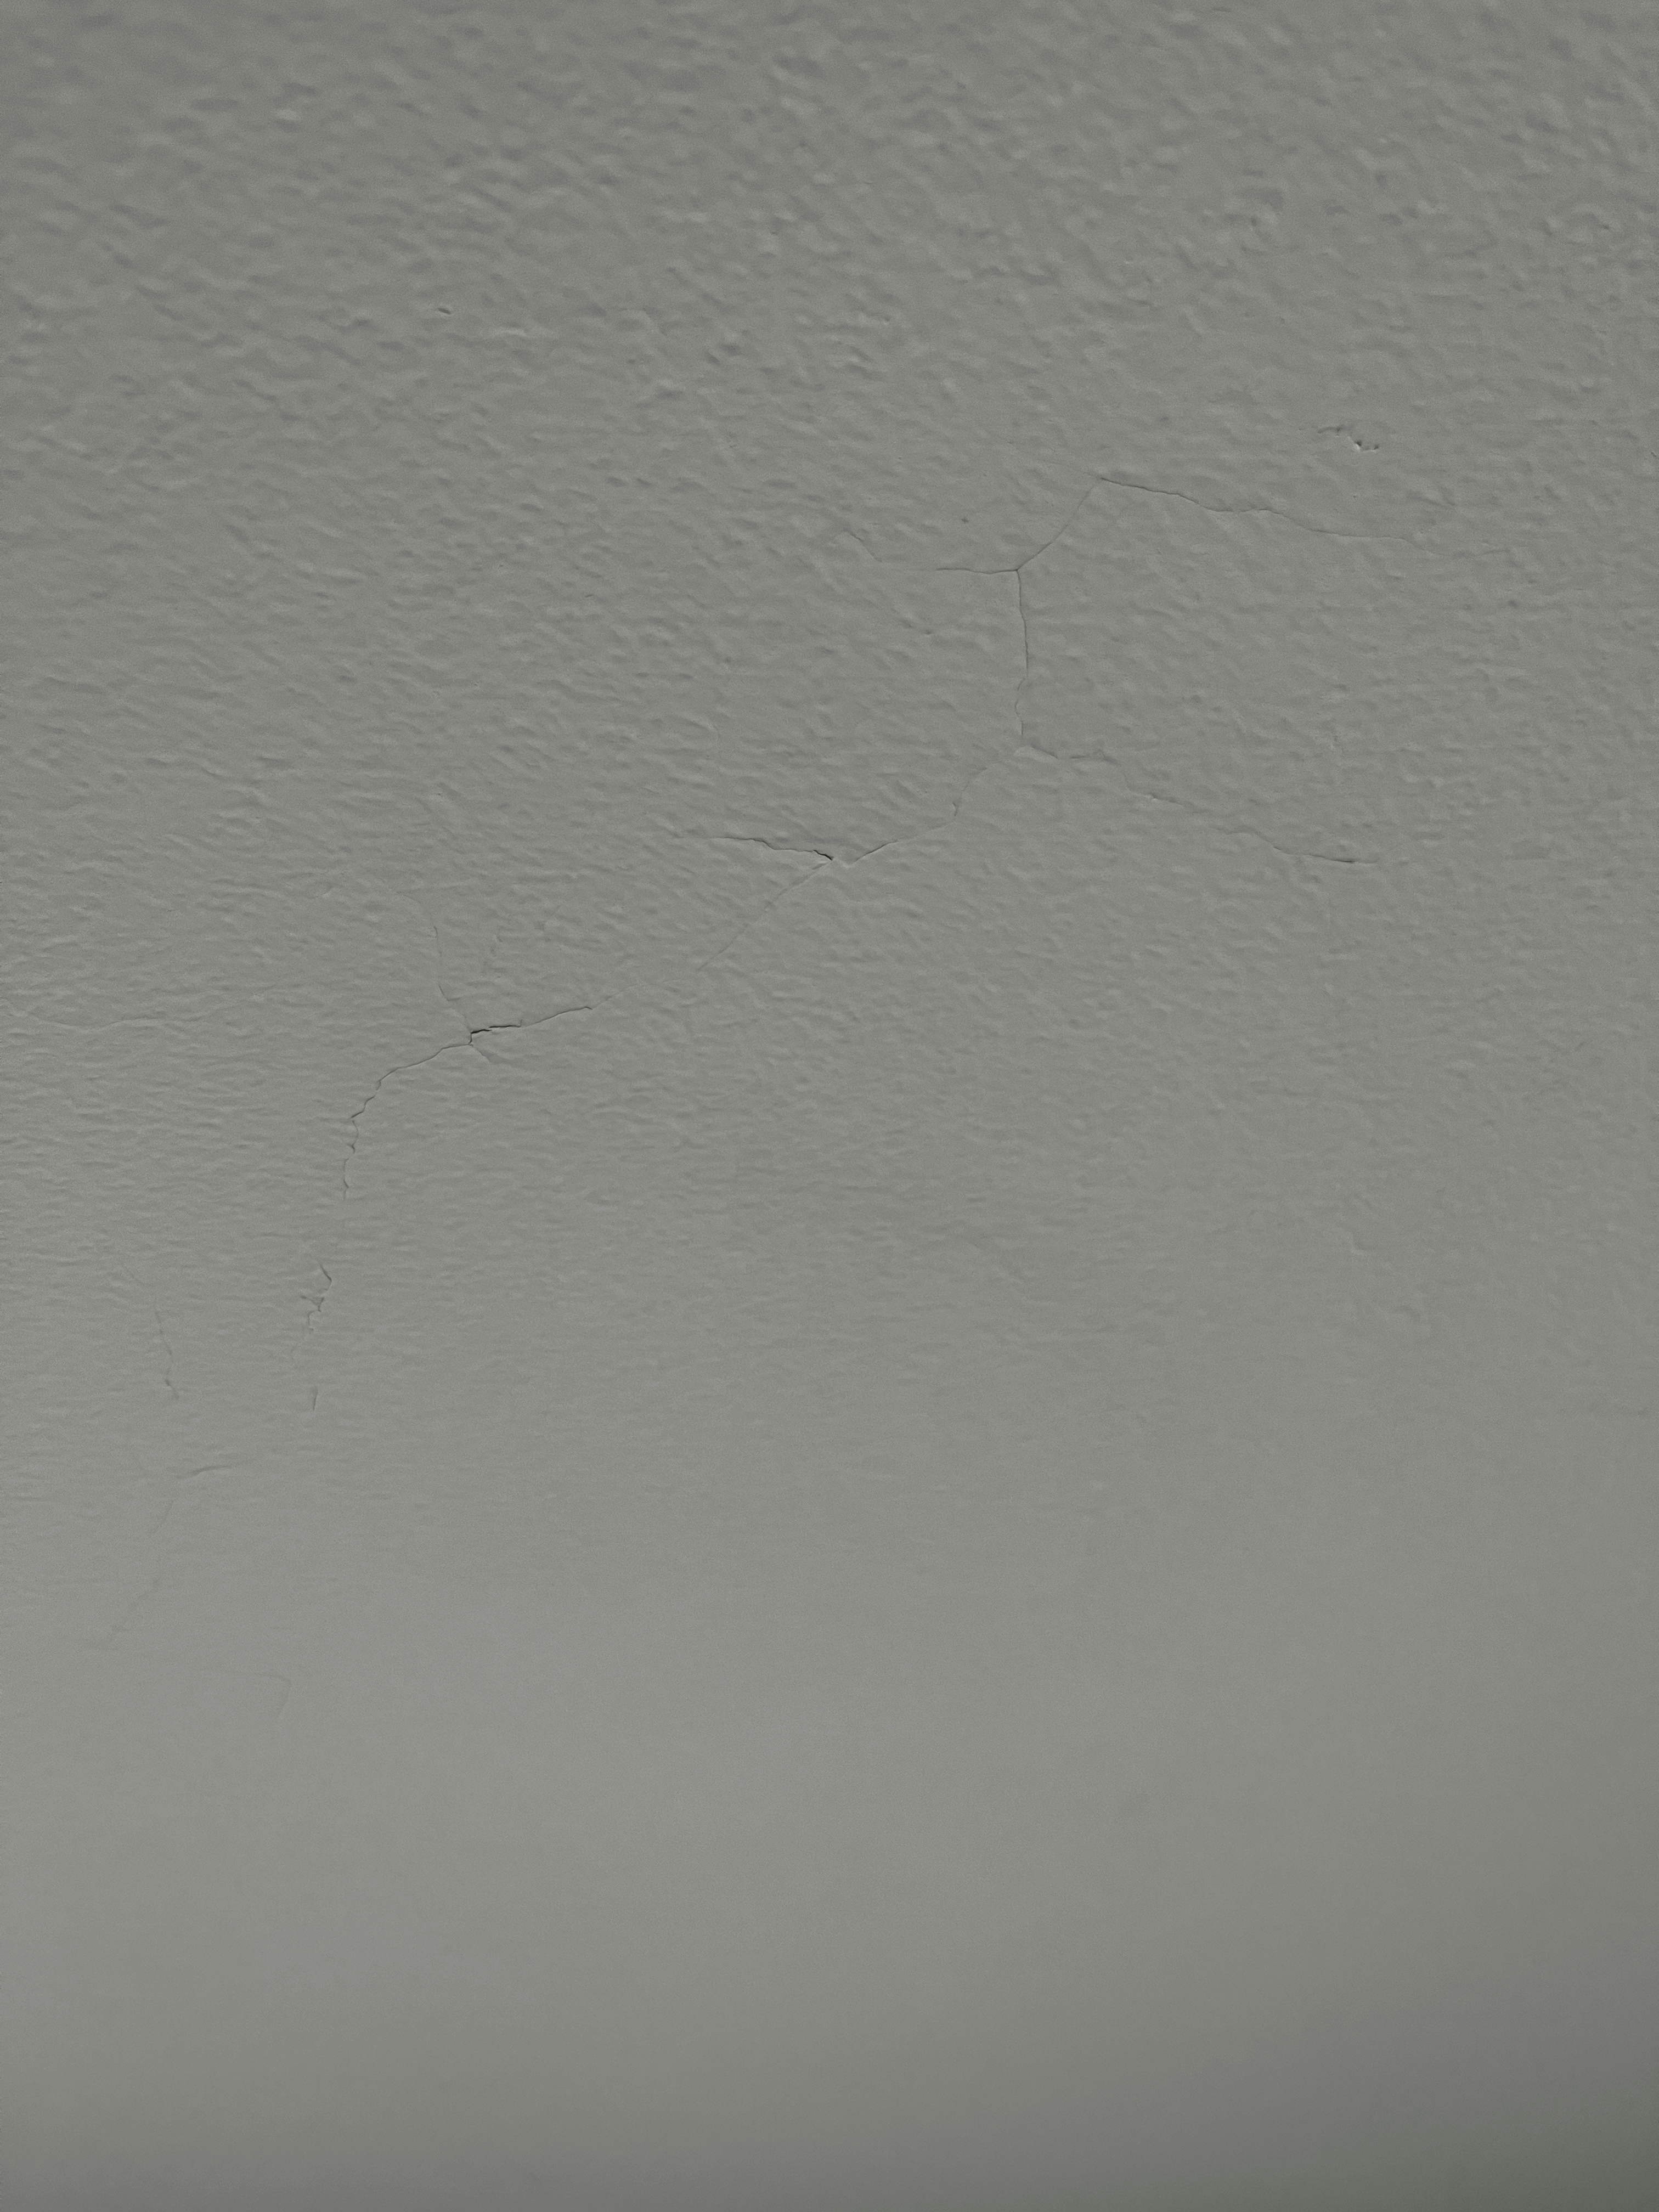
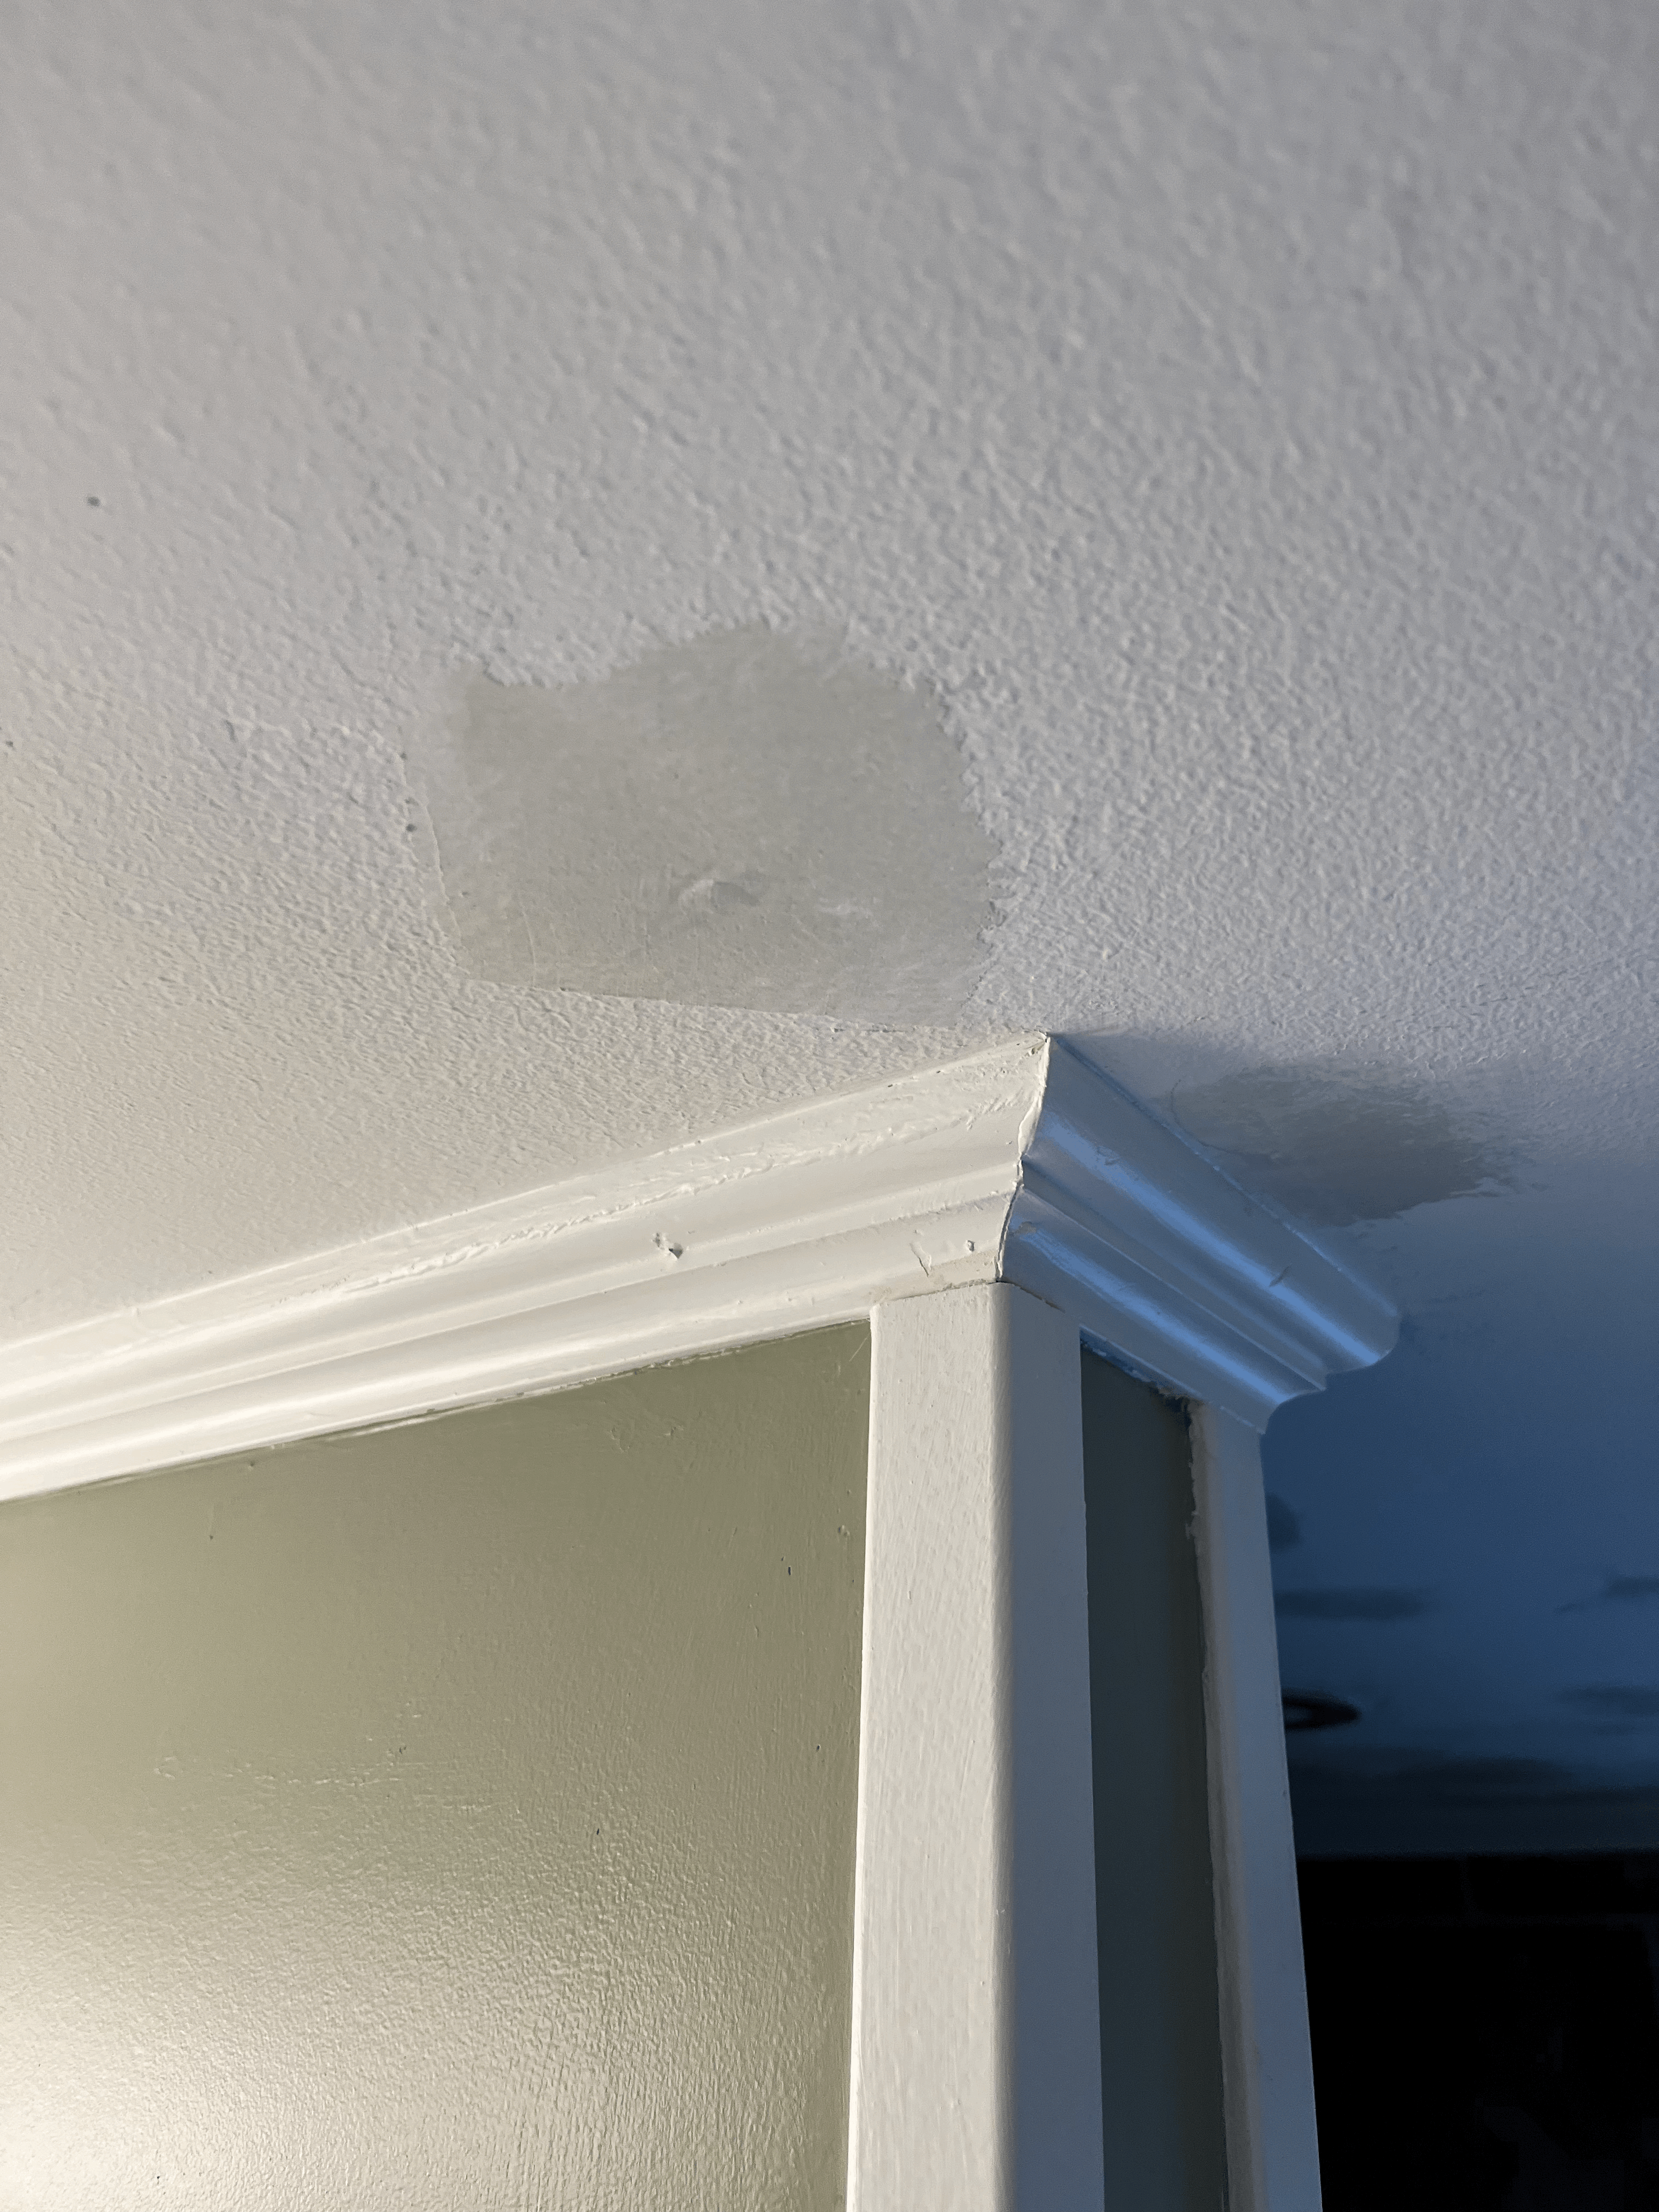
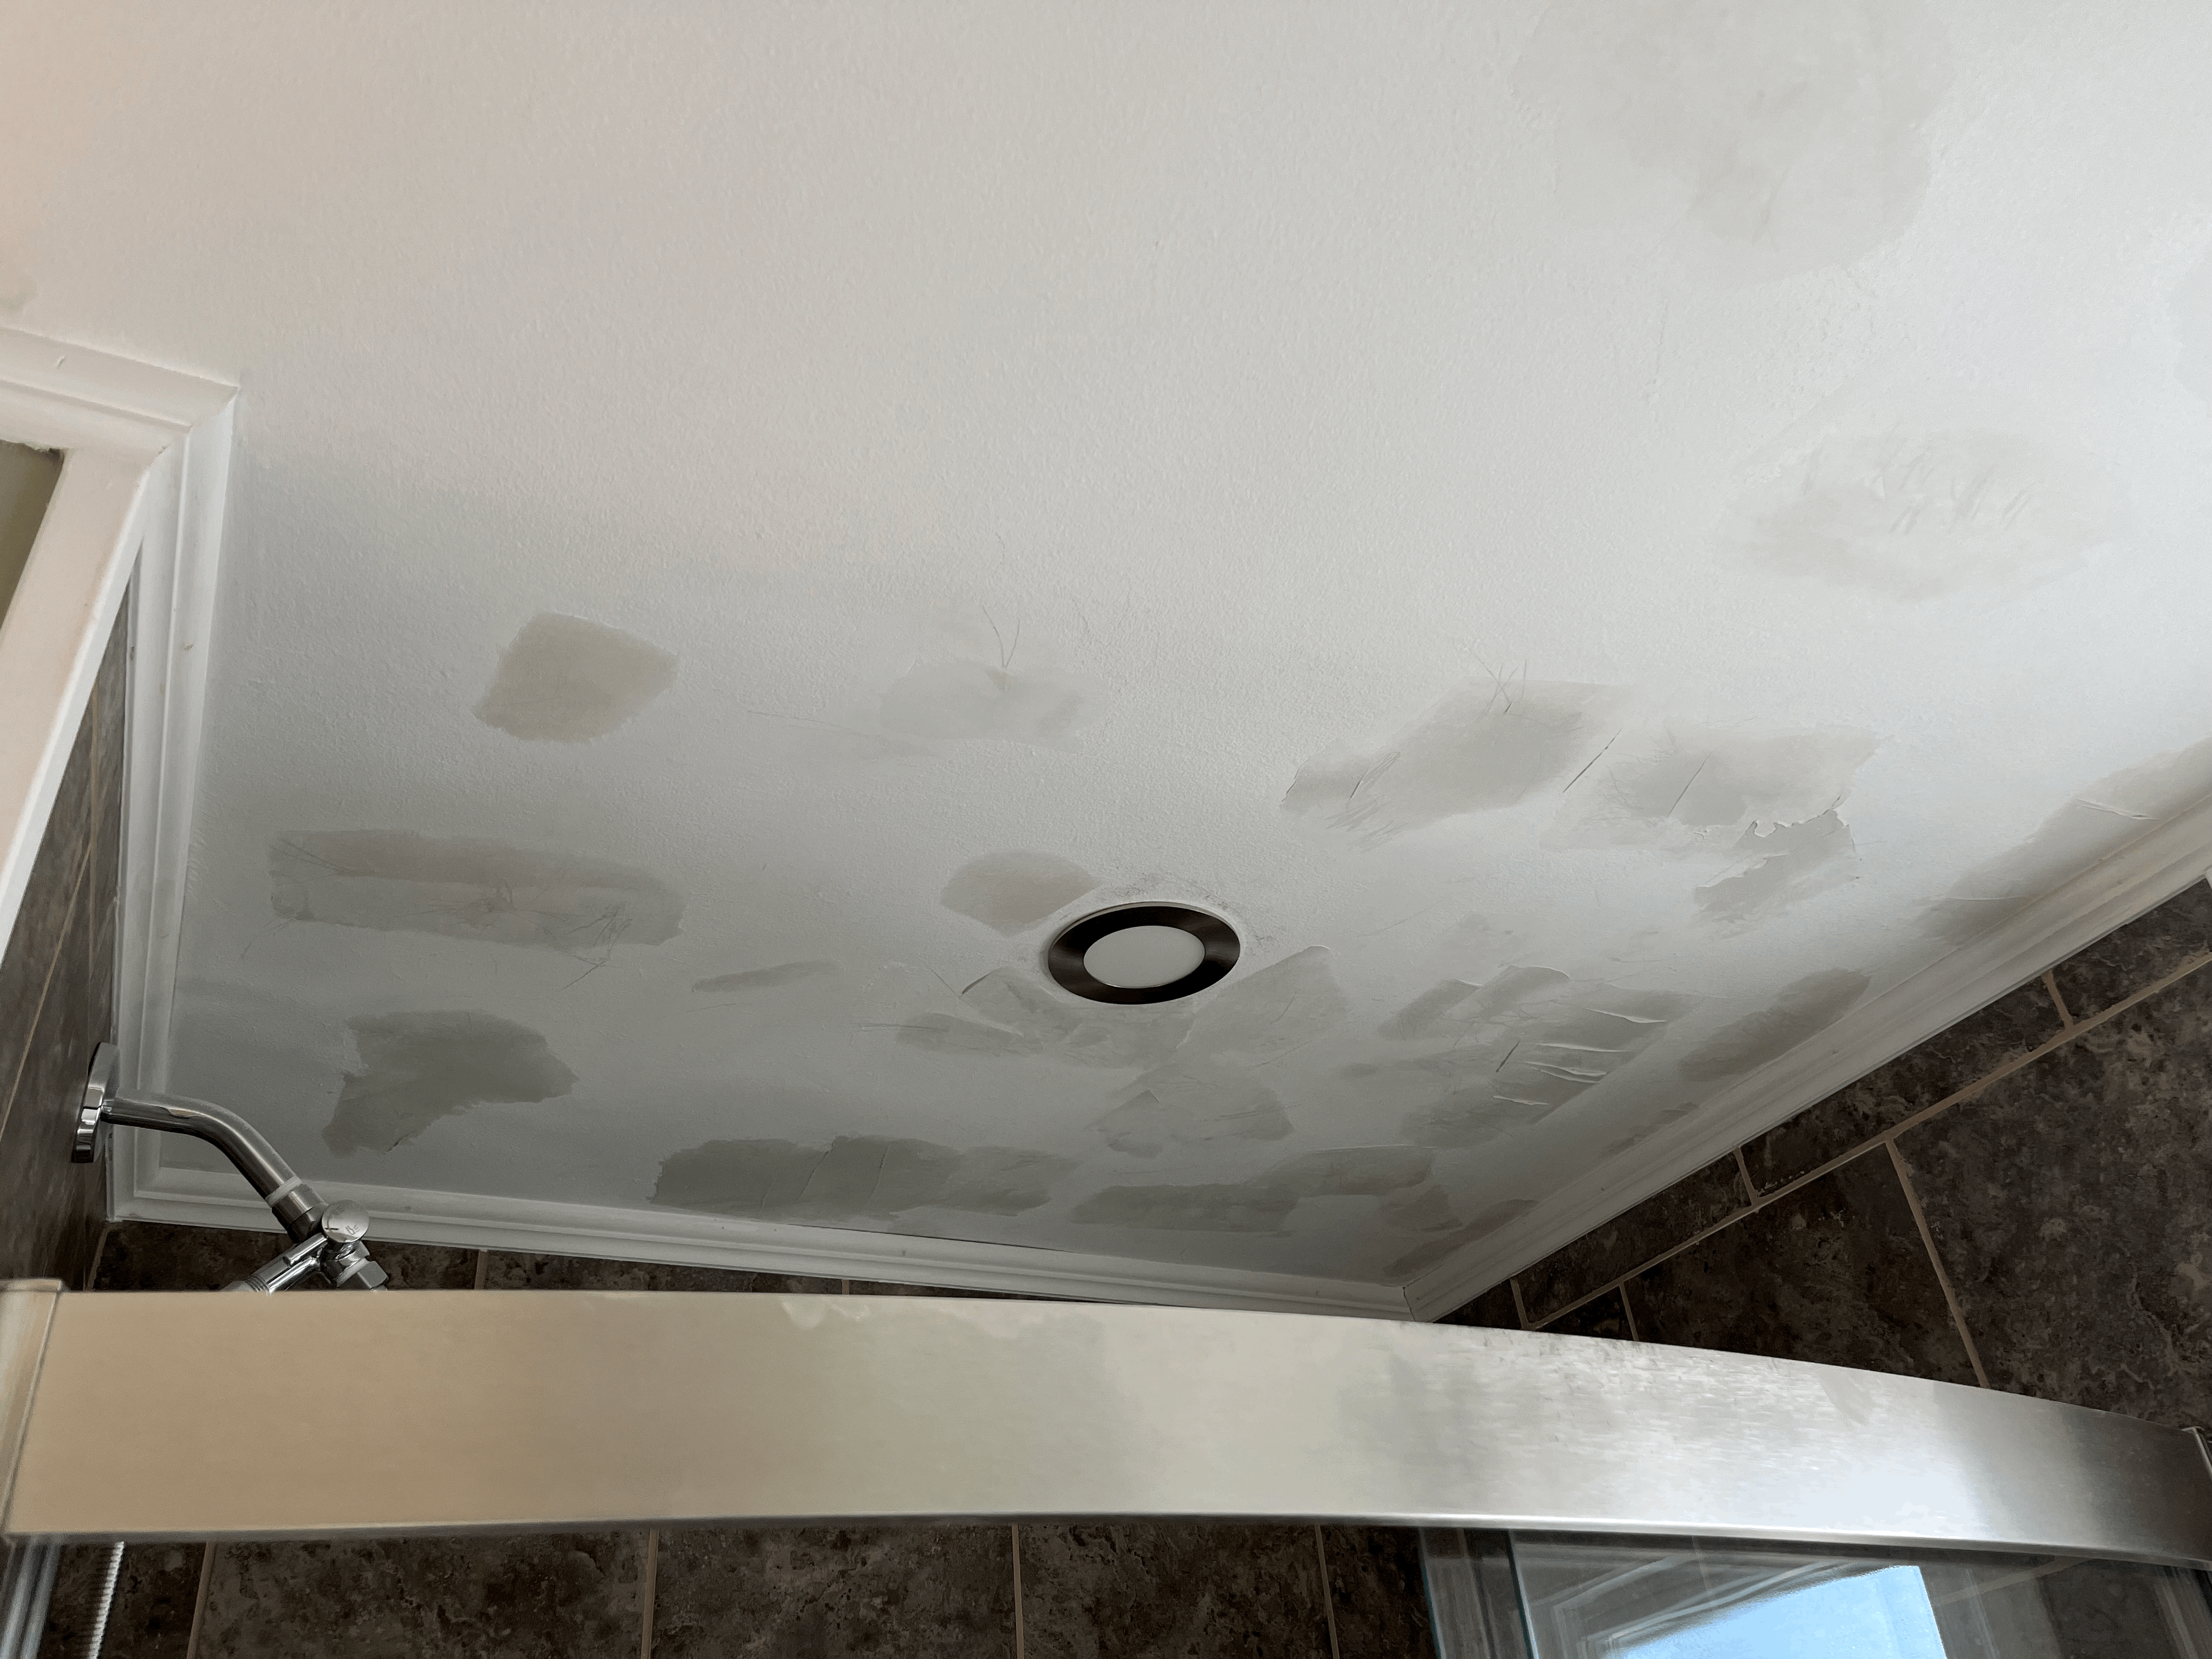
그래서 1층 화장실의 천장은 습기가 빠져나갈 곳이 없다보니, 여기저기 페인트가 다 갈라져있었다.
As a result, the ceiling of the full bathroom has peeling and cracking here and there.
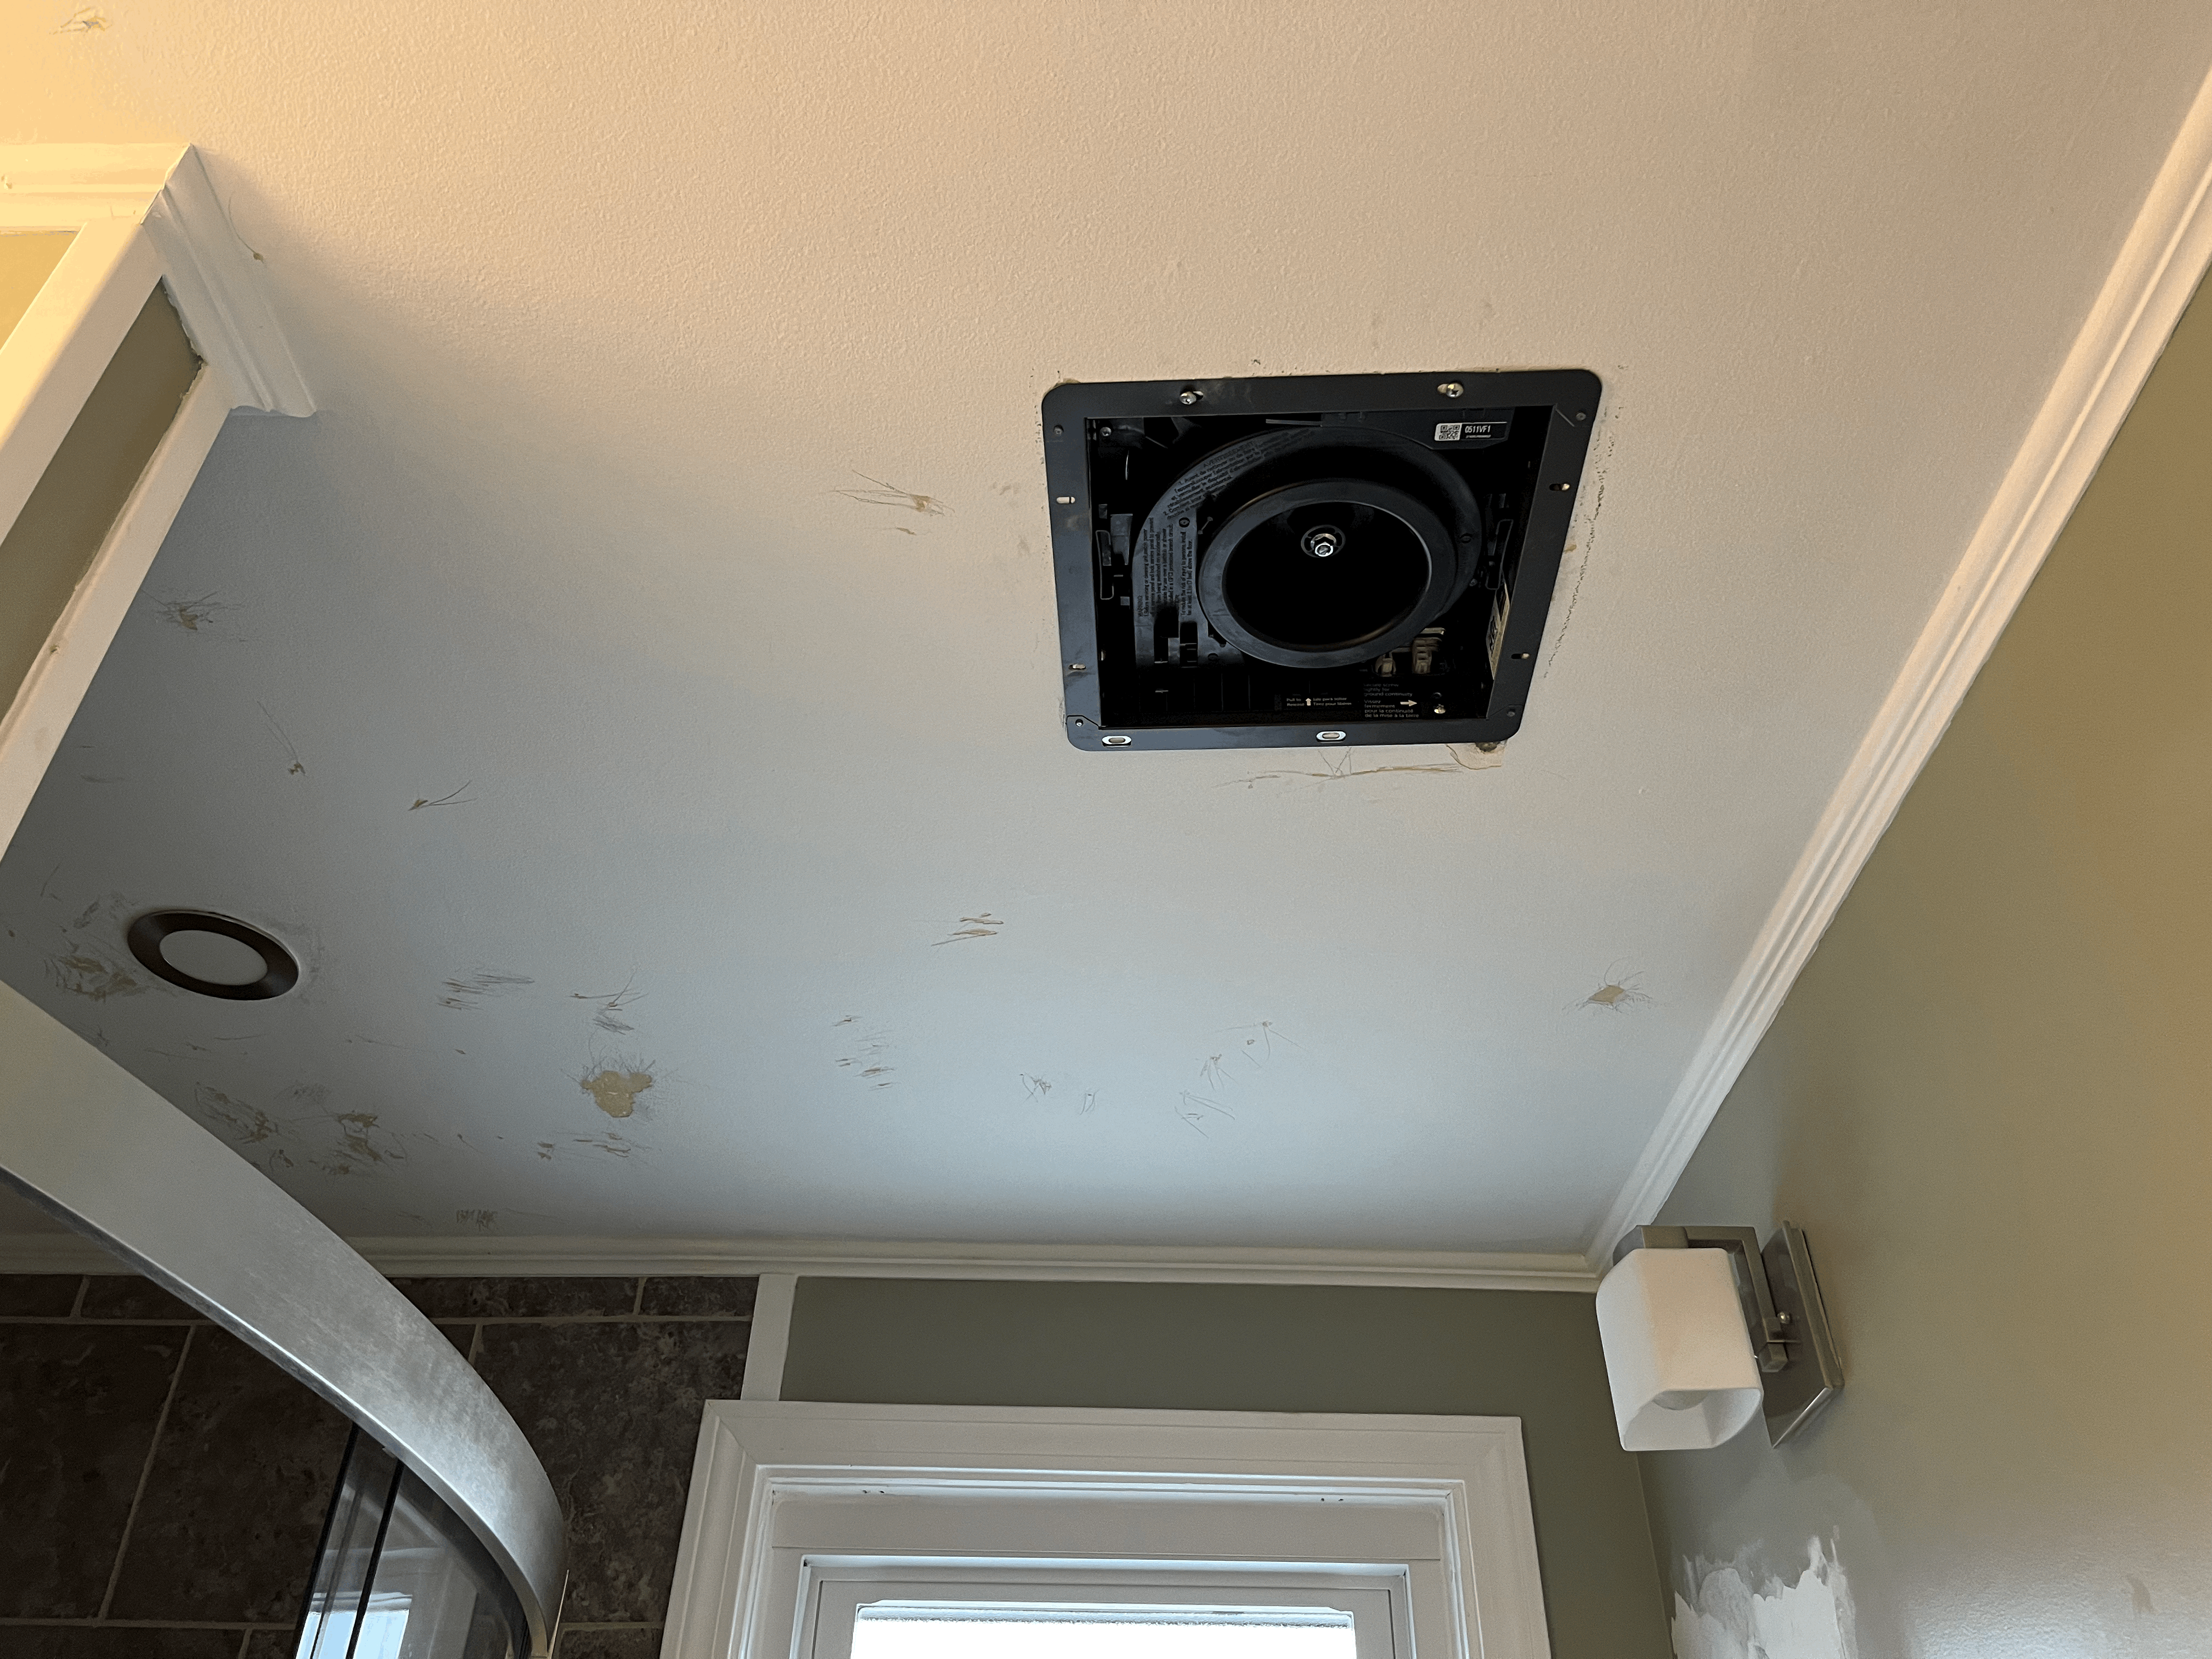
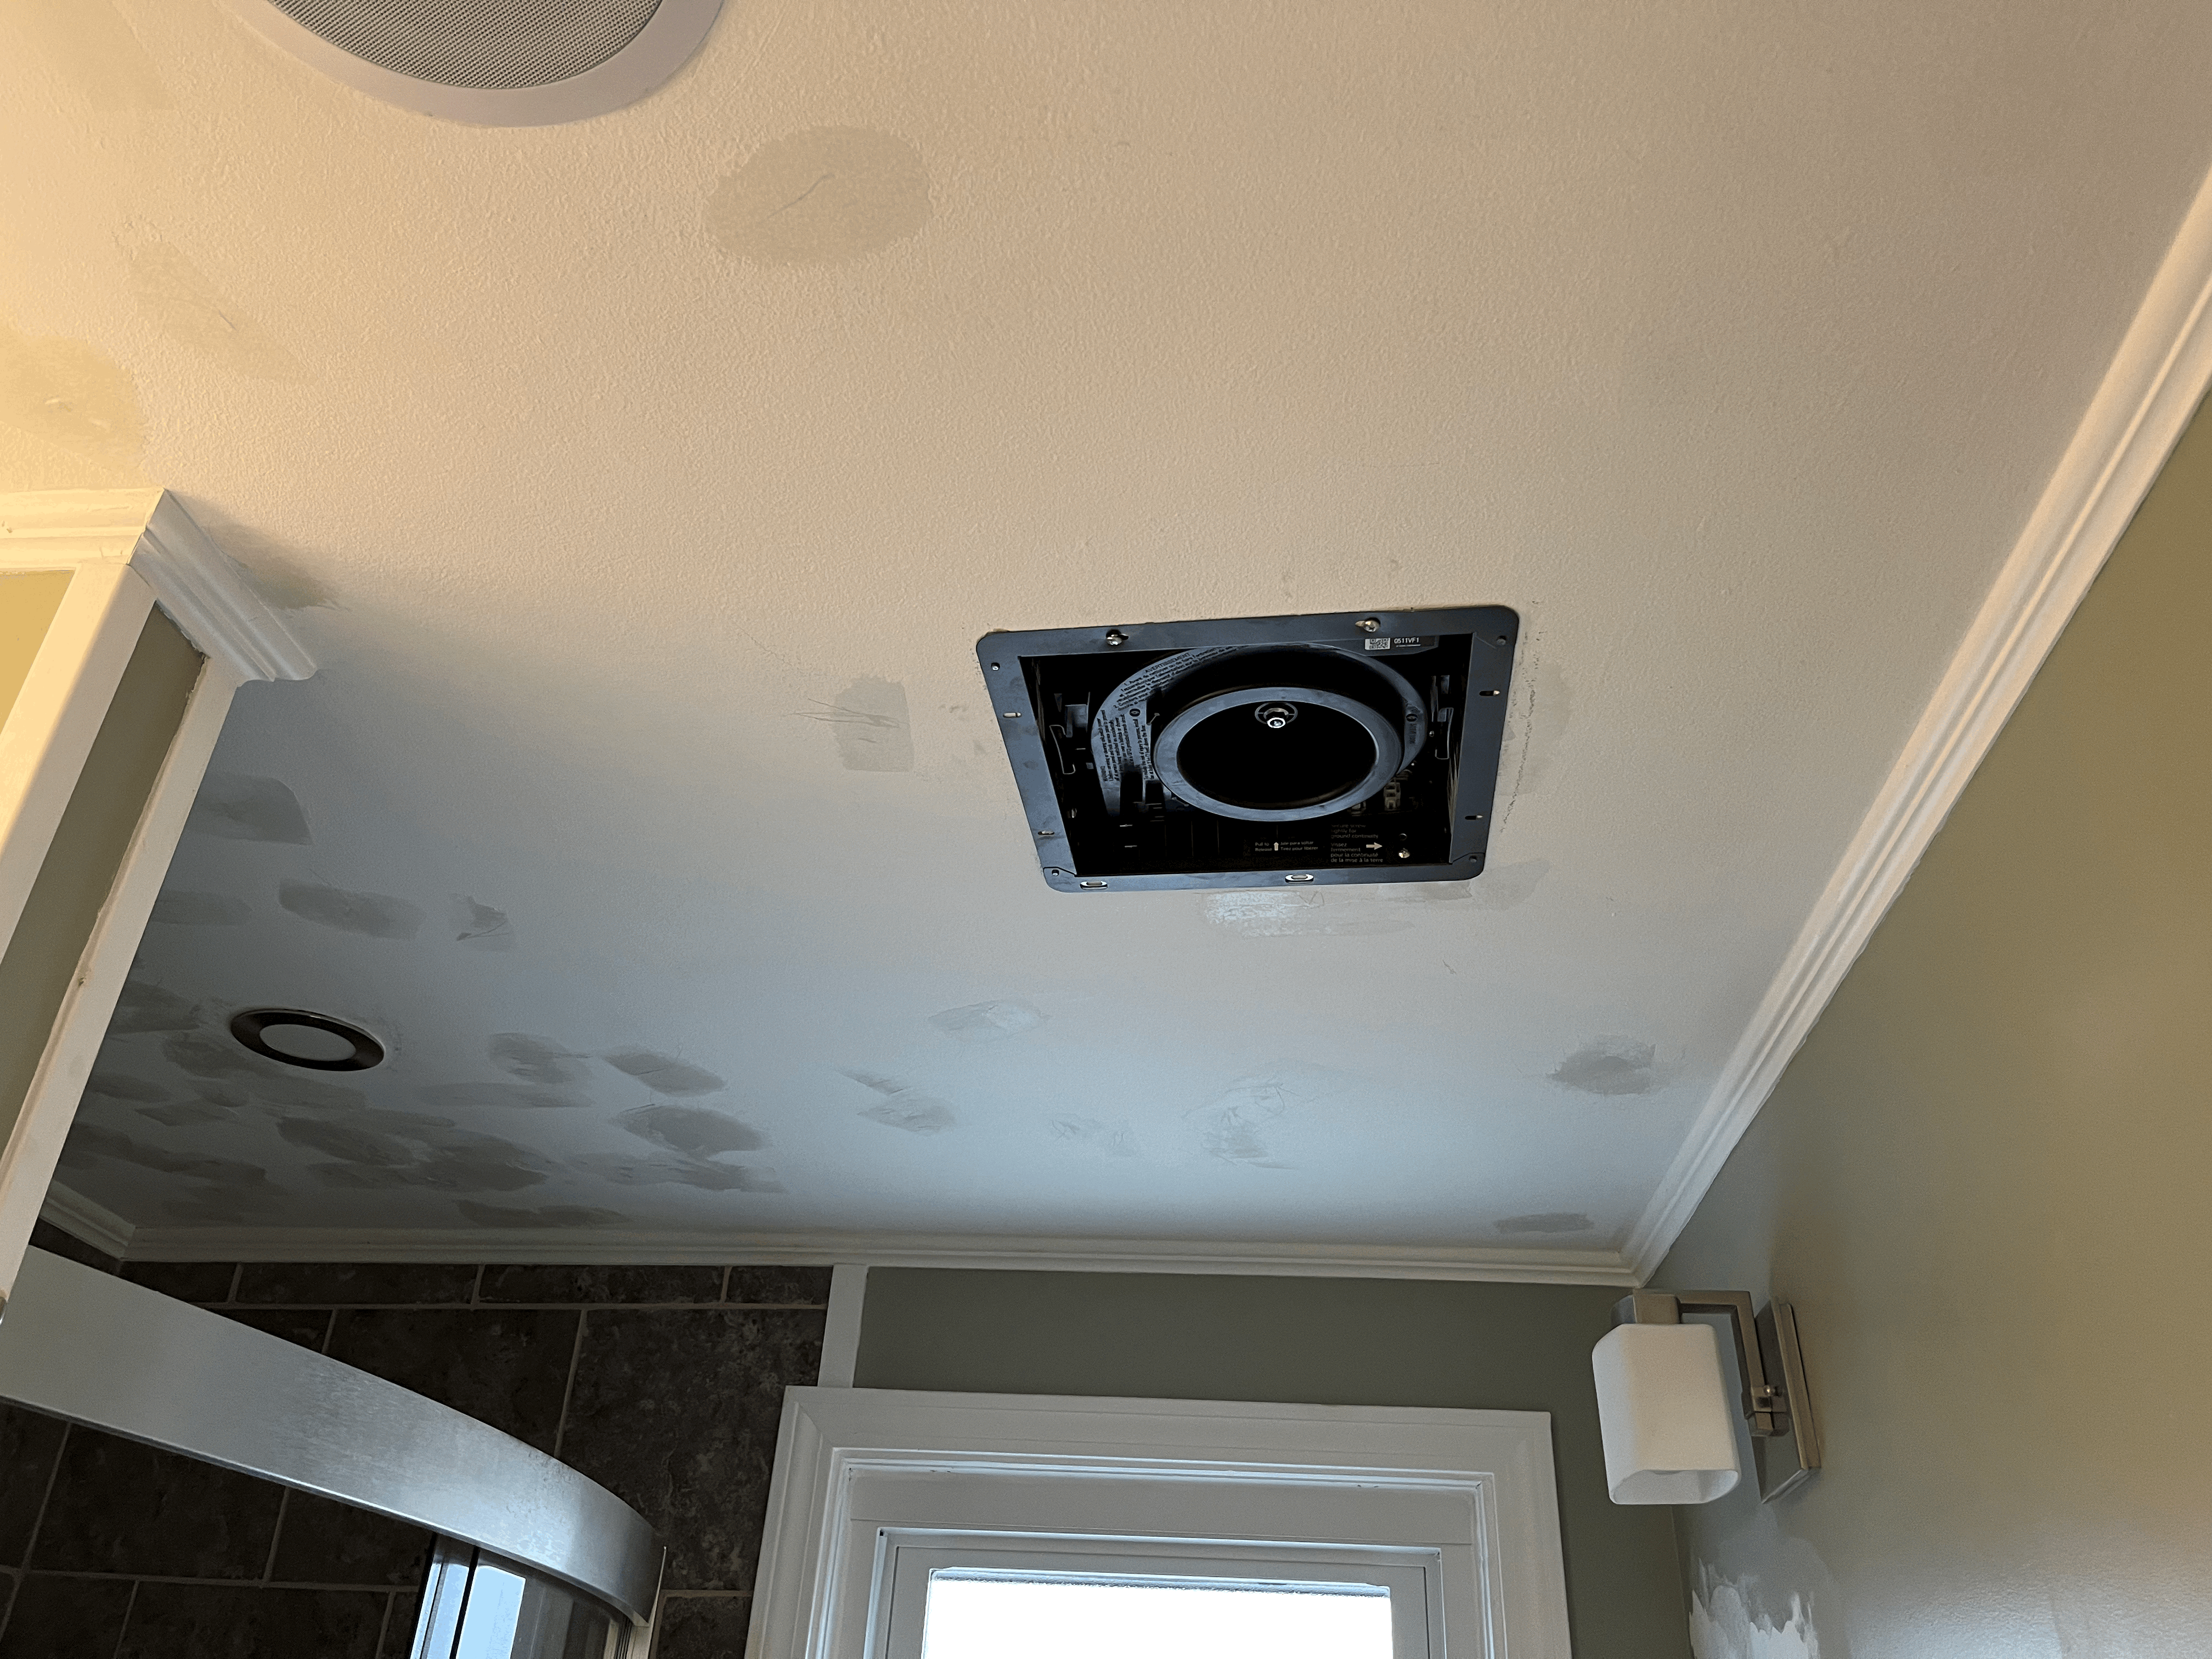
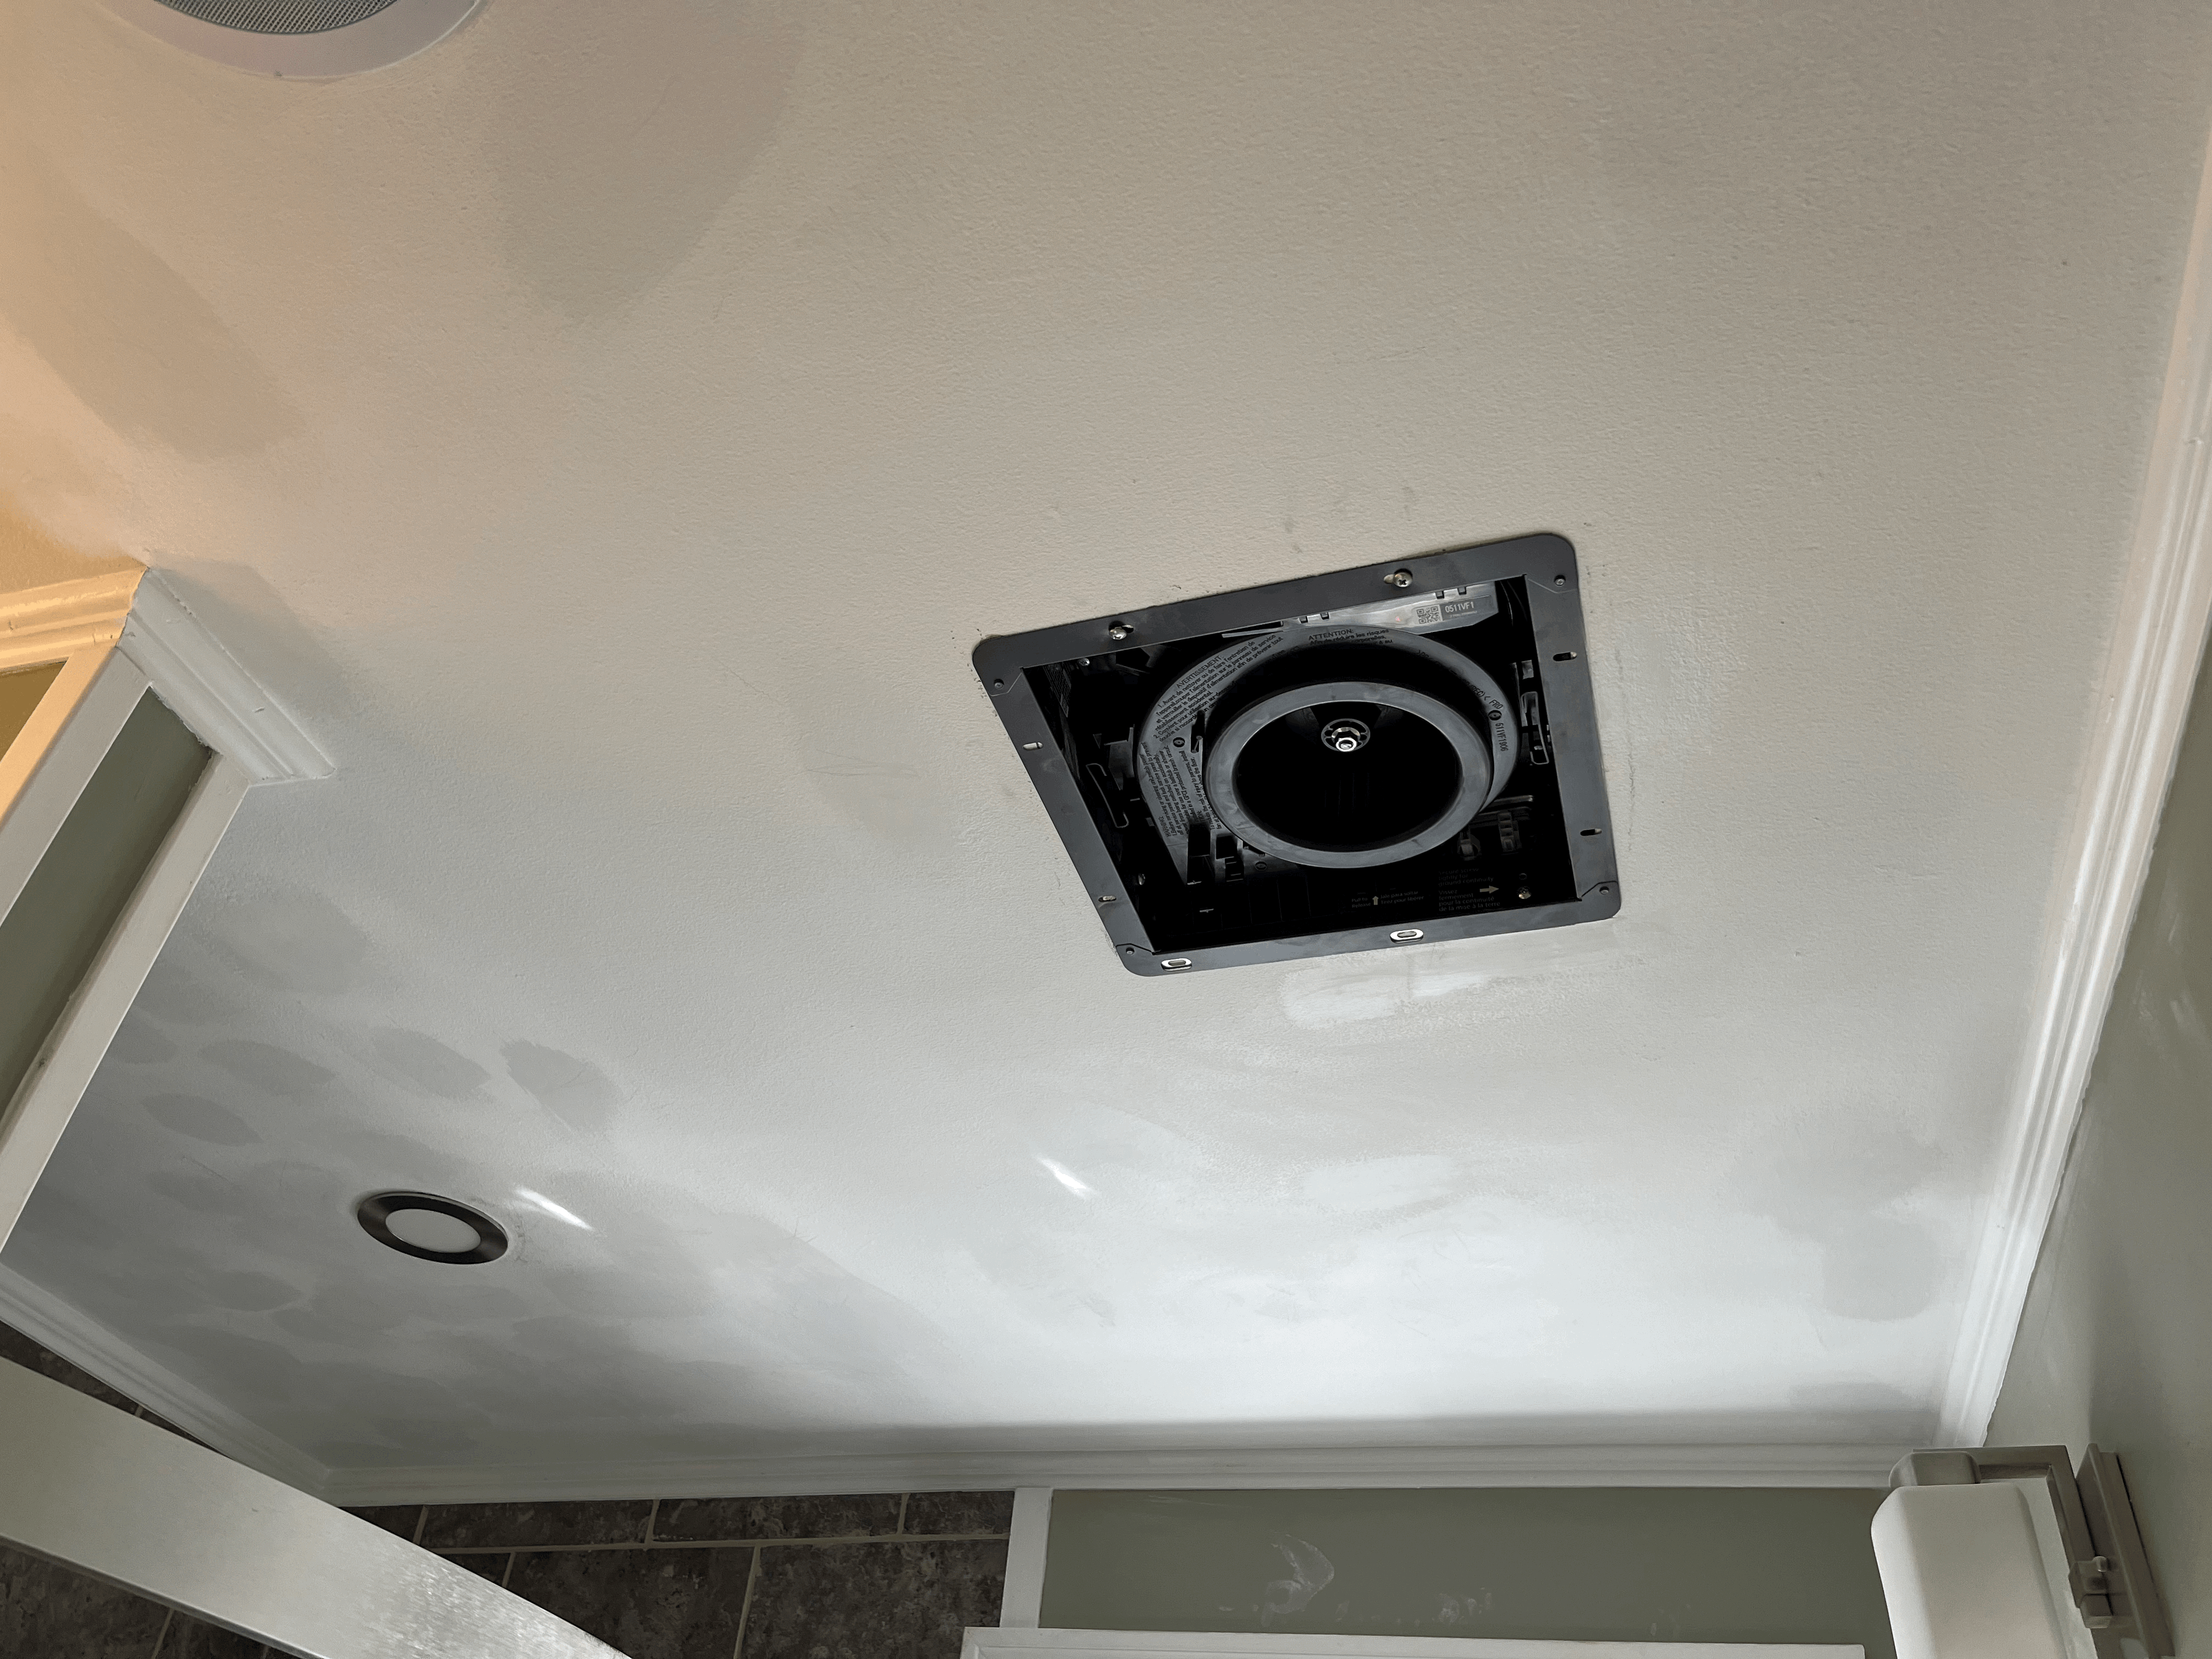
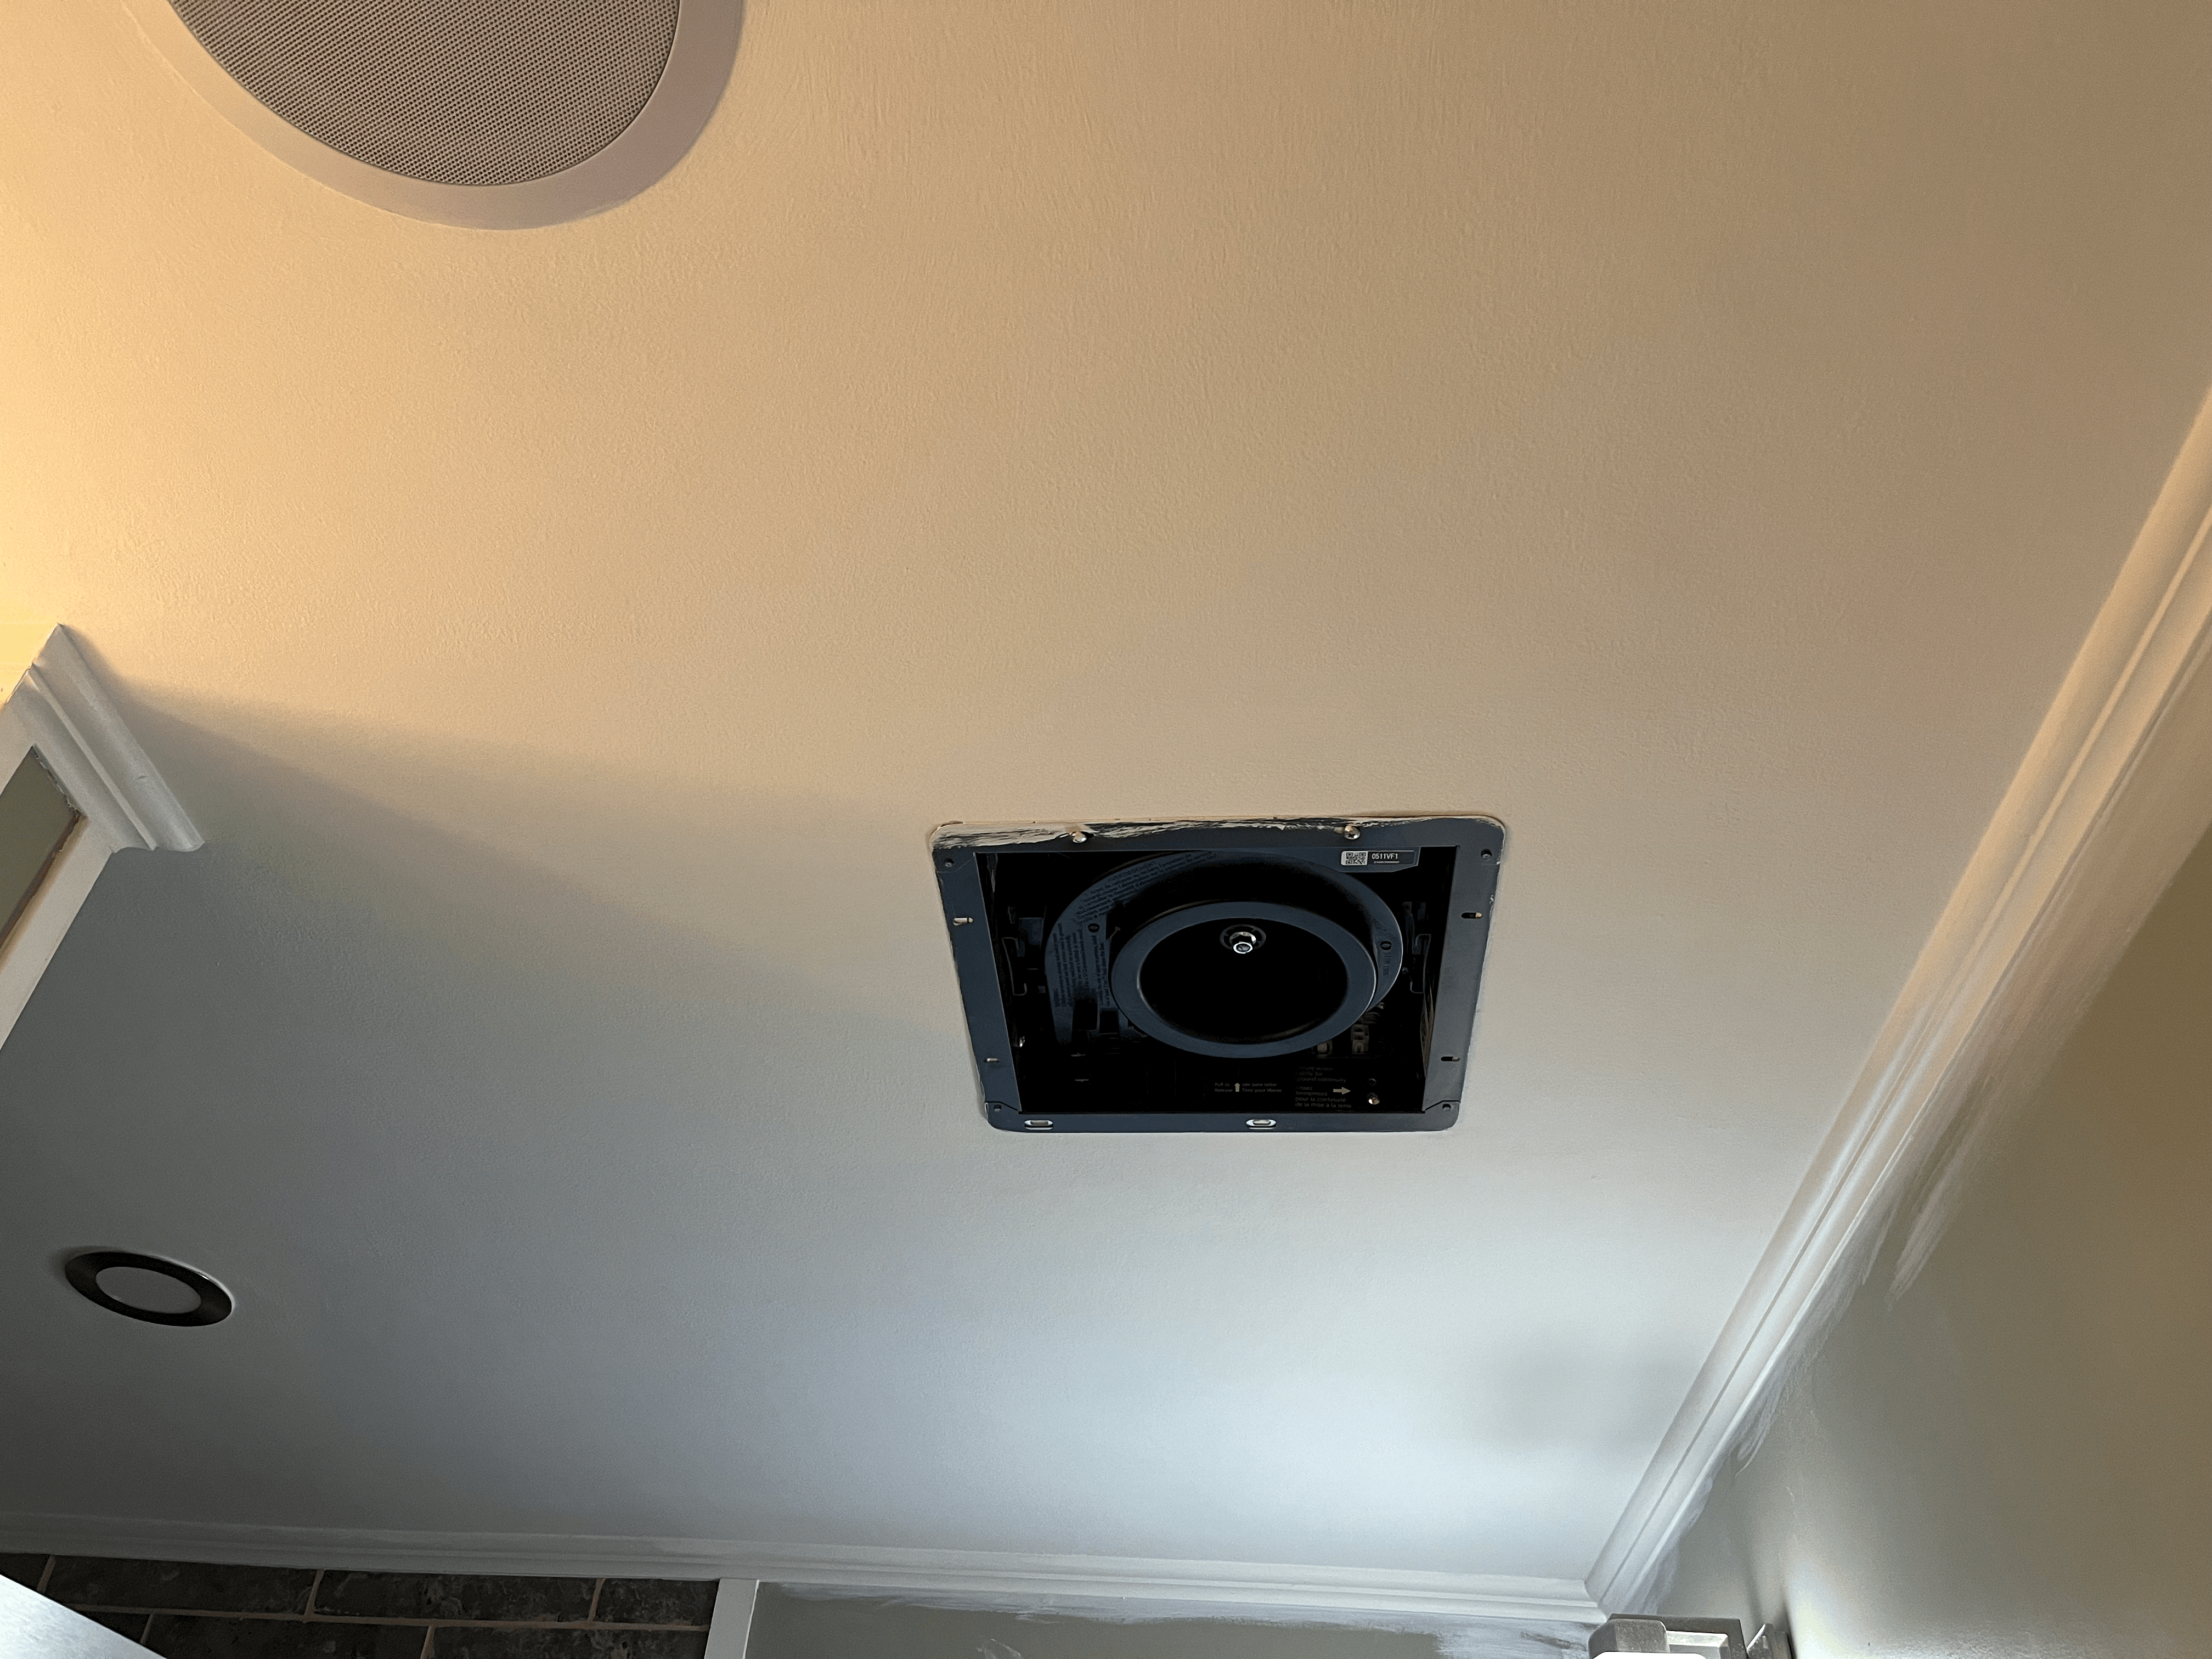
그리하여 리모델링에 앞서, 중요한 환풍기부터 설치하기로 했다.
So, the first thing I had to do for the bathroom was install an exhaust fan.

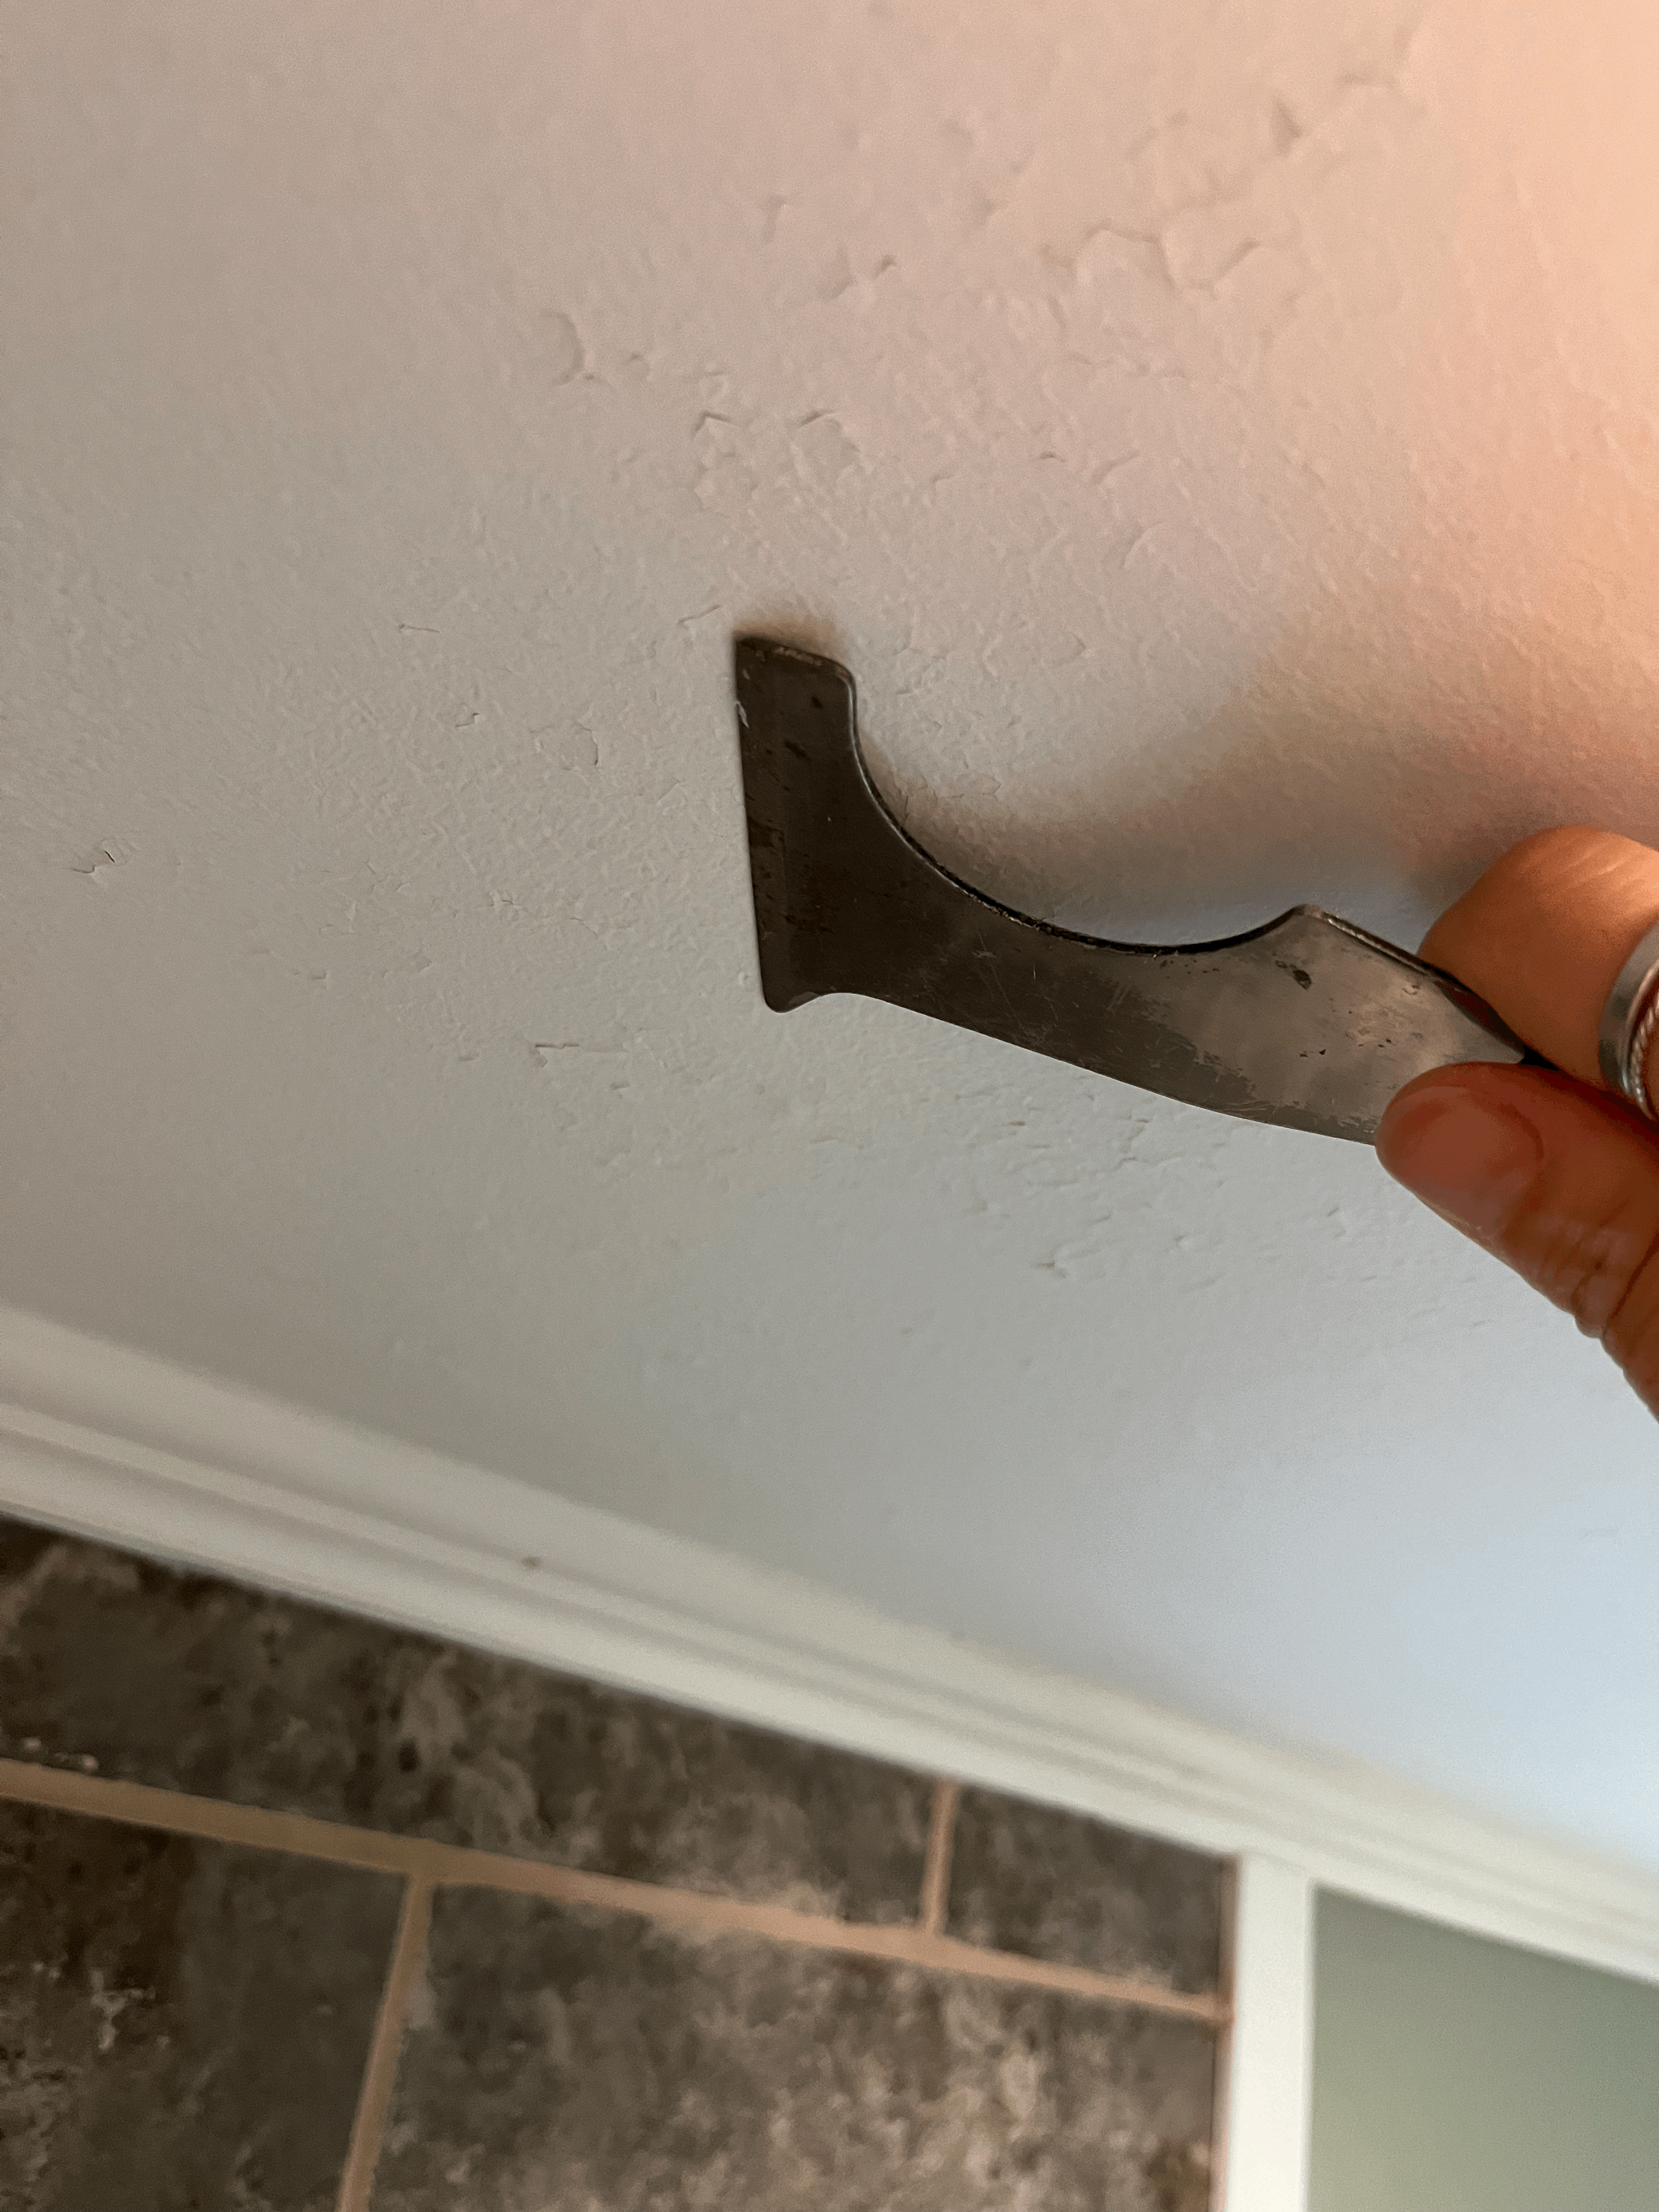
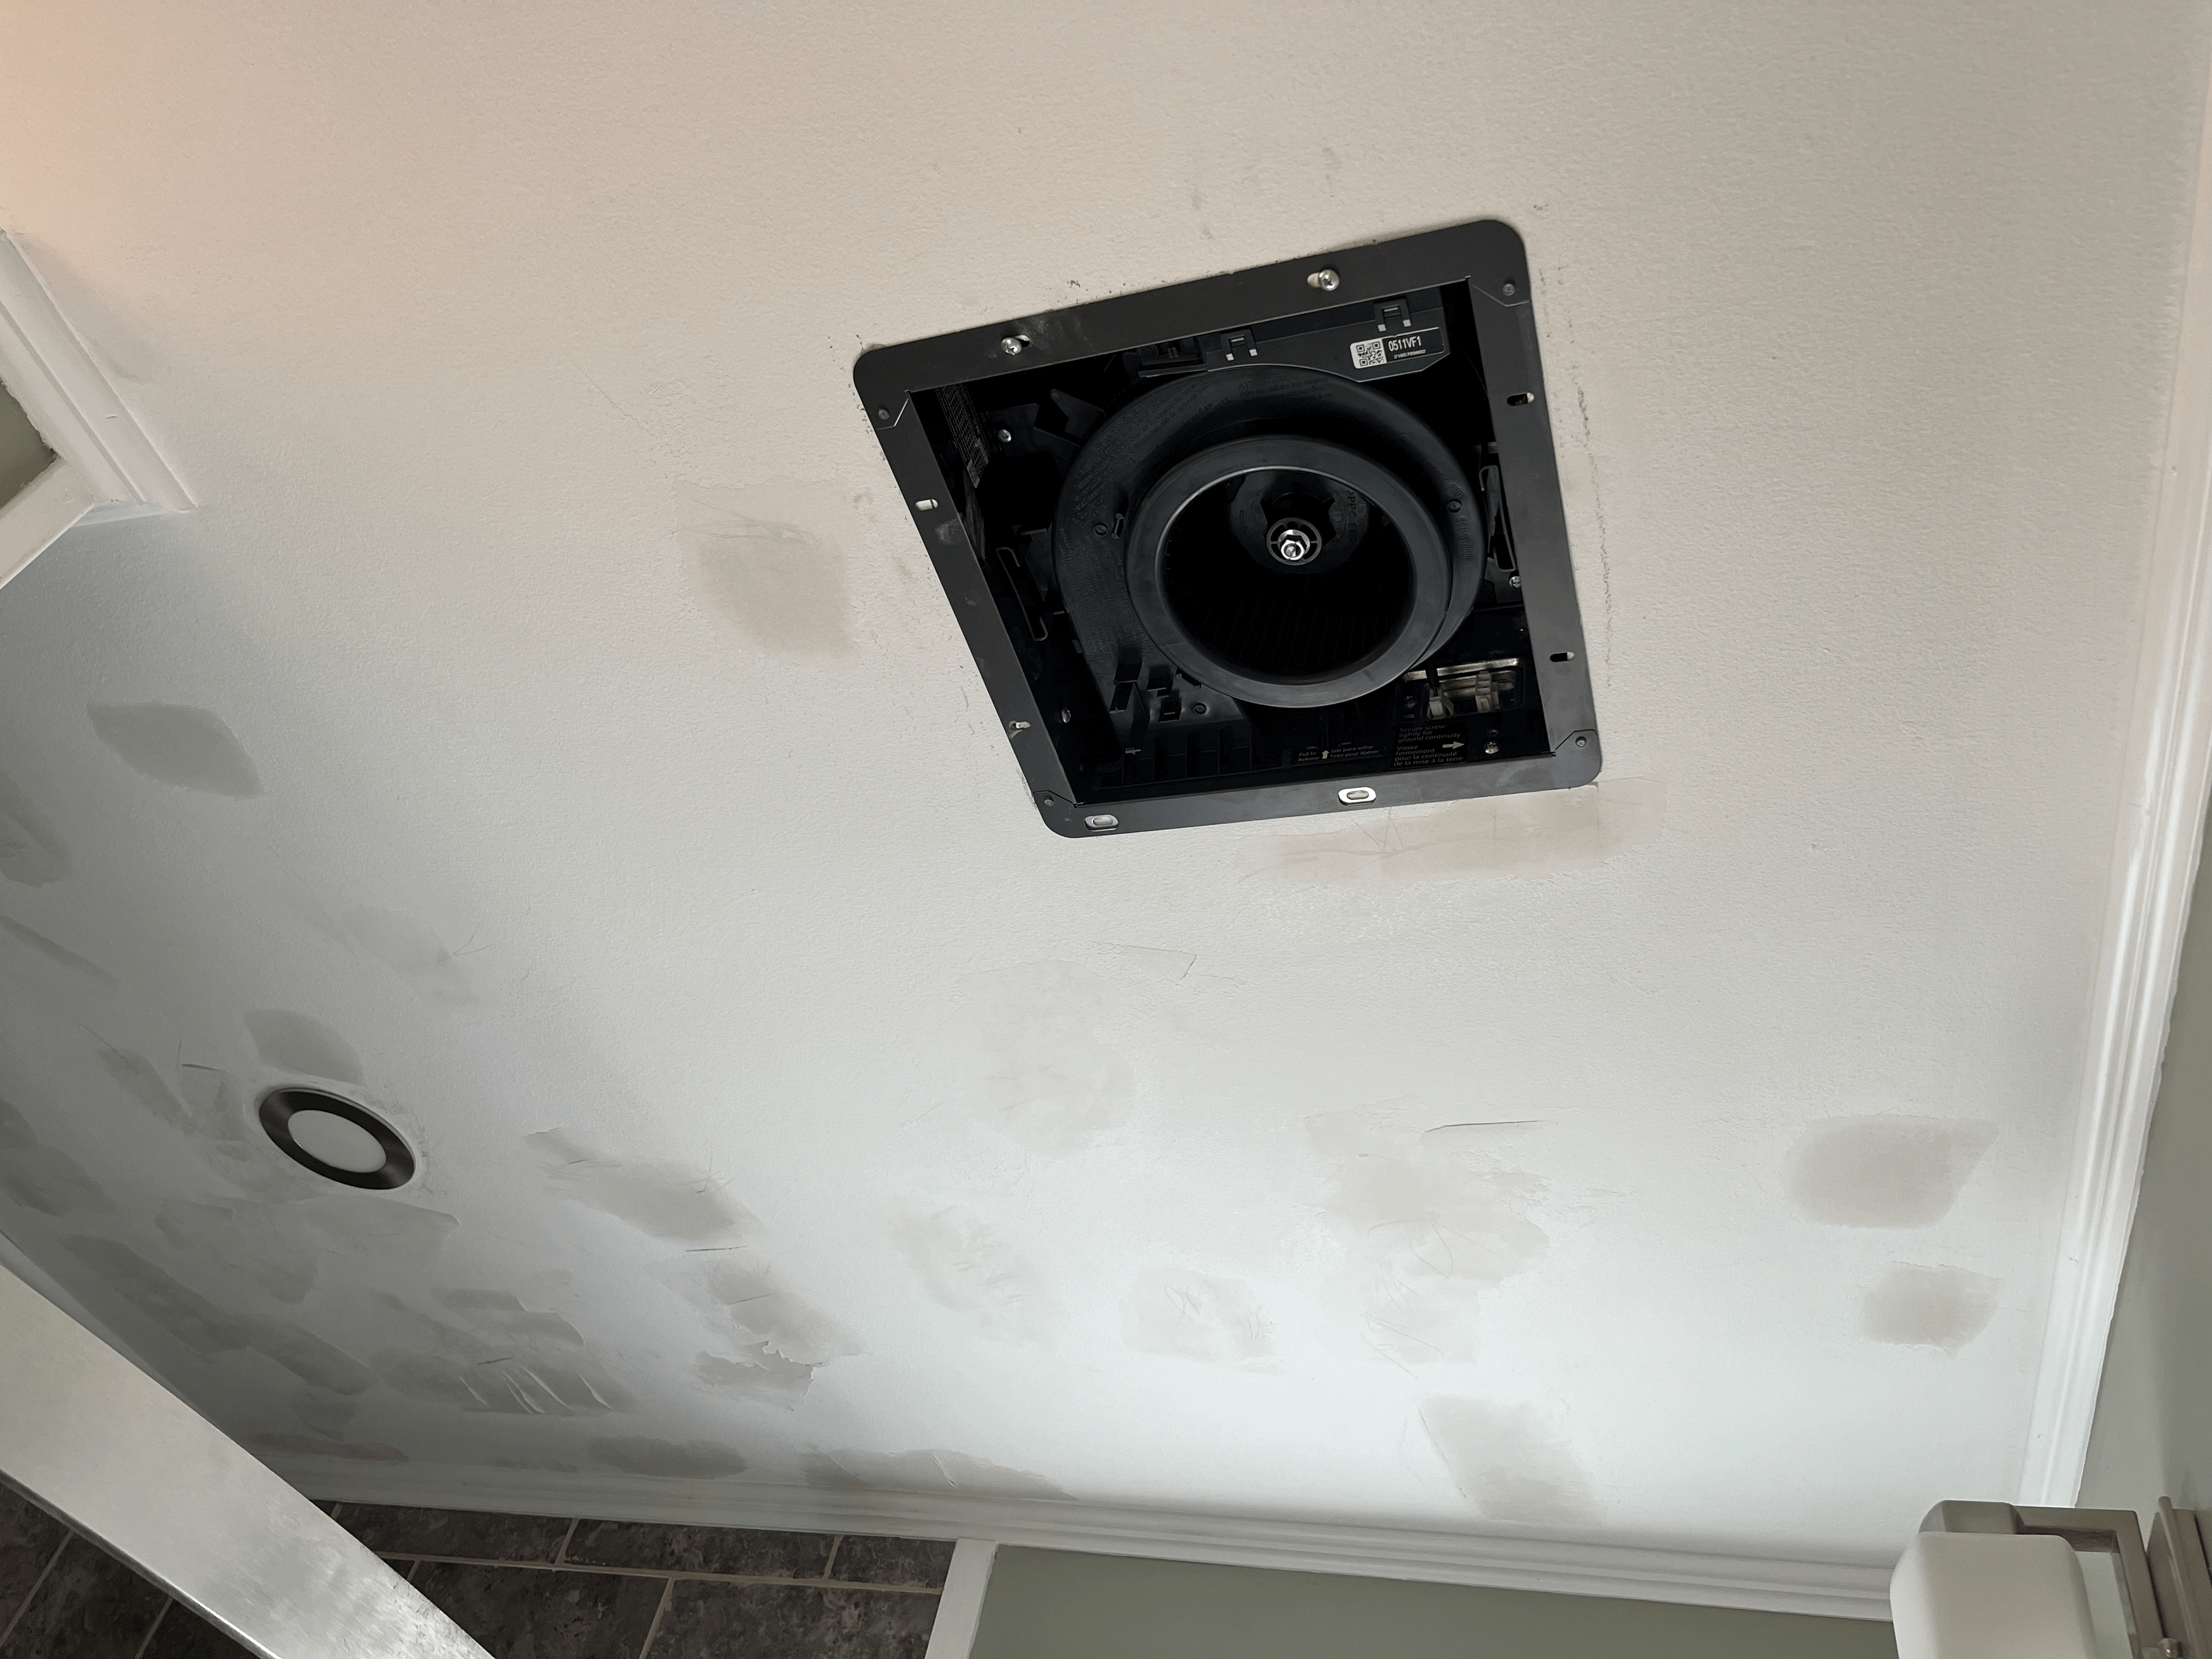
환풍기는 파나소닉이 가장 좋다는 얘기를 많이 들어서 못생겨서 별로지만 설치했다. 위스퍼핏이라고 켜놓으면 이름처럼 정말 조용하긴 조용하다.
I've heard Panasonic exhaust fans are good, so I bought and installed a Whisperfit fan with light(FV-0511VFL1). It is really quiet, just like the name says.
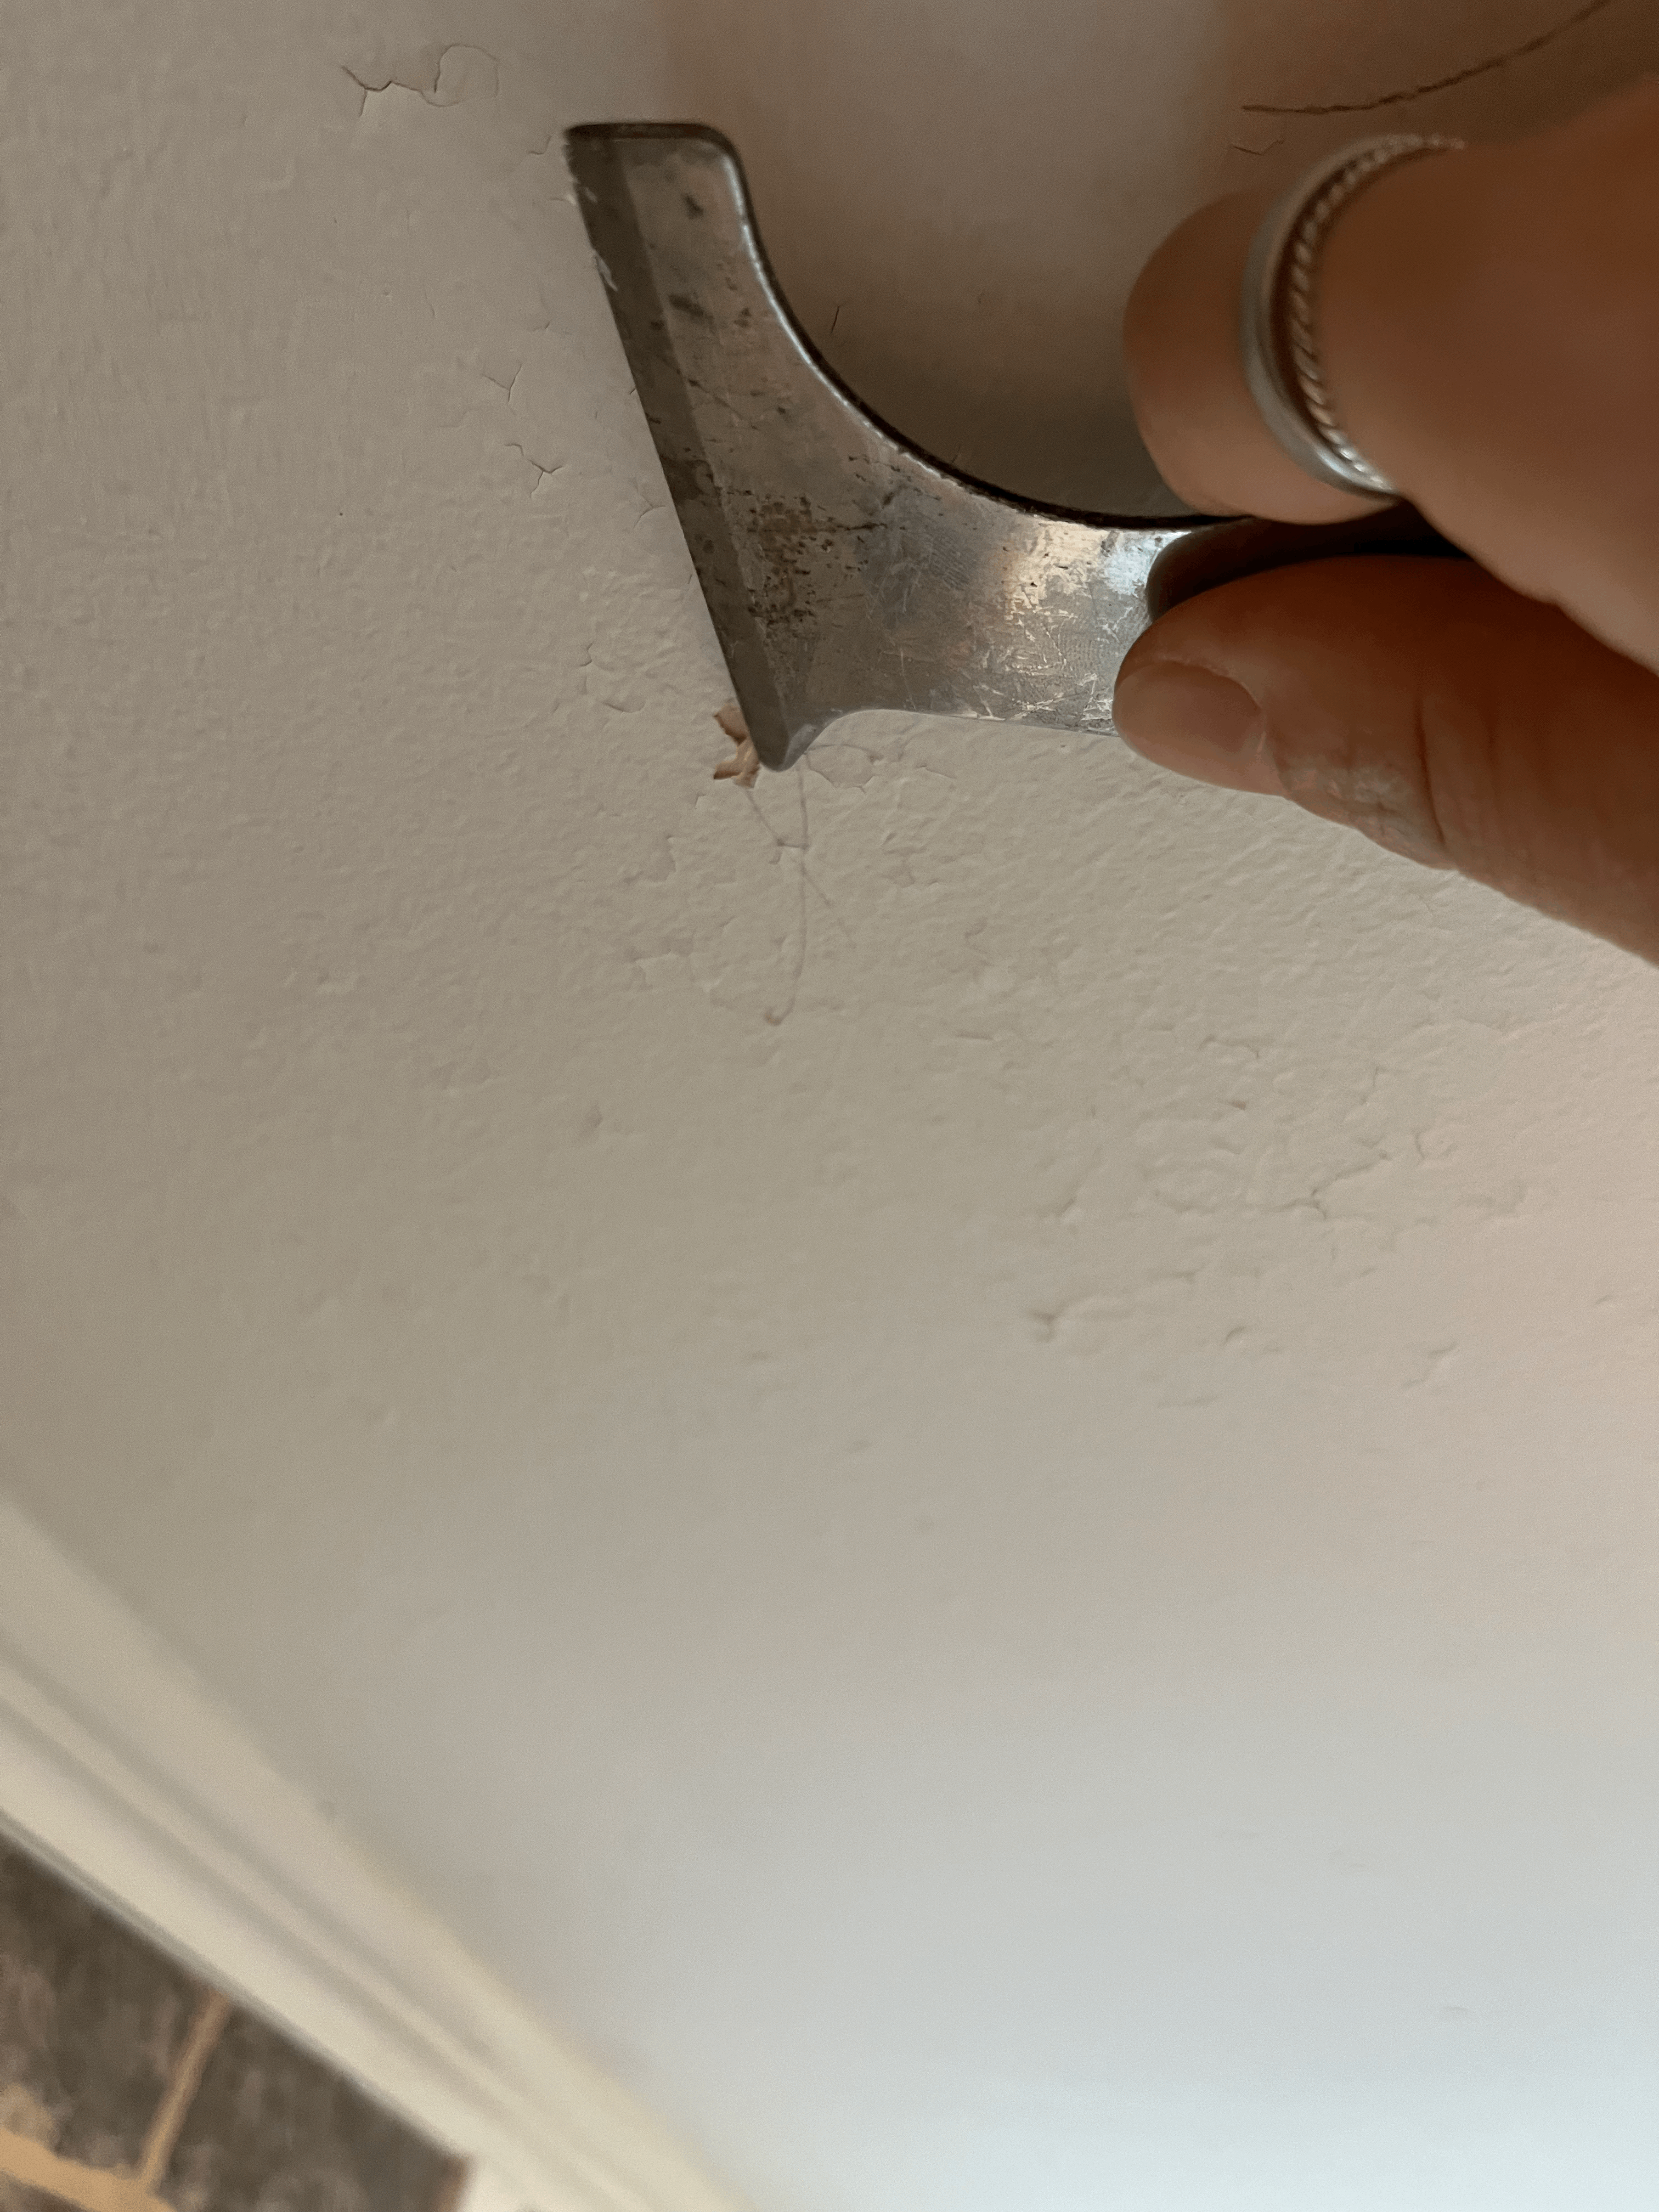
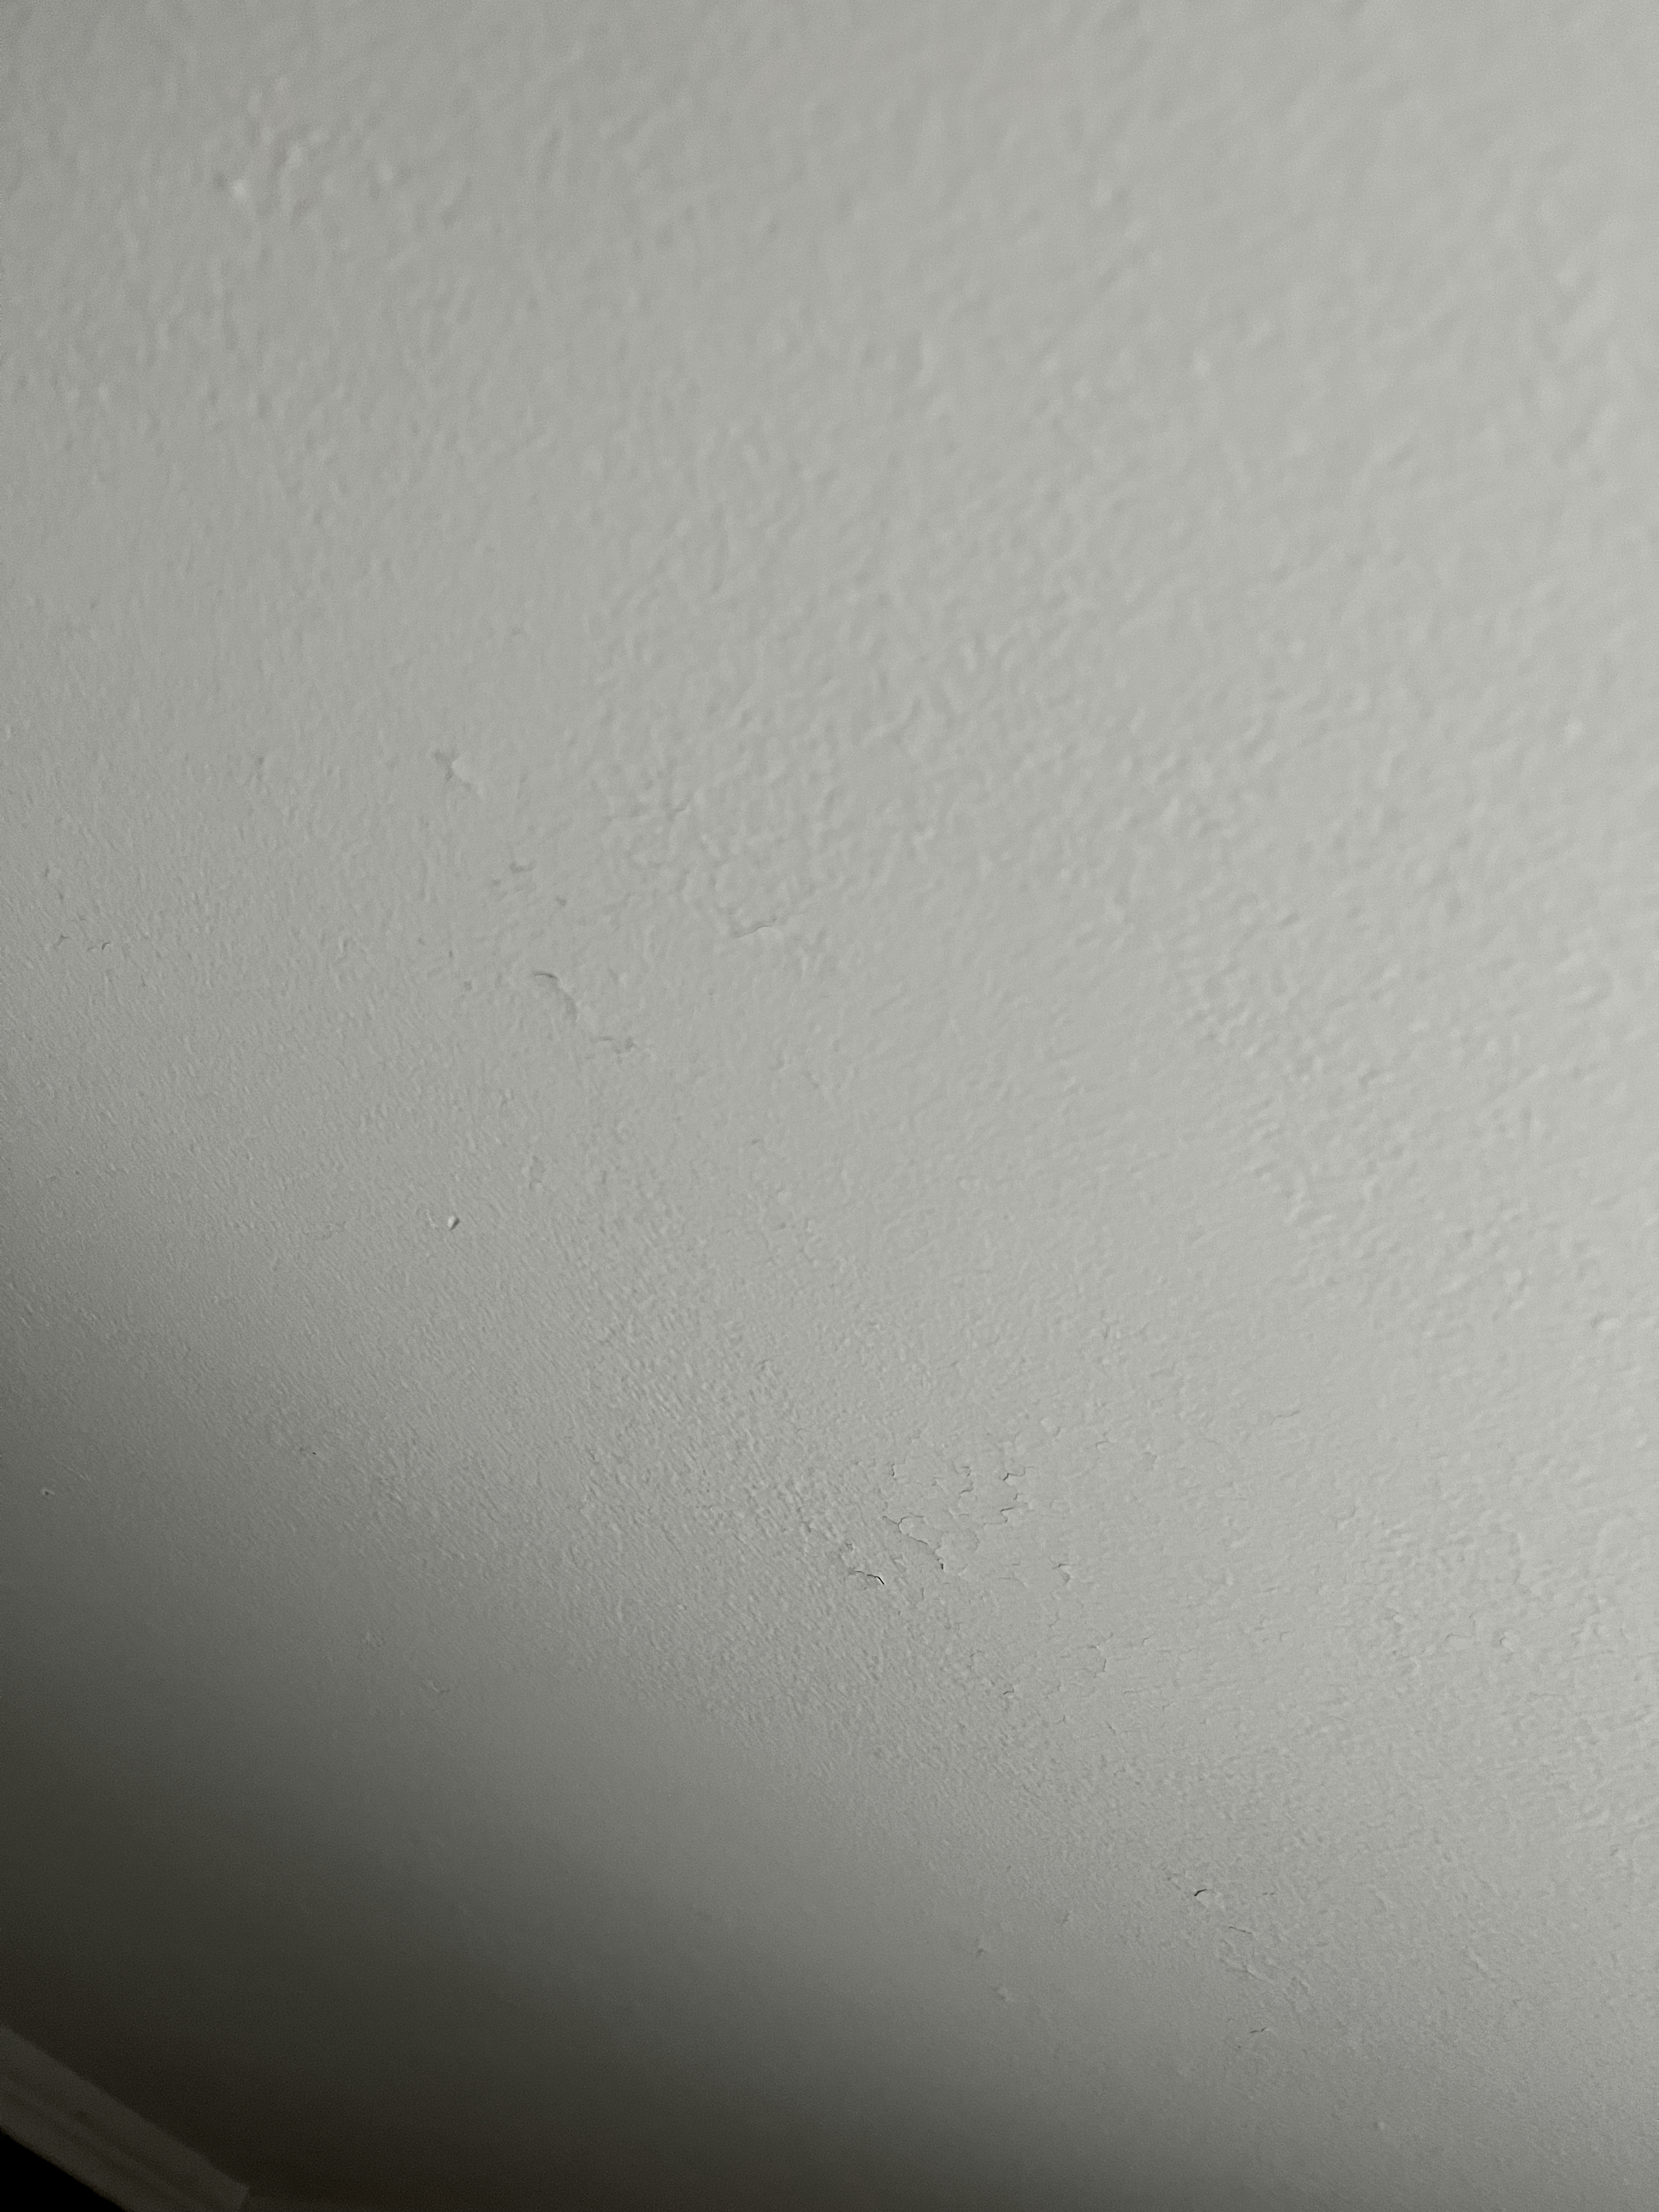
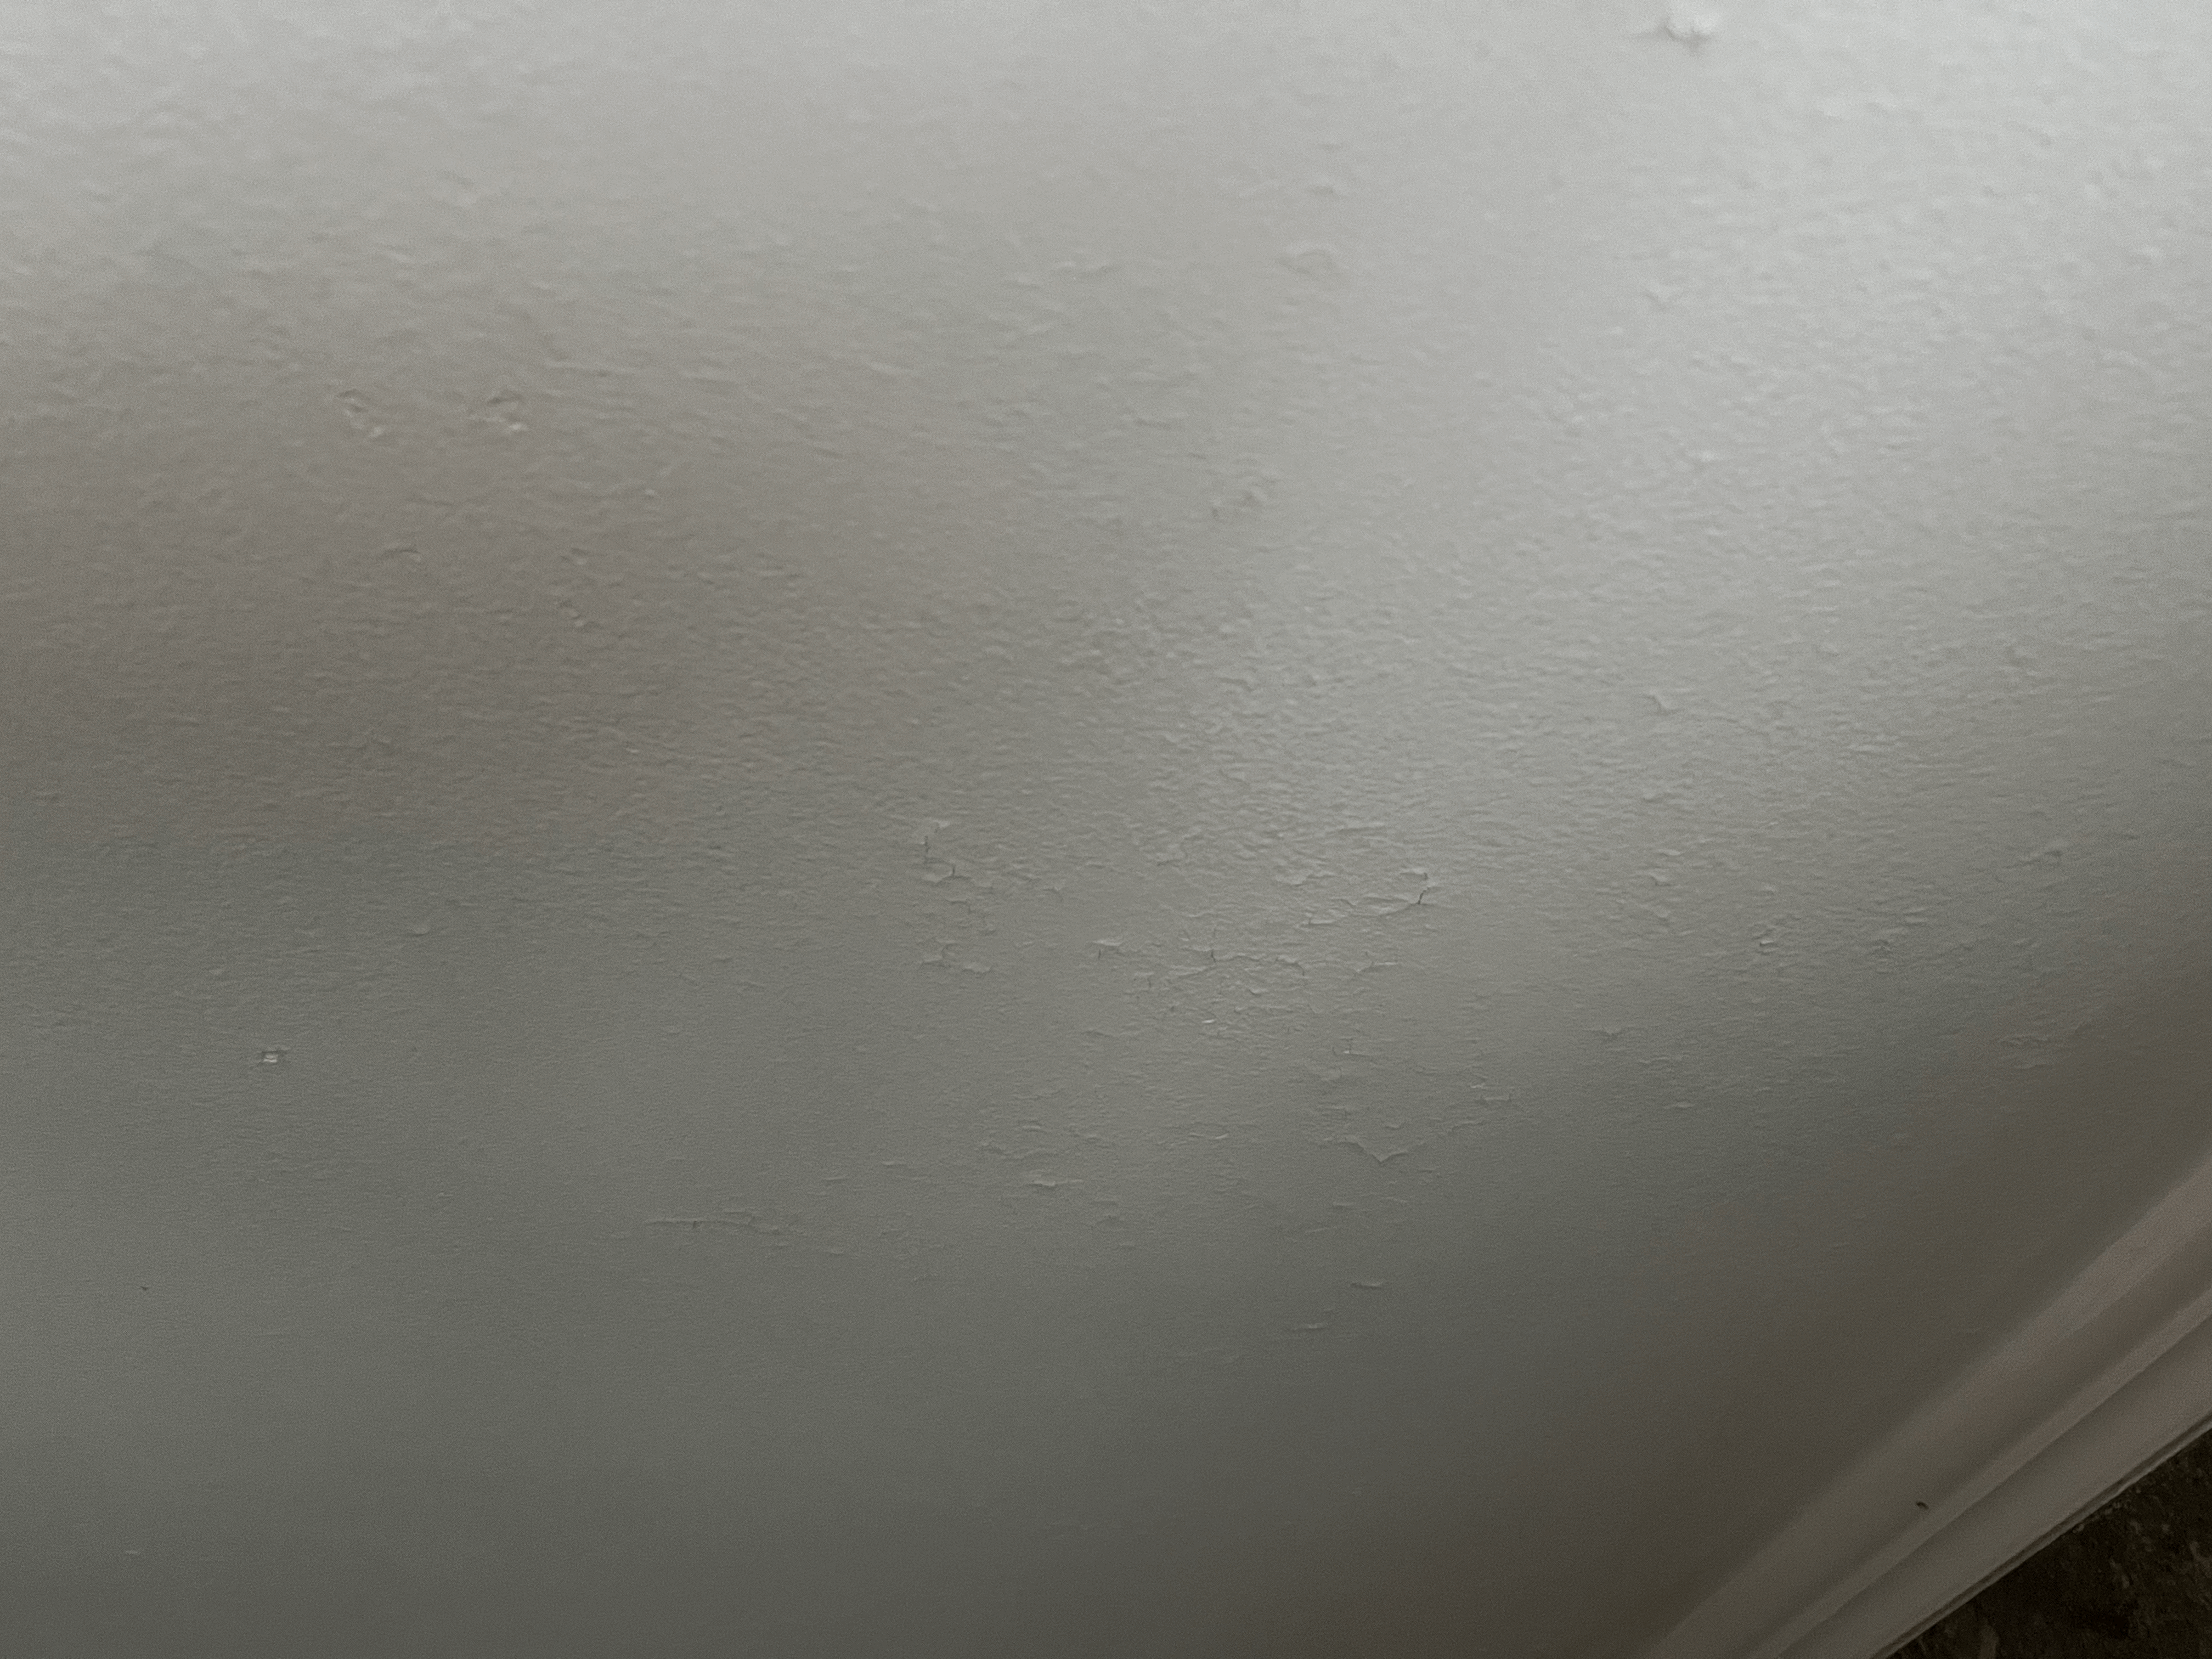
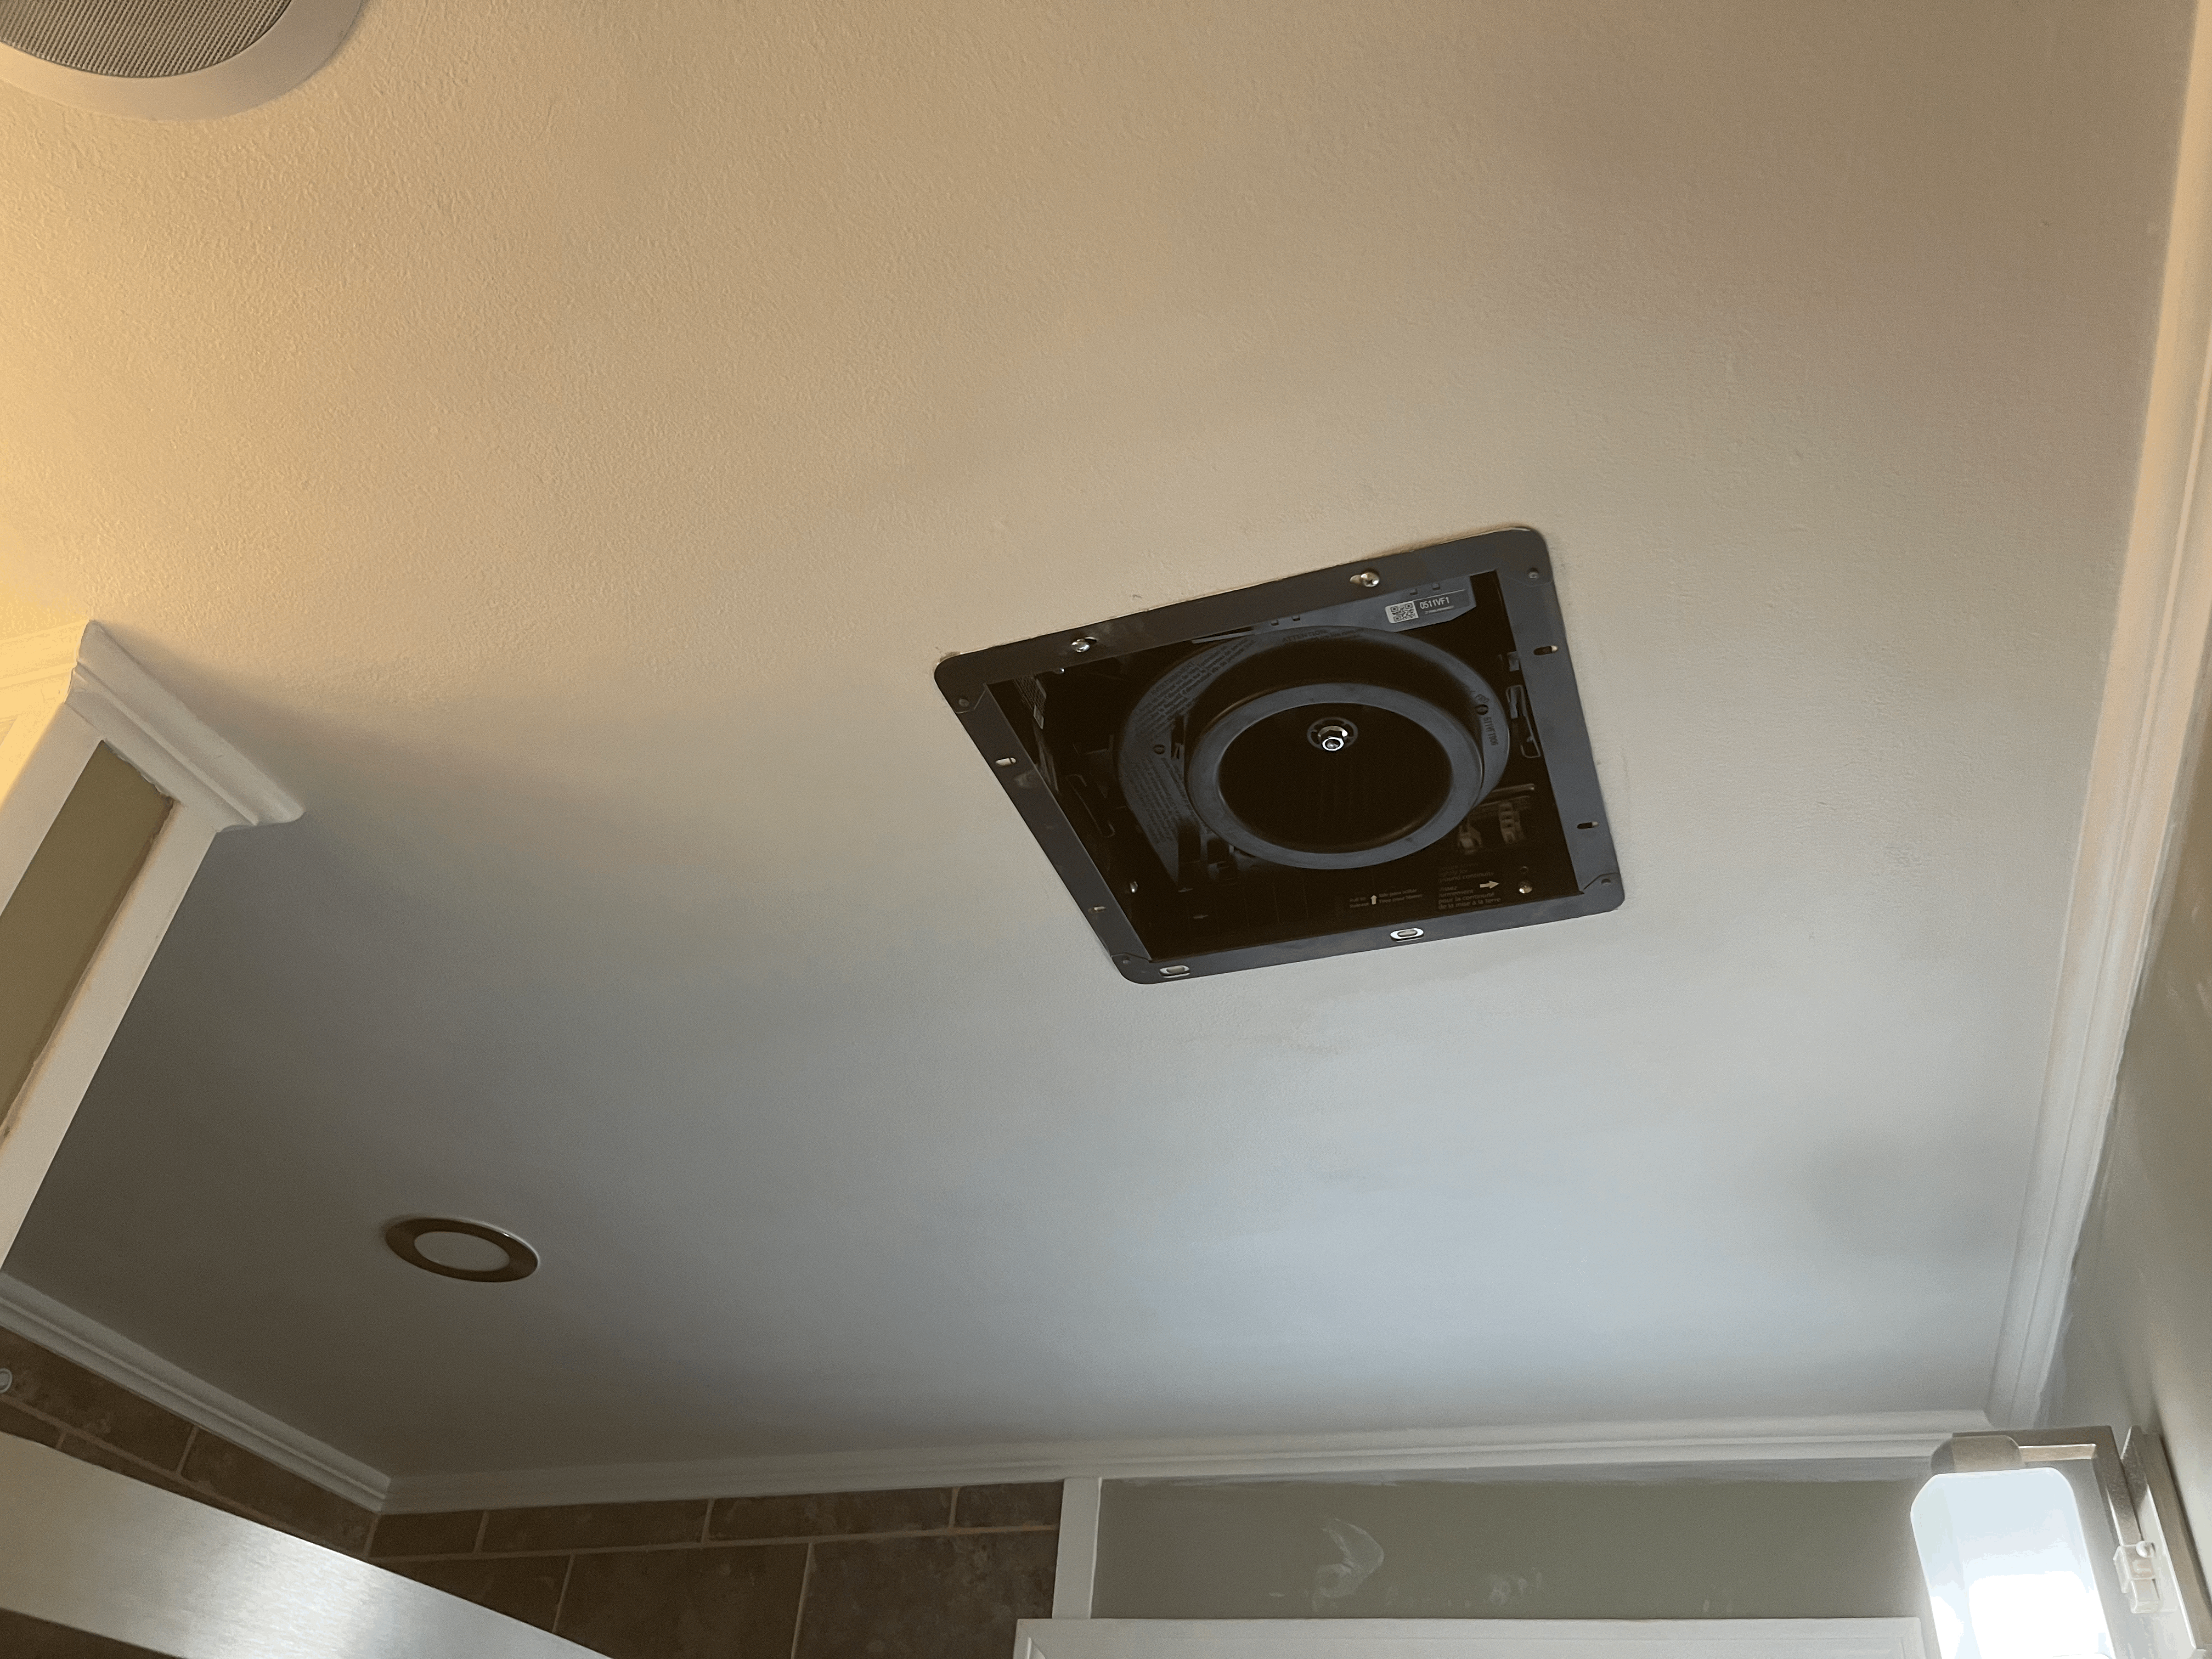
환풍기 설치 후에는, 바로 천장에 갈라진 페인트들을 긁어냈다.
After installing the fan, I scraped the cracked paint on the ceiling.

확실히 샤워실 바로 위쪽이 가장 심하고, 사진에는 보이지 않지만 벽을 하나 두고 바로 옆에 싱크대가 있는데 그쪽은 멀쩡했다.
As you can see, right above the shower is the worst. There is a sink area right next to the shower, (you can't see it in the picture) but there is no cracking or peeling at all.
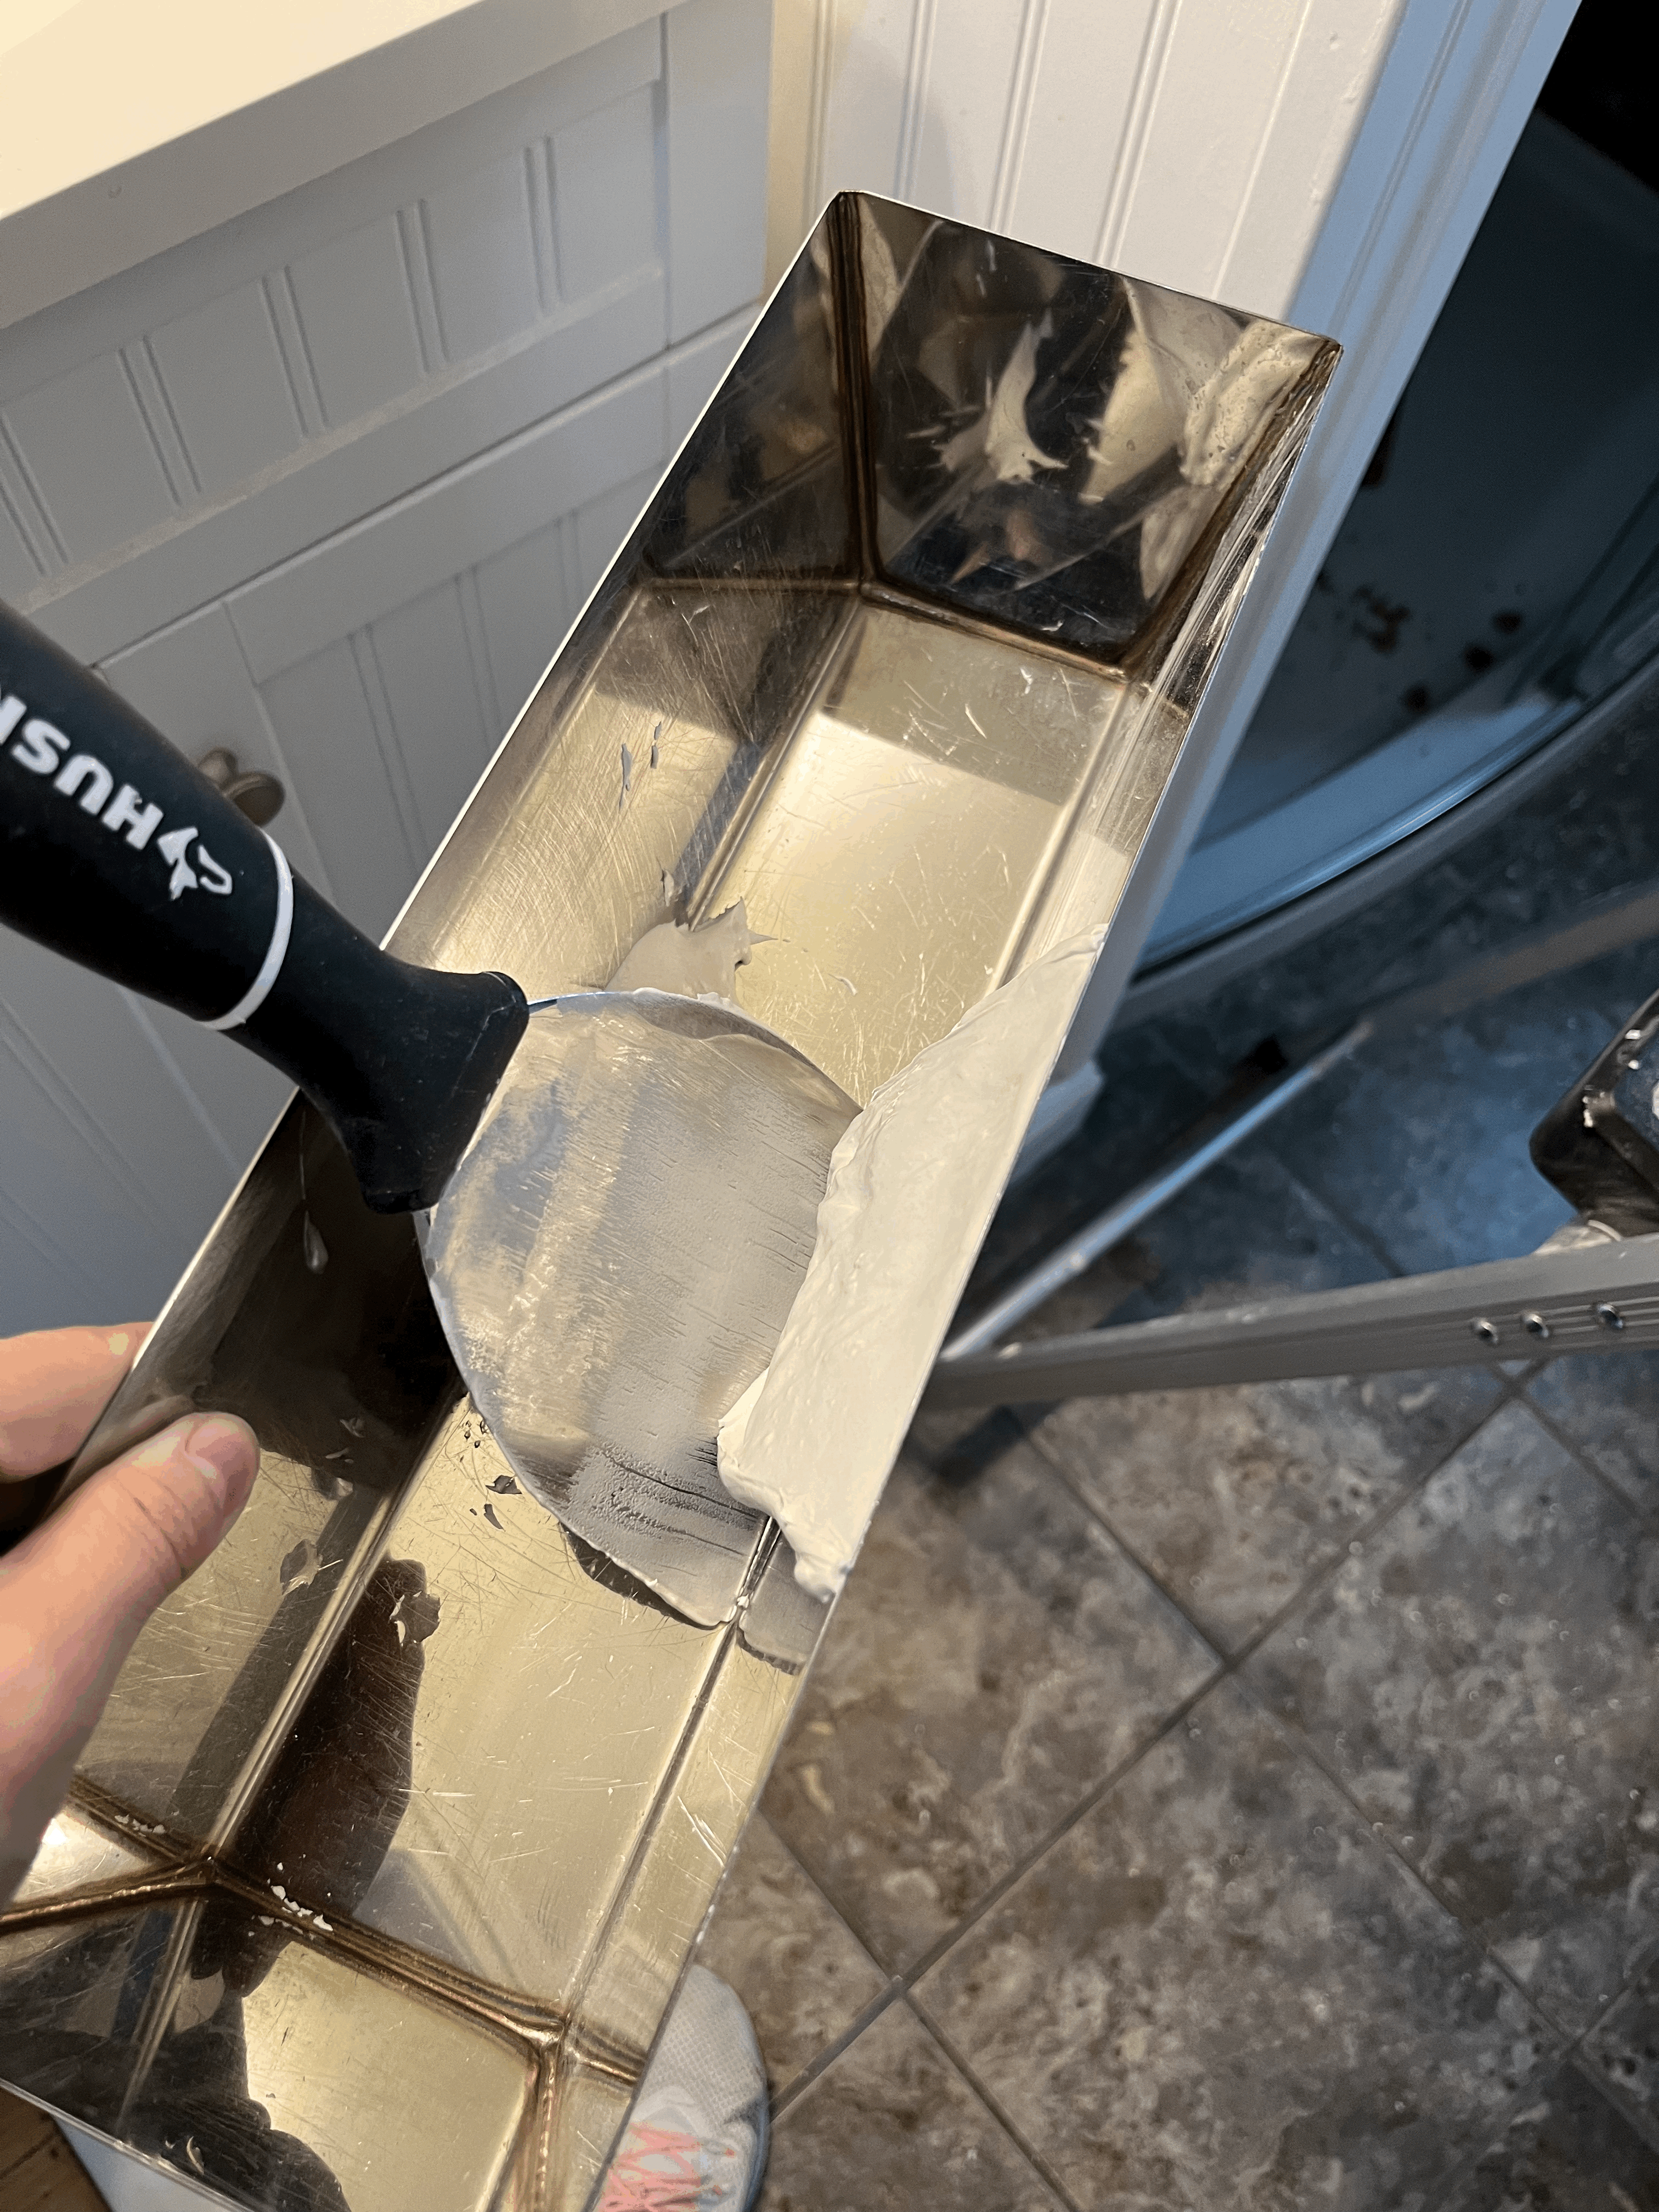
페인트를 다 긁어내고는, 조인트 컴파운드로 패치를 했다.
After scraping all the cracked paint, I patched those areas with joint compound.
처음에는 그냥 긁어낸 부분만 메운다는 생각으로 어렵지 않게 발라주면 된다. 조인트 컴파운드를 발라도 살짝 움푹 들어간 것이 보이는데 그건 신경쓰지 않아도 된다. 어차피 한번에 말끔하게 해결되는 것이 아니다. 상태에 따라 여러번 패치를 해야하기 때문이다.
For the first coat of patching, it doesn't have to be perfect. Even though it doesn't fill perfectly, that's fine because you can't finish patching after one time anyway.

이제는 조인트 컴파운드가 완전히 마를 때까지 기다려주면 된다.
After patching, I waited until the joint compound dried completely.

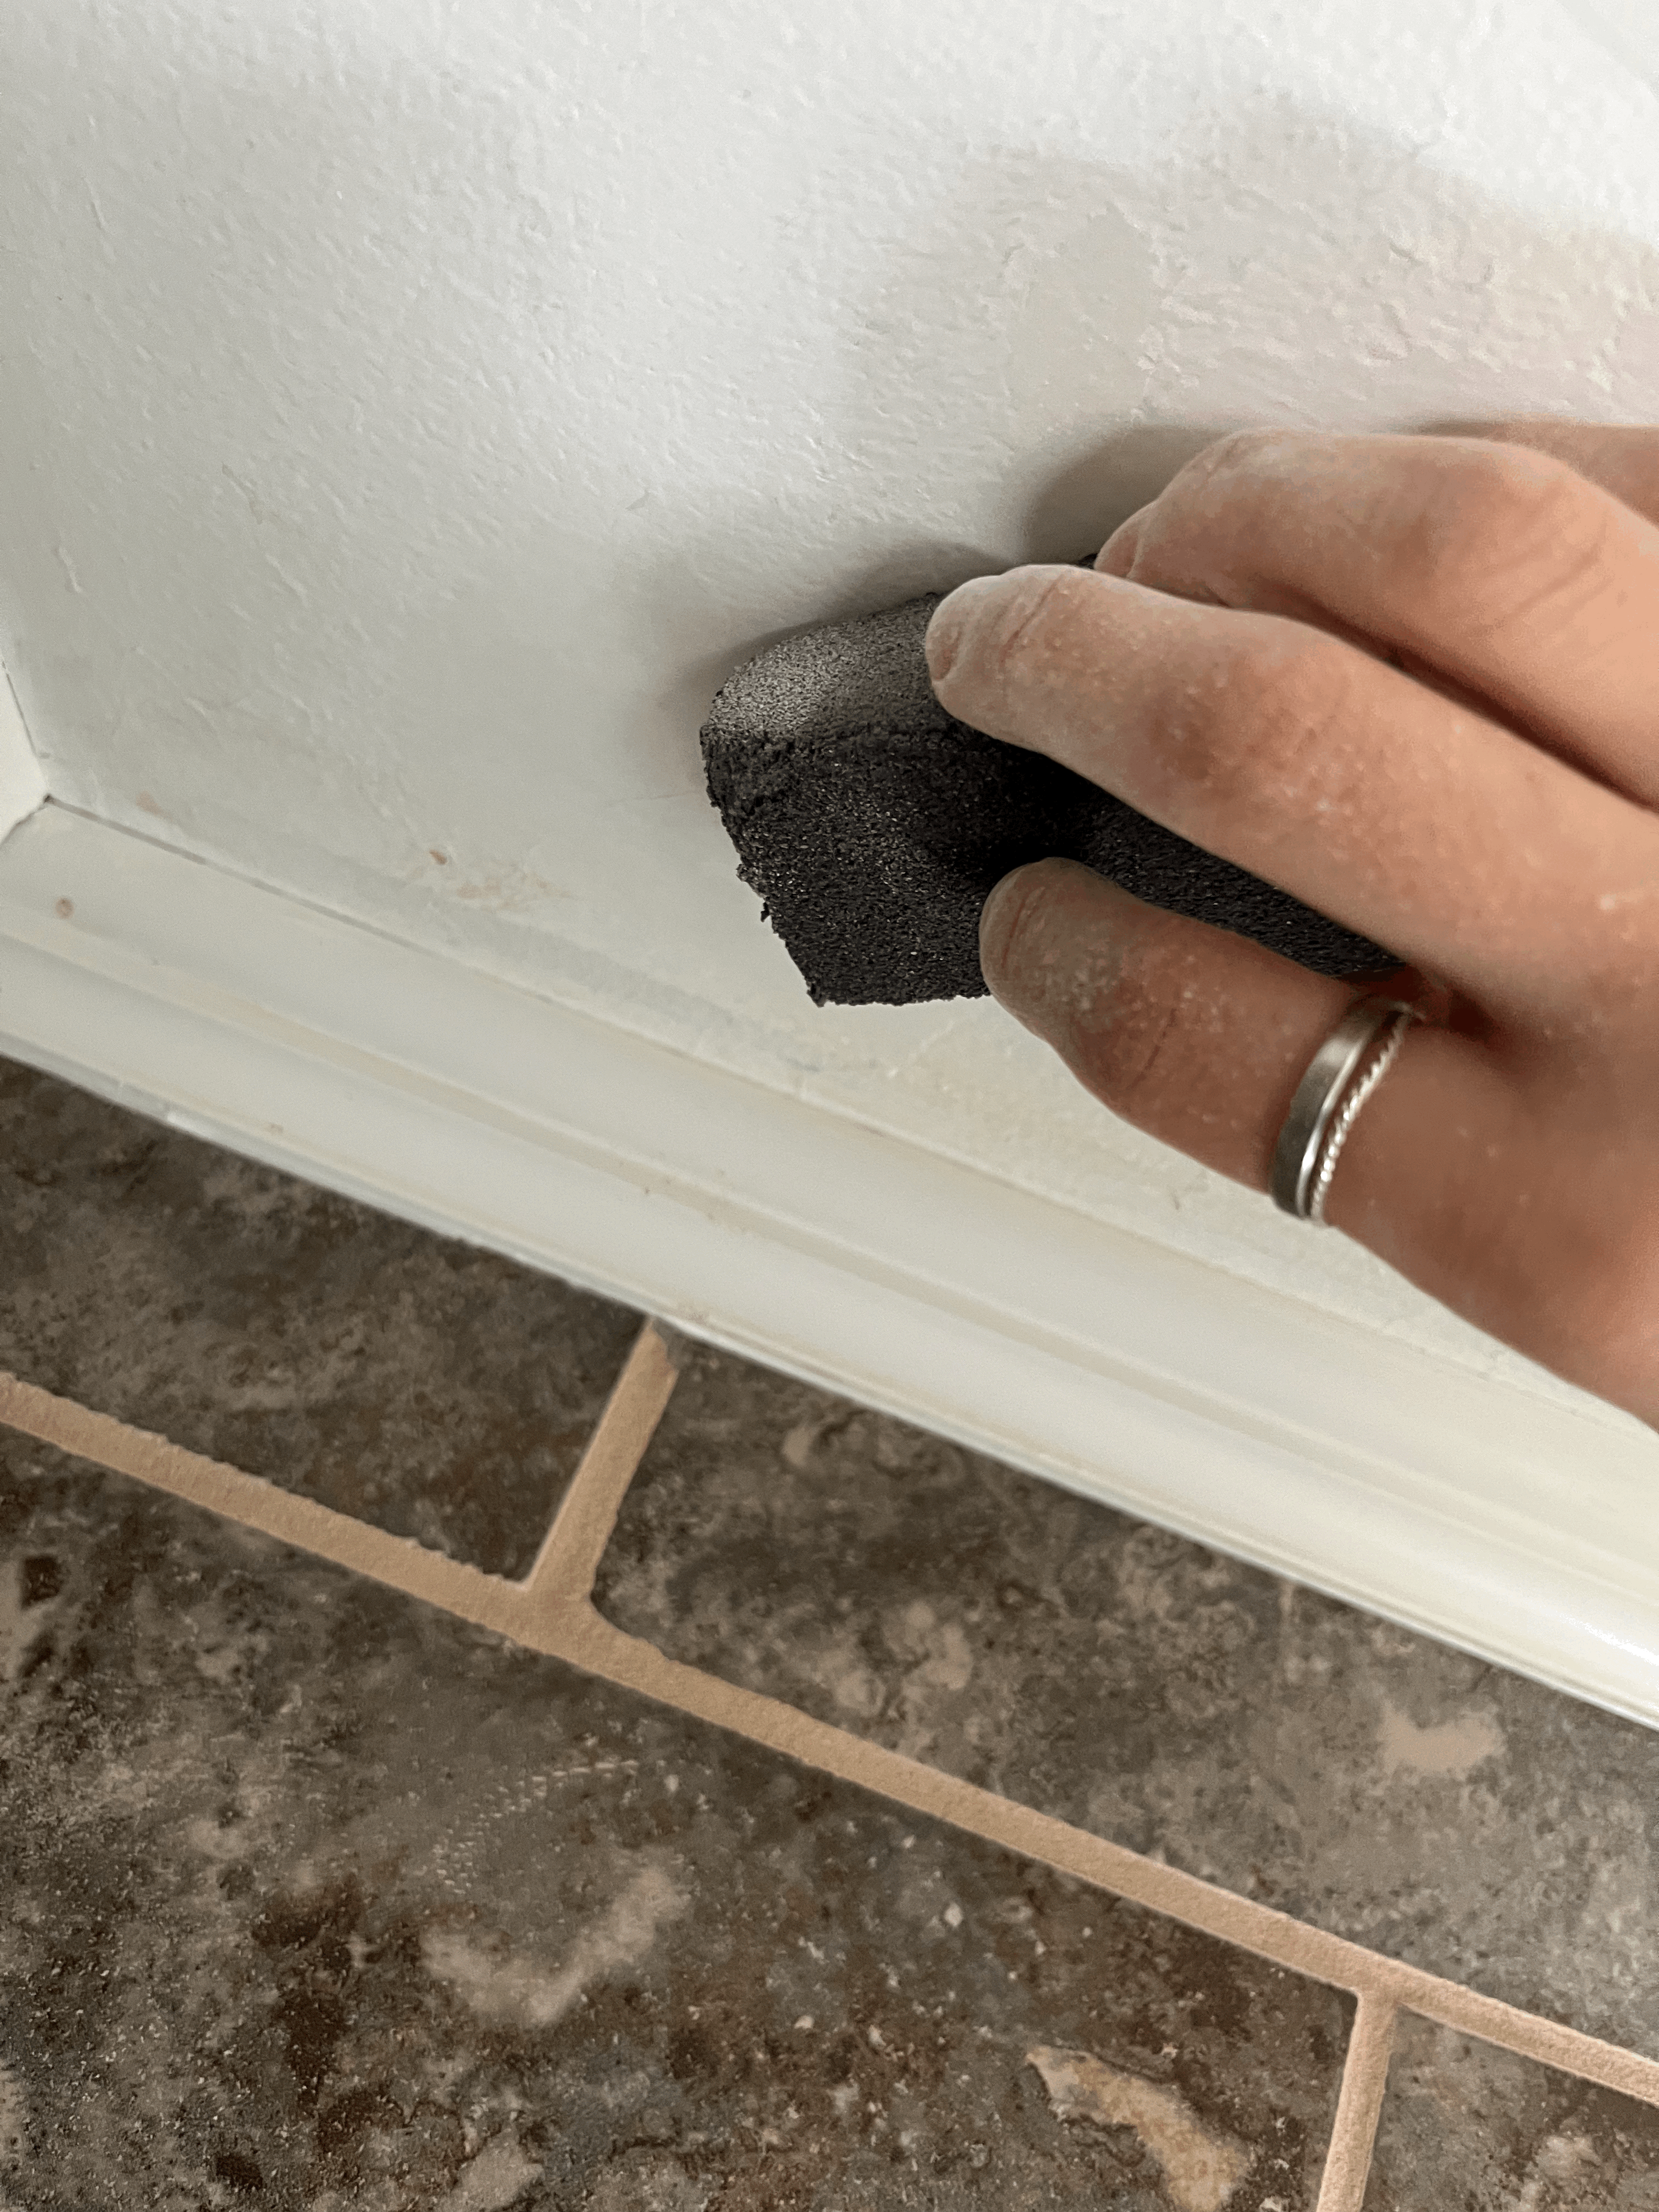
젖은 부분 없이 다 마를 때까지 기다렸다가, 샌딩 블럭을 이용해 표면이 부드럽게 될 때까지 샌딩한다.
When you don't see any wet areas anymore, you can sand the joint compound until it feels soft and flat.
나는 샌딩하는 것이 가장 싫다. 먼지도 많이 날리고, 청소하기 너무 힘들다...
그래도 이 과정을 없이 천장이든 벽이든 패치를 할 수가 없다..
I hate sanding. It gets dusty and it's hard to clean.
Yet, you can't skip this step even though it's so frustrating to do.
어쨌든, 샌딩을 하고 나면 2차로 패치를 해야한다.
이때는 원래의 면적보다 조금 더 넓게 바르기도 해야하고, 생각보다 조금 더 두껍게 바르기도 해야한다.
그래야지 긁어낸 부분이나, 구멍이 완전히 가려지기 때문이다.
After sanding, I patched again.
The second coat should be larger and thicker so the area I scraped can be covered completely.
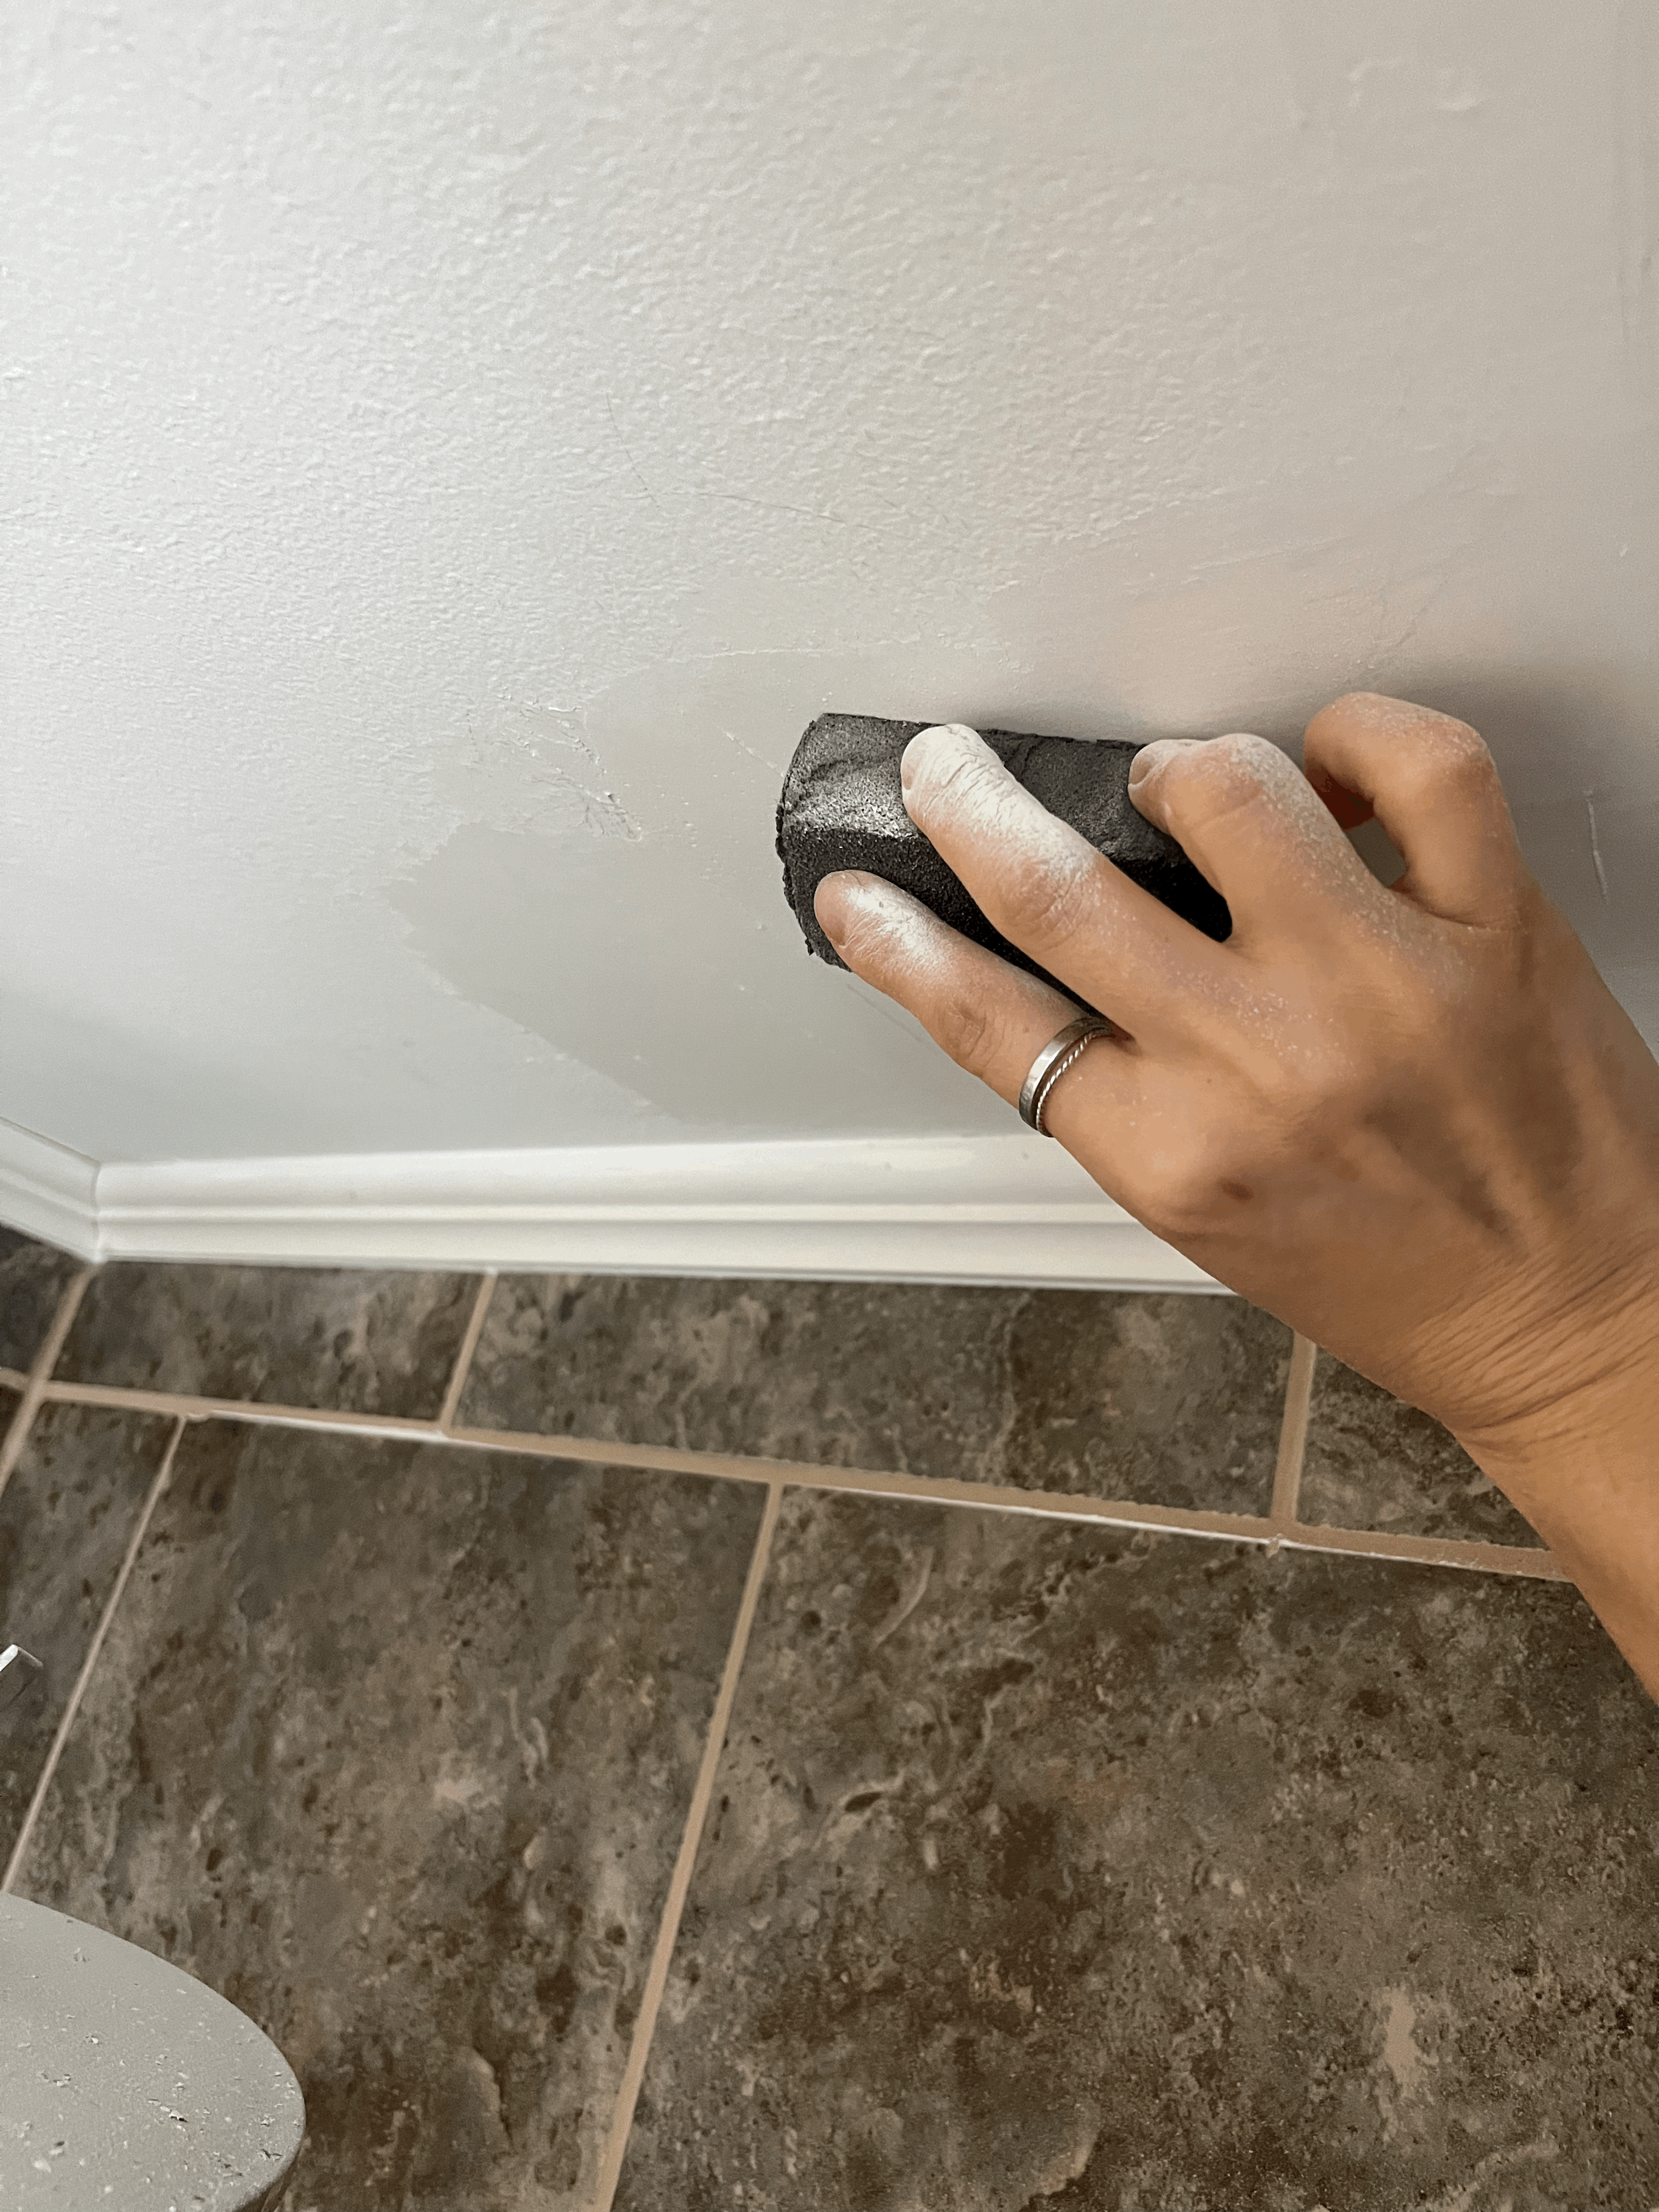

2차 패치가 마르면 또 샌딩을 한다.
손바닥으로 천장을 쓰윽 문질러봤을 때, 울퉁불퉁한 것이 느껴지지 않고 평평하게 될때까지 샌딩을 해야한다.
When the 2nd coat was dry, I repeated sanding.
The ceiling should feel soft and flat when you touch it.


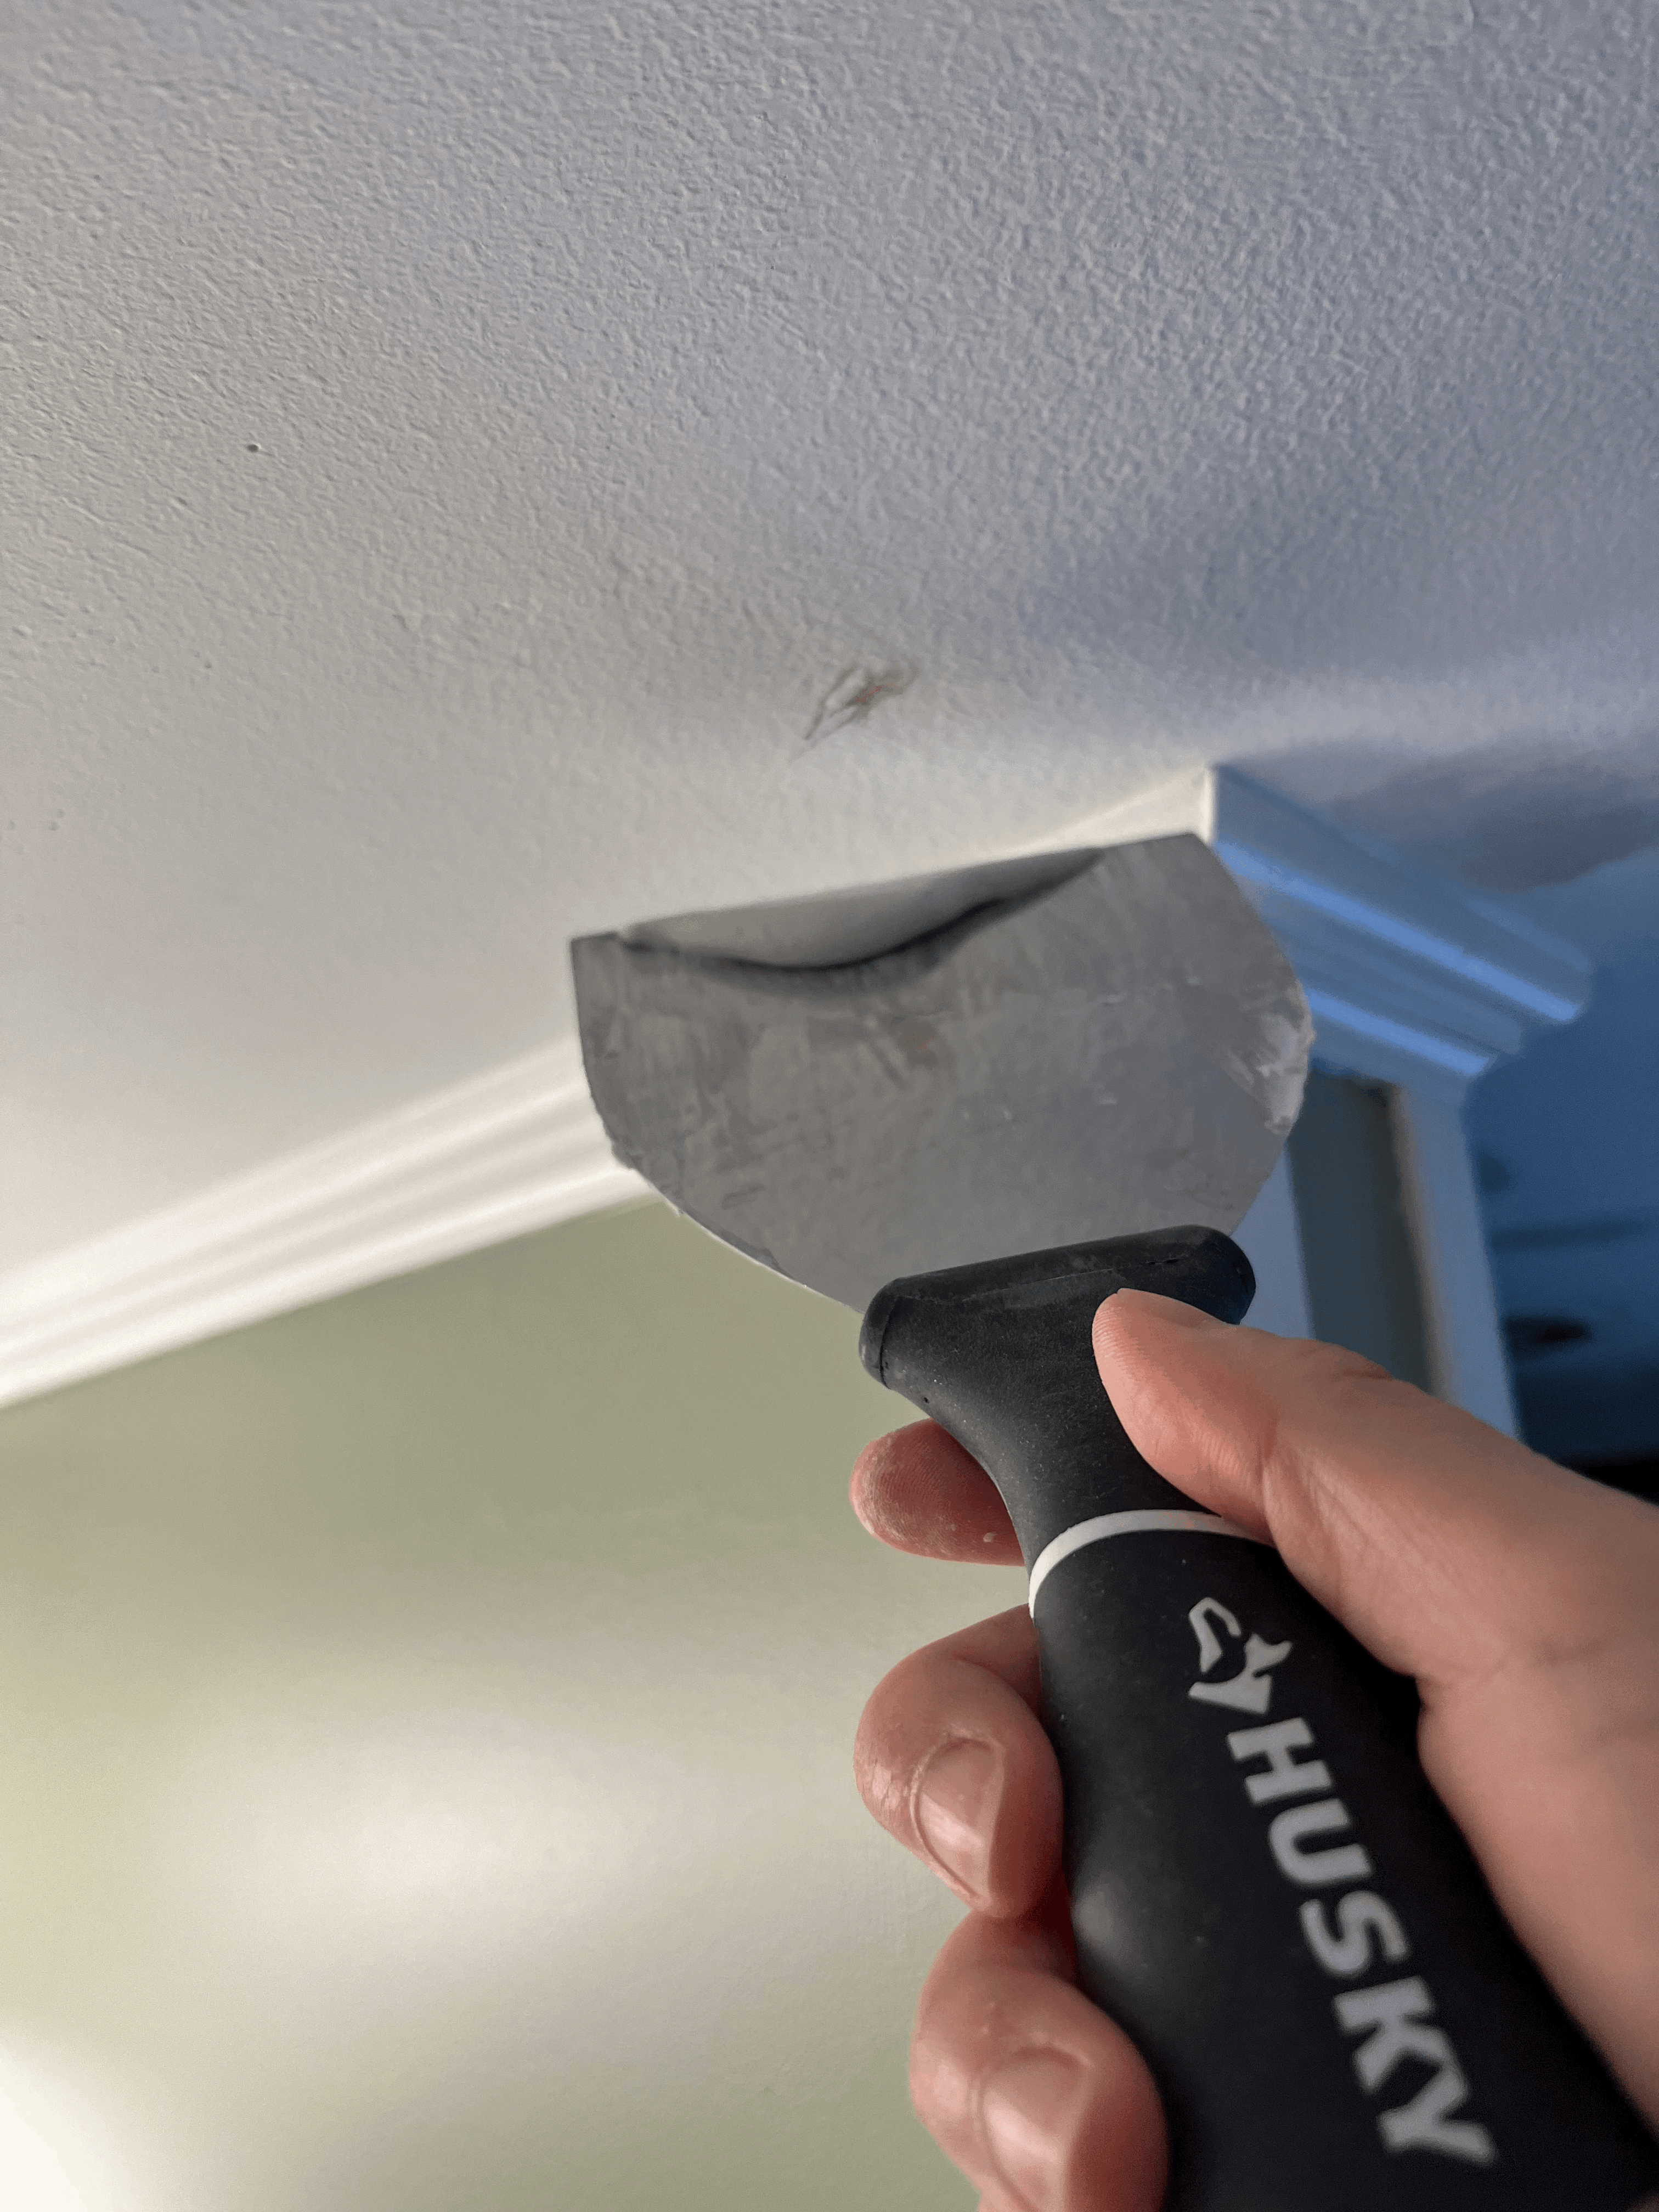
갈라짐이나 구멍의 상태에 따라 한번 더 패치를 해야하는 경우도 있지만, 나는 두번으로 끝냈다.
다만 사진에 보이는 것과 같이 한군데가 다른 곳과 달리 덜 채워져있어서 그 부분만 다시 패치를 하긴 했다.
You might need one more coat of joint compound if the cracking or peeling is larger and deeper, but I just finished after 2 coats.
However, I found a spot I missed, so I repatched that area in the picture above.
조인트 컴파운드 패치가 끝나면, 이제 프라임과 페인트 과정이 남았다.
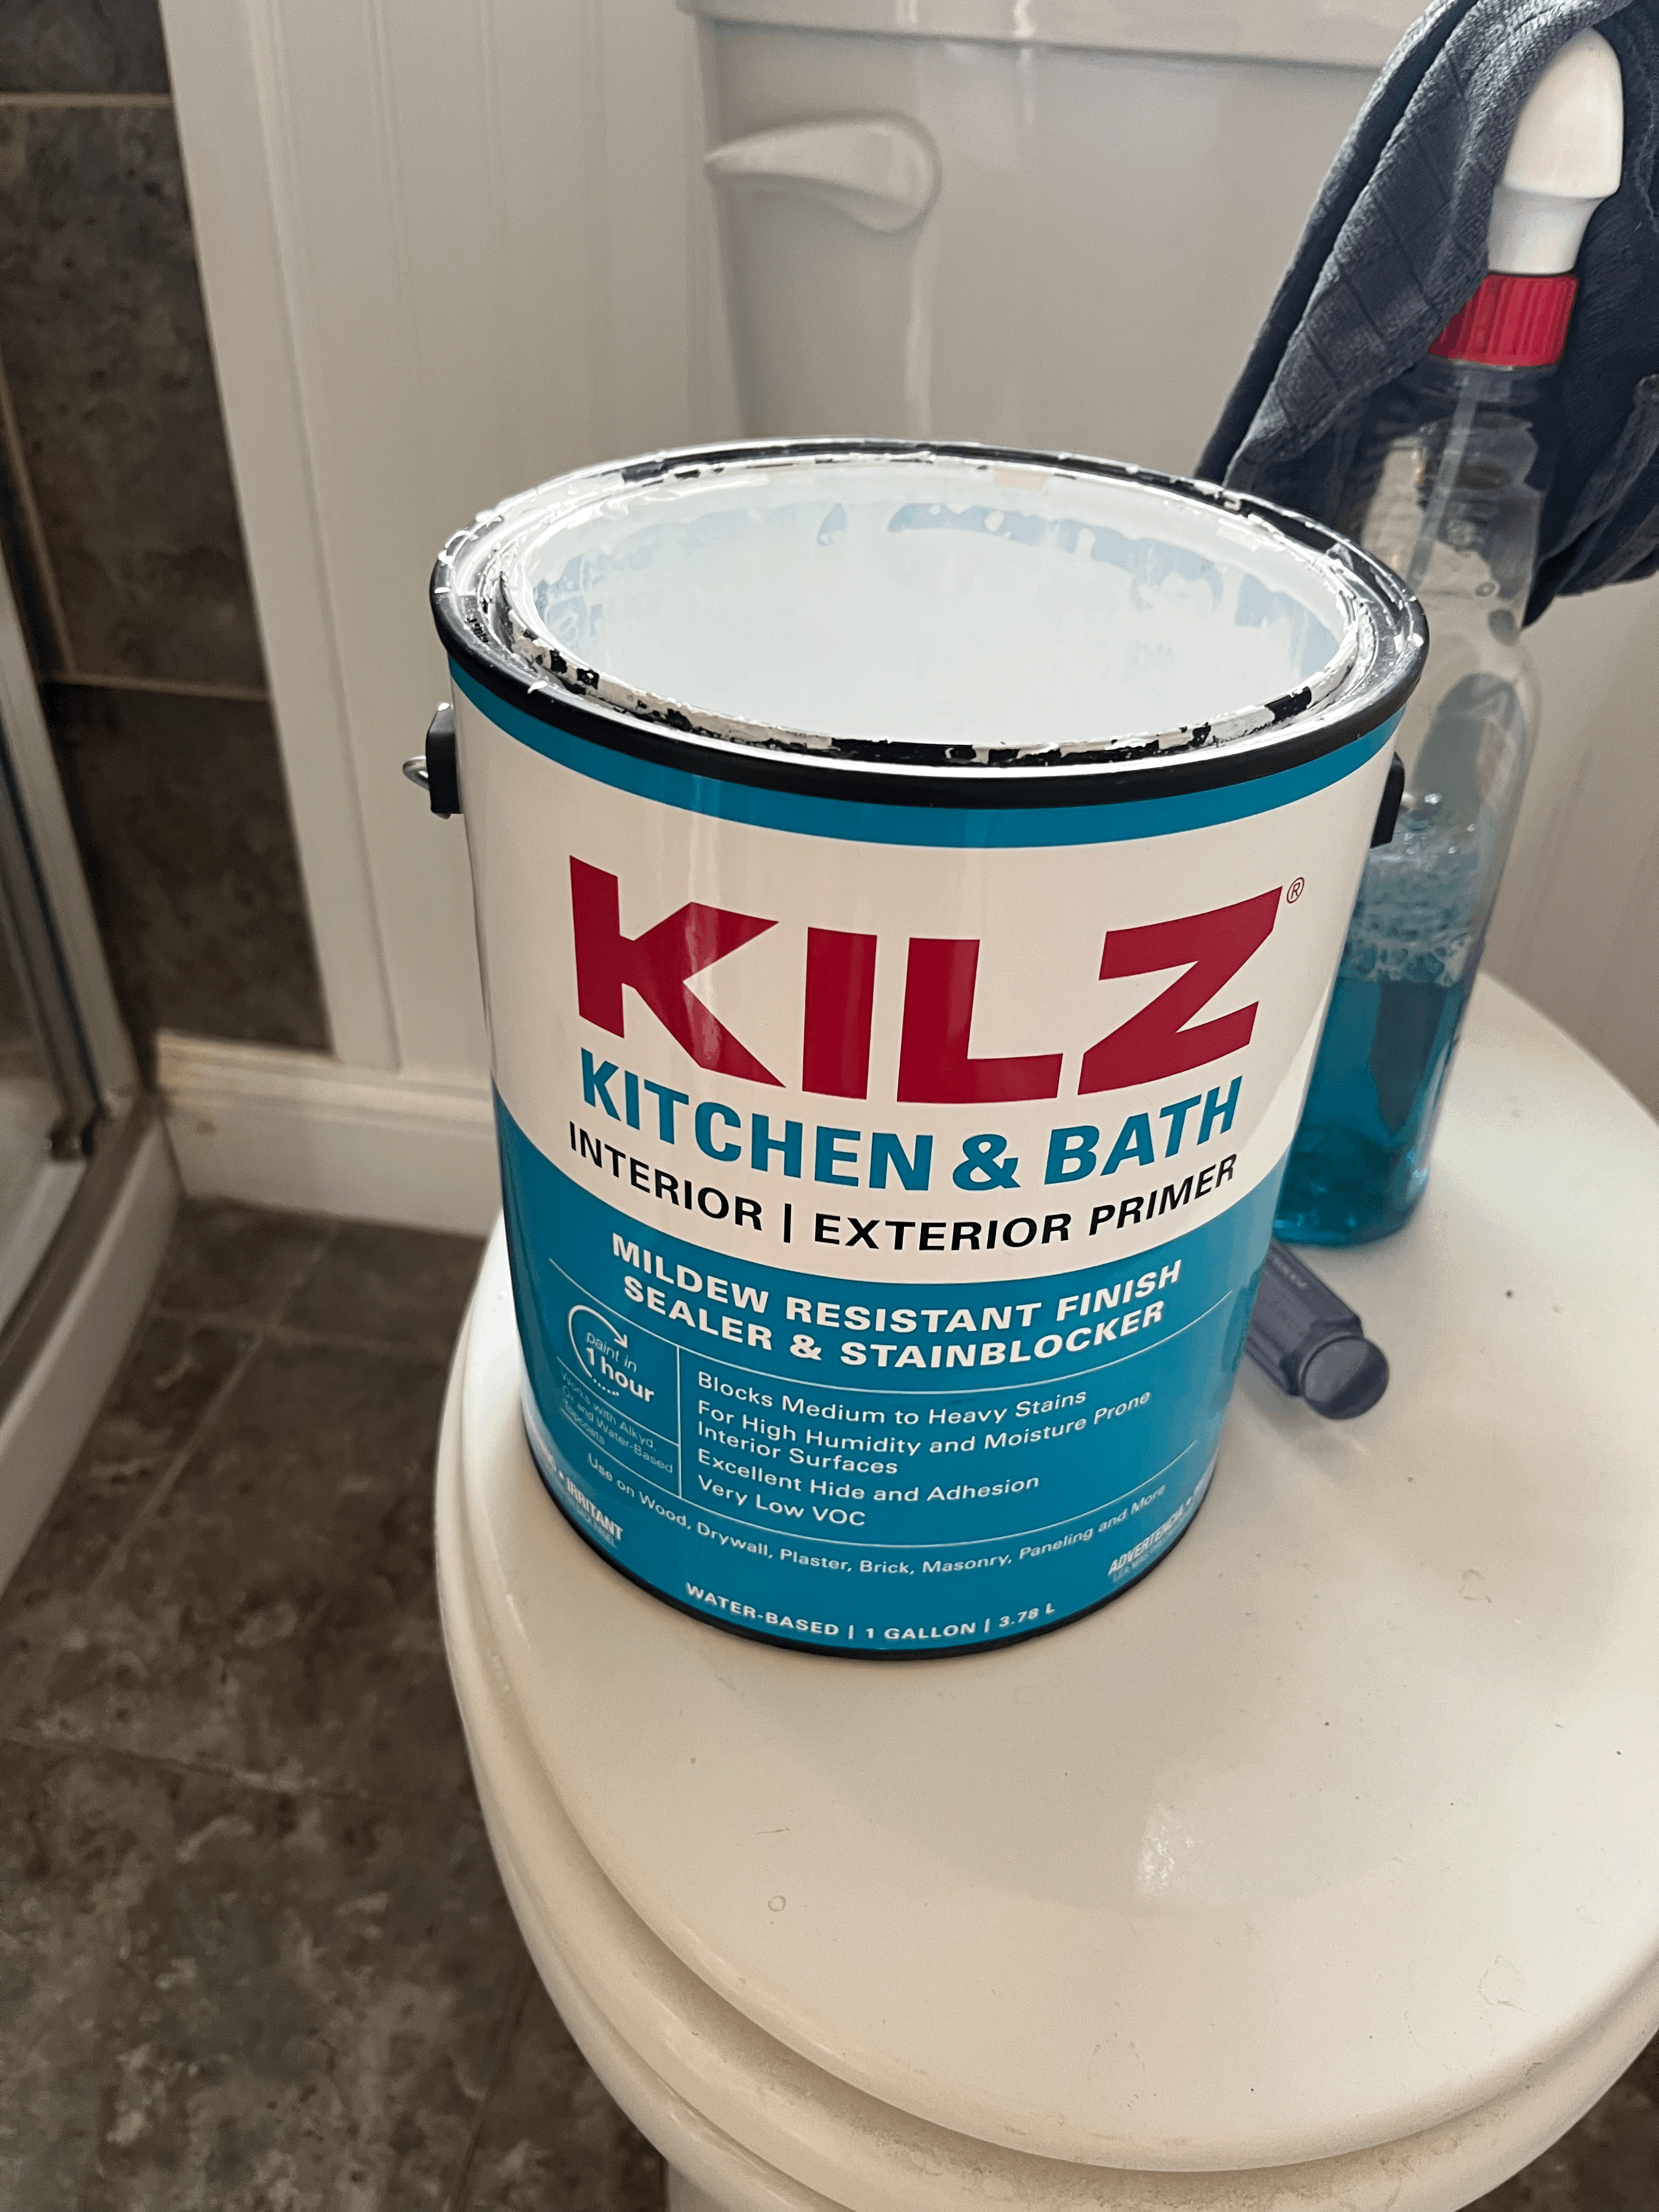
화장실이라서 특별히 습기나 곰팡이 방지에 좋은 제품을 쓰는 것이 좋다.
After patching with the joint compound, you can prime and paint.
It's always good to use a mildew resistant product, especially for the kitchen and bathroom.

천장 전체를 프라임 칠하기 전에 꼭 해야하는 것이, 패치를 한 곳에 부분적으로 프라임을 먼저 발라주는 것이다.
내 경험상, 이렇게 하지 않으면 나중에 페인트를 칠하더라도 조인트 컴파운트로 패치를 한 곳이 눈에 보인다. 천장 뿐만 아니라 벽이든 가구든 페인트하는 곳에는 같은 방법을 사용한다.
Before priming the whole ceiling, I always spot prime the areas I patched first.
If I skip this step, the area I patched might be too visible even after painting.
This method works not only for the ceiling but for walls and furniture too.
이때는 너무 프라임을 많이 묻혀서 바르지 않고, 그냥 조인트 컴파운드가 가려질 정도로만 얇게 펴발라주면 된다.
For this spot priming, you can brush the paint out thinly, just enough to cover the joint compound.
부분 프라이밍이 끝나고 나면, 전체적으로 다시 프라임을 발라주면 된다. 프라임은 총 2번 발랐다.
After the spot priming, you can prime the whole ceiling like normal priming, I did 2 coats of primer.
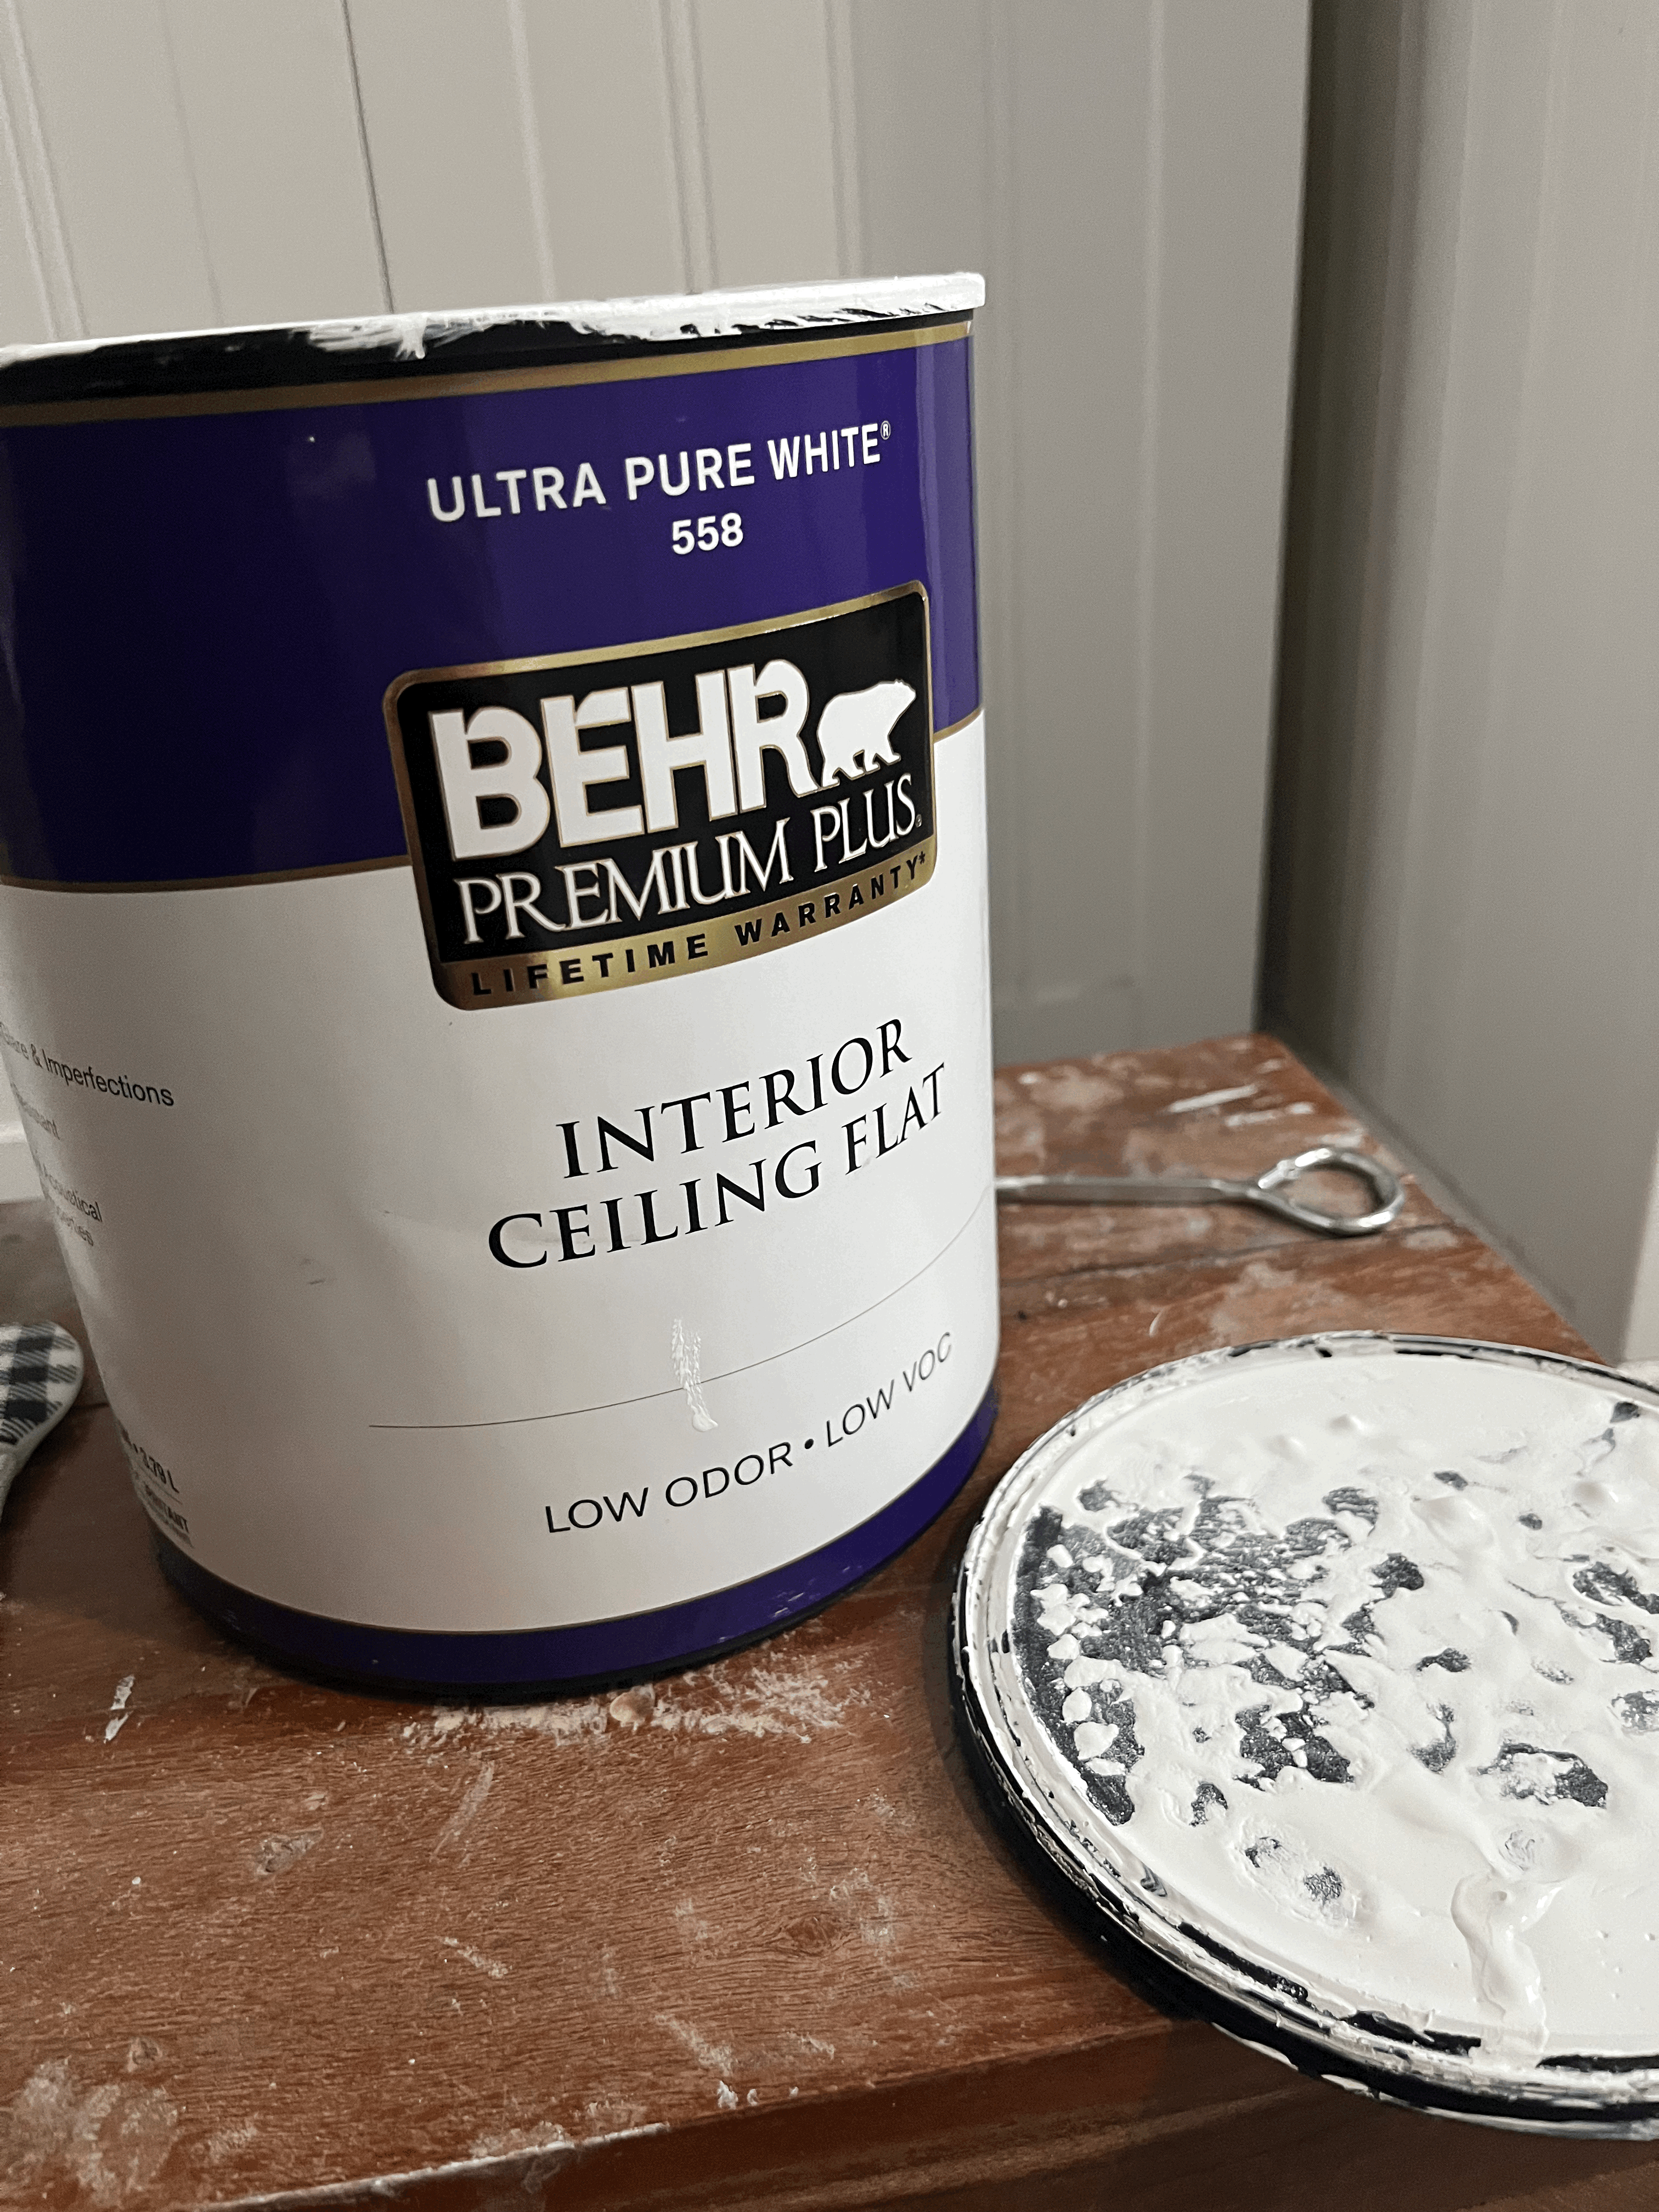
프라임 후에는 부분 페인트 없이 그냥 전체적으로 페인트 발라주면 된다.
나는 부엌에도 사용했던 BEHR 천장 페인트 제품을 사용했다.
페인트 역시 총 2번을 발랐다.
You don't have to do spot painting.
I painted the whole ceiling with 2 coats of the BEHR INTERIOR CEILING FLAT.
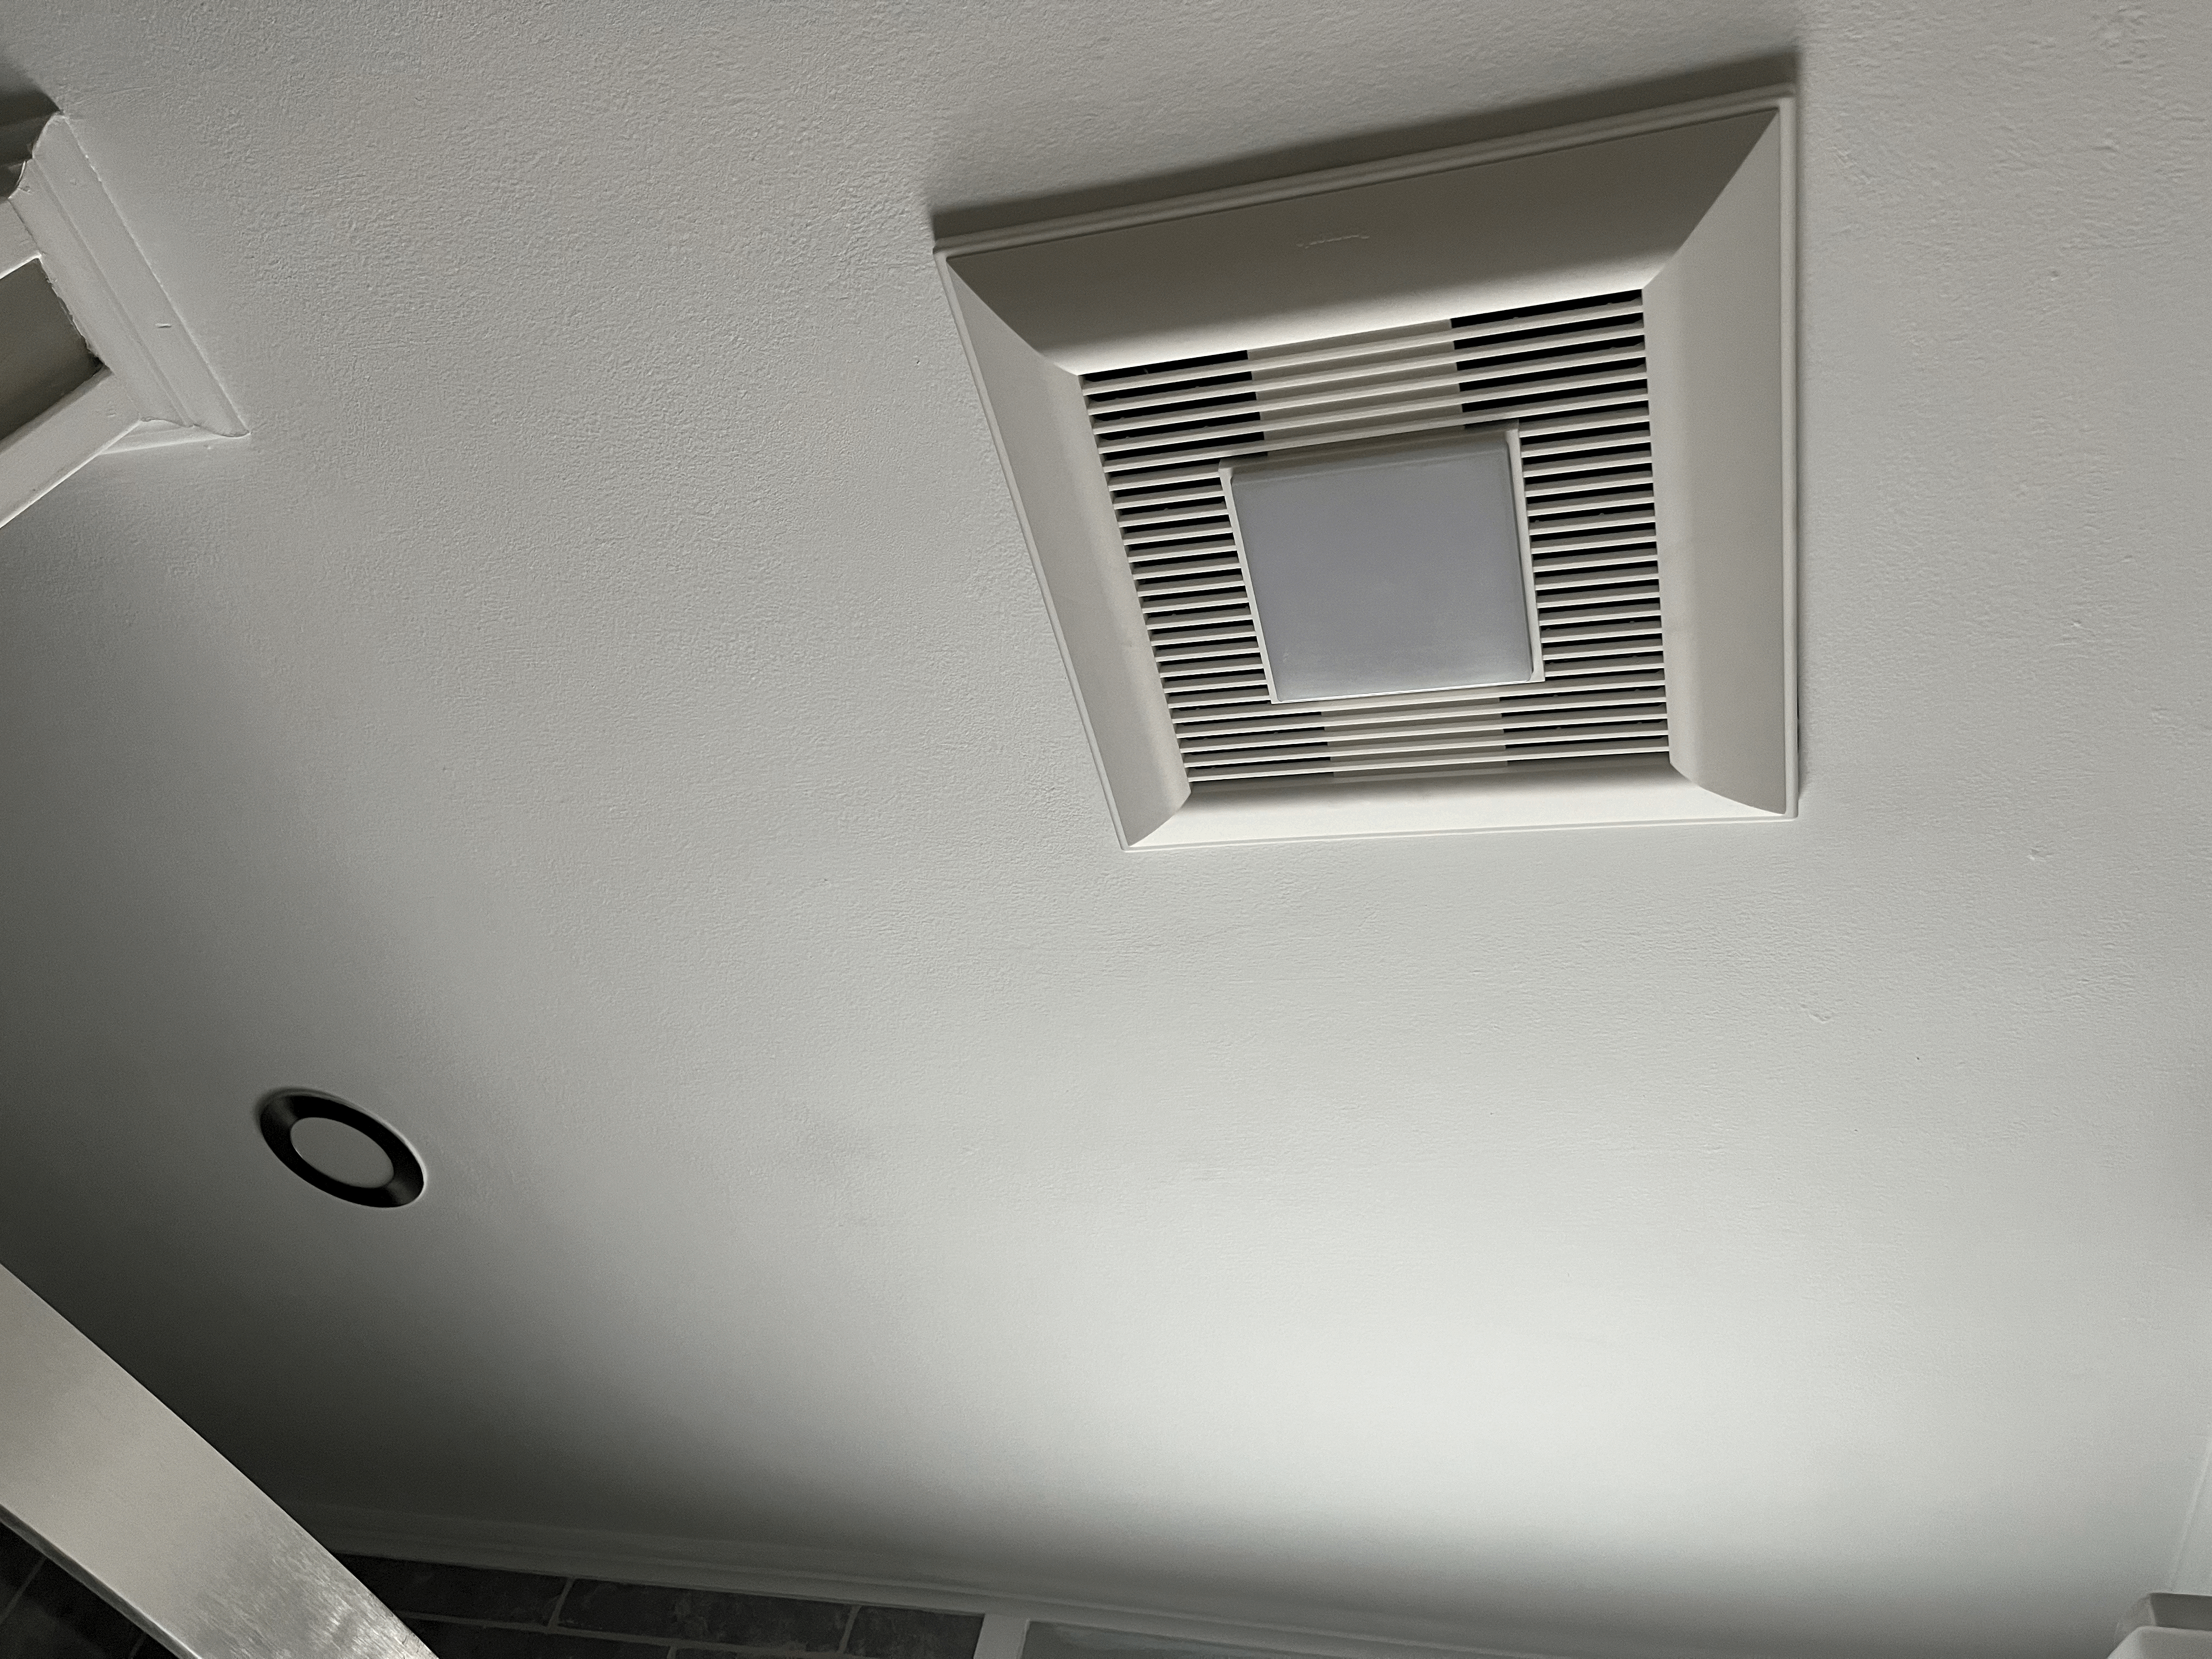
페인트가 다 마르고나서 환풍기 커버도 다시 끼워줬다. 깨끗한 천장을 보고 있으니 기분이 얼마나 상쾌한지 모른다.
After the paint dried, I put the fan cover back. It's so good to see the clean ceiling again :)