2023. 3. 14. 09:40ㆍDIY projects
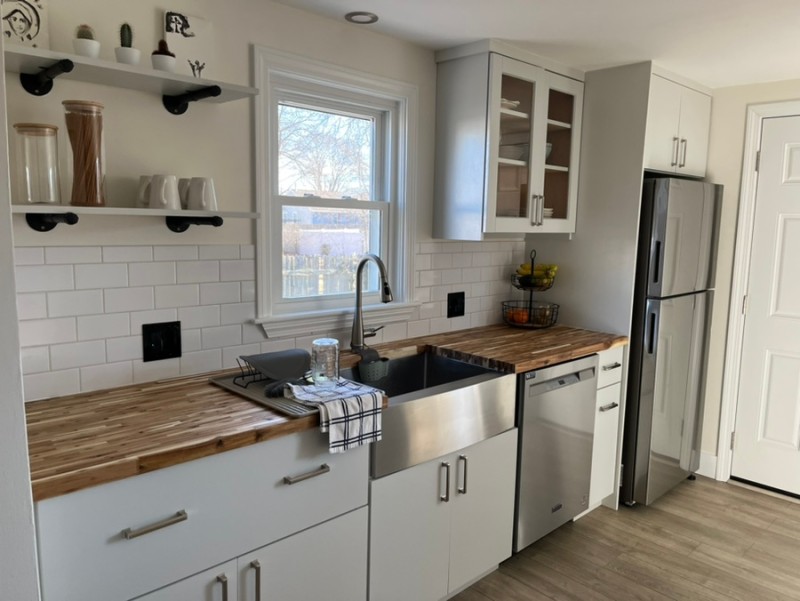
부엌 캐비넷 전체를 내 손으로 직접 제작 후, 자신감이 붙은 나는 화장실 싱크대 캐비넷도 만들기로 결정했다.
부엌에 설치하기 위해 만든 캐비넷 개수가 총 11개인데, 작은 화장실에 24인치 캐비넷 한개쯤이야.... 식은 죽 먹기다....
I decided to make a bathroom vanity because I got some confidence after building the whole kitchen for our house.
Since I made 11 cabinets for the kitchen, making one 24 inch bathroom vanity should be a piece of cake.
위 사진이 바로, 현재 공사 중인 화장실의 오래된 캐비넷 모습이다.
사실... 뭐 그냥 대충 깨끗이 닦아서 계속 쓰려면 쓸 수도 있었겠지만? 캐비넷 아래 쌓여진 쥐놈들의 흔적들을 치우기 위해서라도 어쩔 수 없이 통째로 뜯어내야 했다.
This was the old vanity in the bathroom that I started to work on.
We could've kept it, but found out there were so many mice tracks underneath just like the kitchen had.
위 공간의 가장 큰 단점은, 싱크대 캐비넷 양옆 공간이 좁은데다가 아래로는 청소기가 들어갈 공간도 없어서 뭘 떨어뜨리기라도 하면 줍기도 힘들다. 이런 점을 고안한 캐비넷을 새로 탄생시키고 싶었다. 물론 싱크대도, 수도꼭지도 굉장히 마음에 안든다.... 결국 다 마음에 들지 않는다.....
Also, I didn't like the vanity itself because it doesn't have enough space for a vaccum to get under it. Not only can you not clean easily, but also, if something falls from either side of the vanity, you can't get it. So it sould either be accesible under the vanity or have no space at all. I decided to make a vanity that has enough space under it.
뭐 아무리 캐비넷 제작하는데 도가 텄어도 하루만에 뚝딱 만들기는 어렵다.
재료도 새로 사야할 것들이 있고, 나무도 잘라야하고, 페인트 작업까지 해야하니 말이다.
Anyway, I had to plan and prepare what I needed before actually making the vanity.
일단, 싱크대는 무조건 세라믹으로 하고 싶었다. 게다가 물 튀김을 방지할 수 있는 백스플래쉬의 모양이 잡혀있는 걸 원했다. 그러면 싱크대 뒤에 따로 타일을 설치하지 않아도 되니 말이다. 근데 의외로 이걸 찾기가 어려웠다.
I wanted the vanity top to be ceramic. I also wanted the sink to have an integrated backsplash, so I wouldn't have to install backsplash separately on the wall. However, it was hard to find that specific one!!
그나마 IKEA에 가보니 보이길래 구매하고 싶었지만, 전용 배수관을 사용해야한다는 점이 마음에 들지 않아 포기했다.
I found one at IKEA, but it looked like it needed its own drain kit. I didn't want to change the whole drain pipe because of the IKEA sink, so I couldn't buy that one.
결국 그냥 일반 모양의 세라믹 싱크대를 사서, 뒤에 백스플래쉬 타일을 설치하기로 했다.
I ended up with a regular ceramic sink and decided to install backsplash tiles behind it.

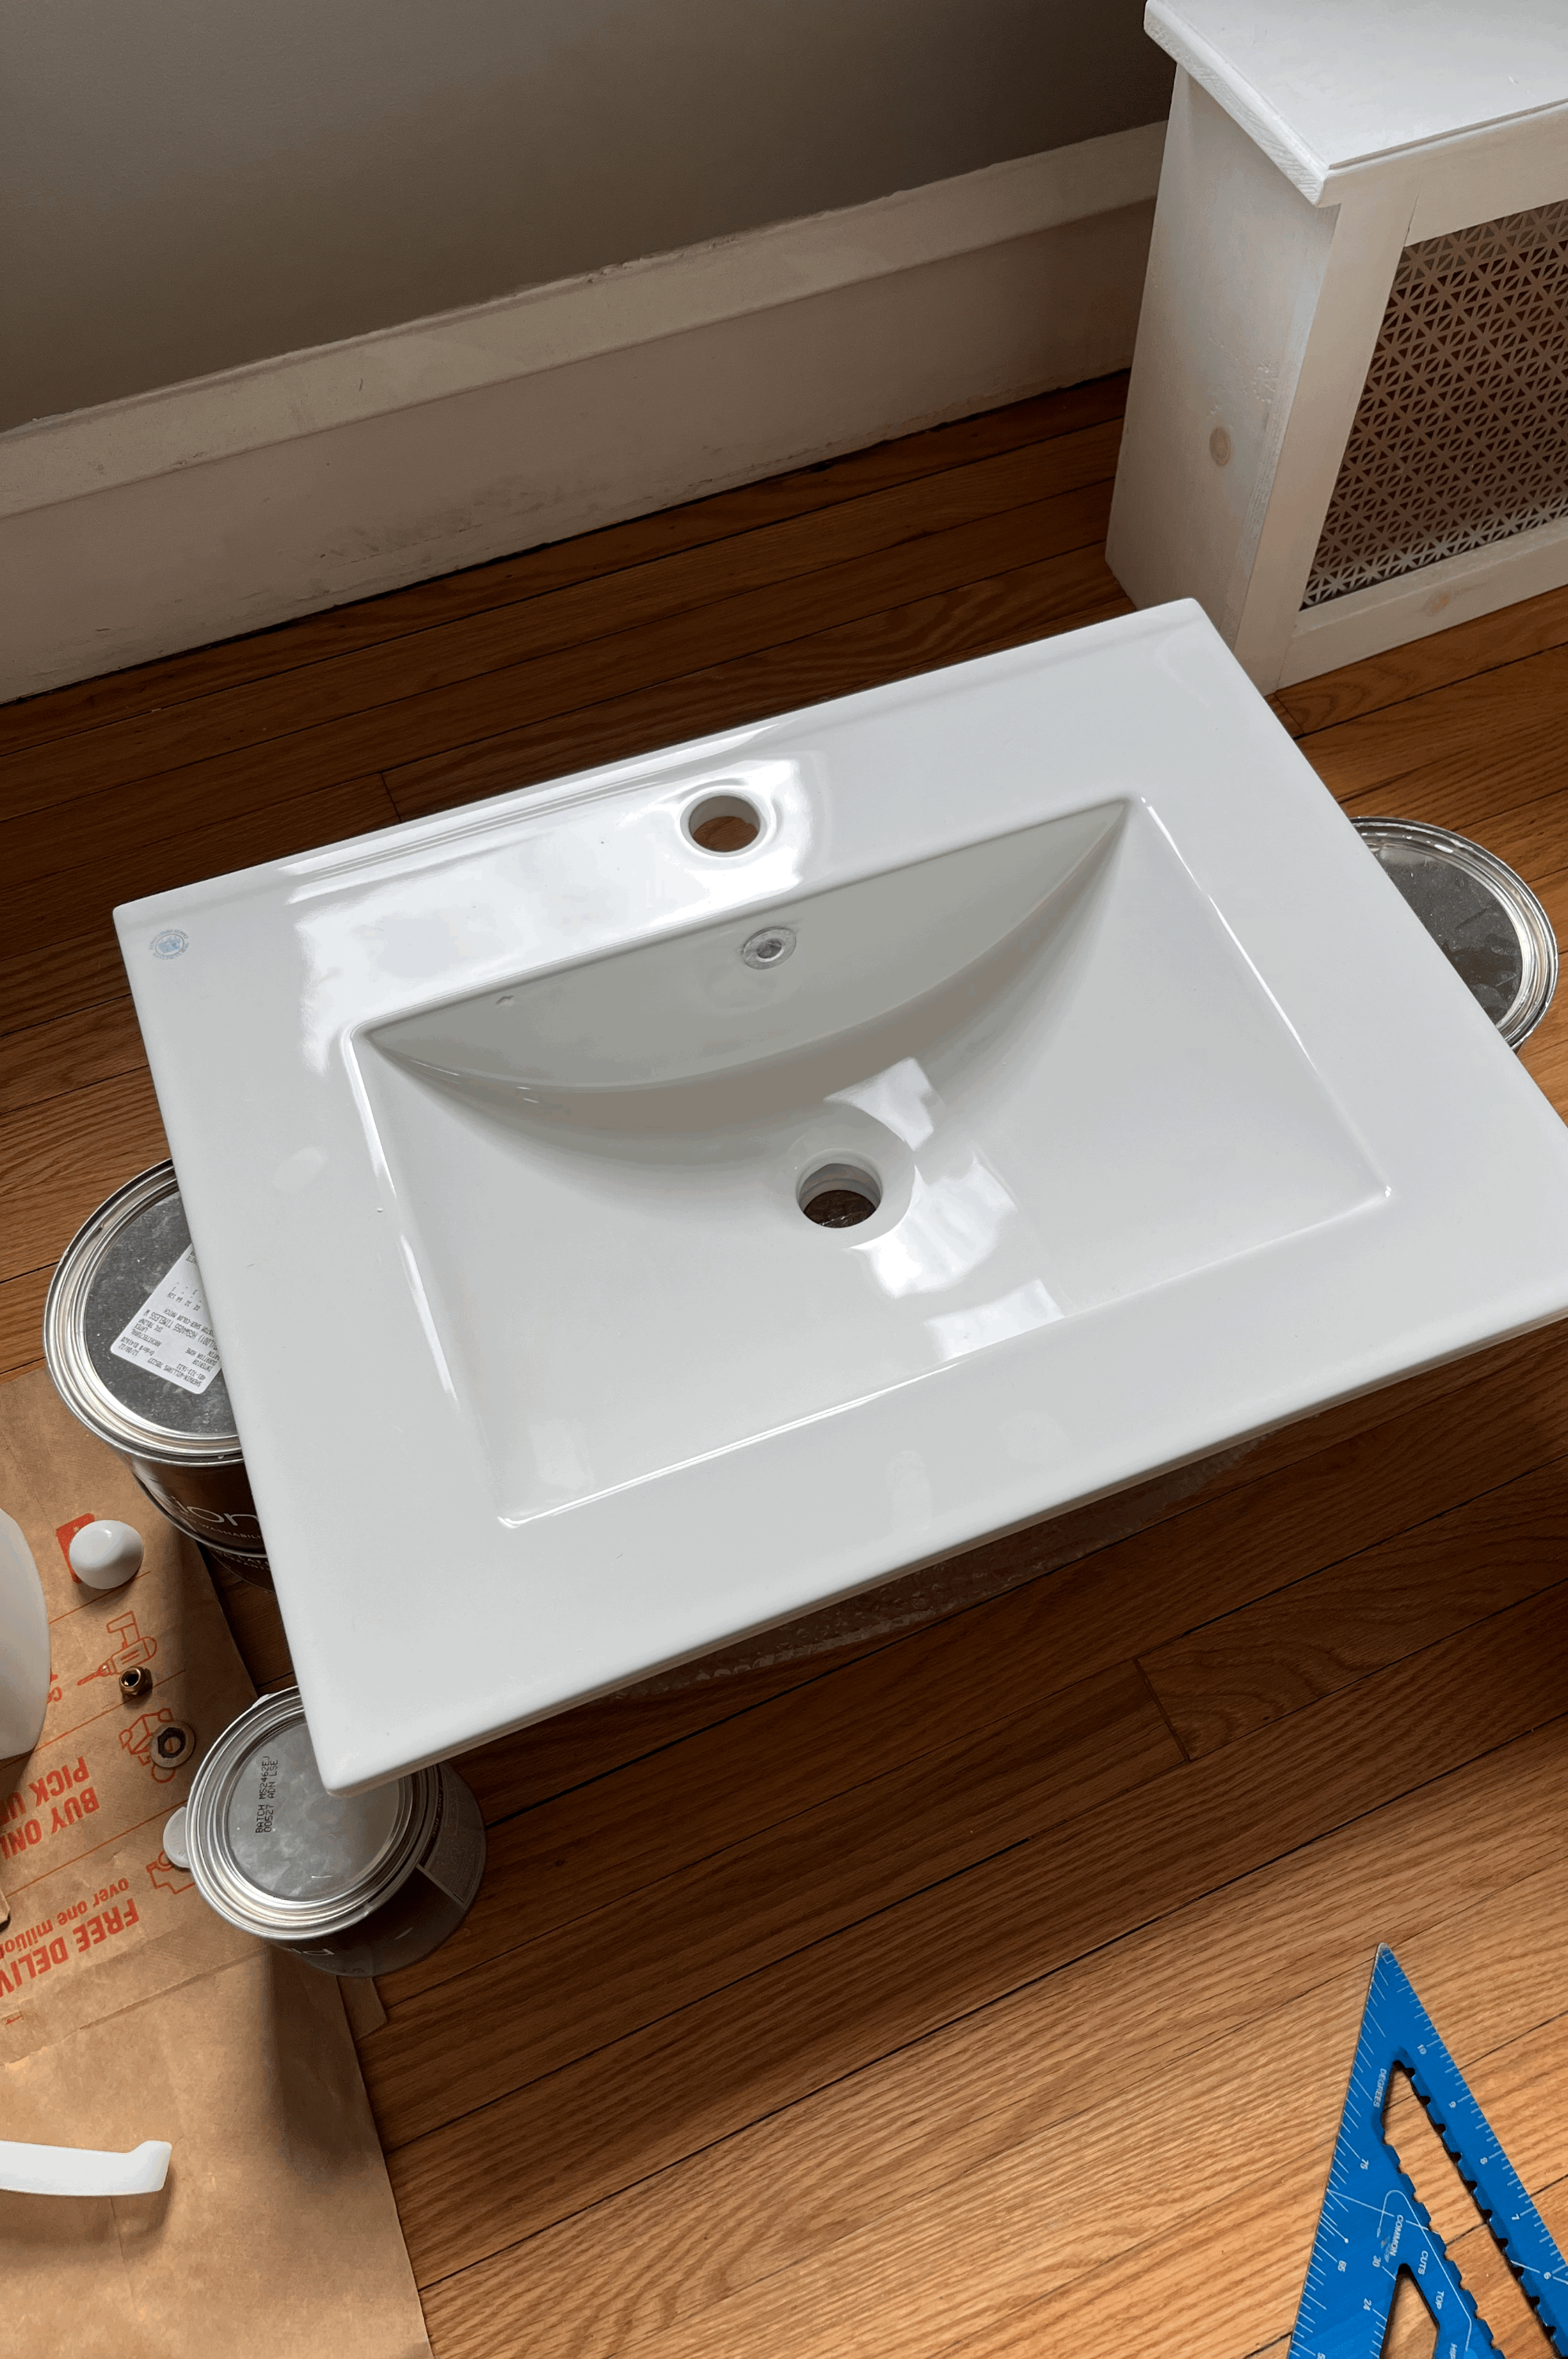
그렇게 해서 구입한 세라믹 싱크대가 이것이다.
https://www.amazon.com/dp/B00AIIE4SS?ref=ppx_yo2ov_dt_b_product_details&th=1
Amazon.com
Enter the characters you see below Sorry, we just need to make sure you're not a robot. For best results, please make sure your browser is accepting cookies.
www.amazon.com
아마존에서 $169.99에 판매하고 있는데, 사실 24인치 세라믹 싱크대 치고는 싼 편은 아니다.
$100 안되는 것들도 있었는데 전반적인 평은 좋아도, 배수구 연결하는 구멍이 부드럽지 않다는 평이 많길래 패스했다.
근데 약간 걸리는 점는 overflow cover가 크롬이라는 것...
나는 brushed nickel 수도꼭지를 사려고 했는데 저 overflow cover가 크롬이라서 수도꼭지도 크롬으로 맞춰야했다. 저 overflow 구멍이 안보이는 곳에 있었다면 상관없었겠지만 말이다. 물론 수도꼭지랑 overflow cover의 피니쉬가 좀 다르다고 큰일나는 건 아니지만, 그래도... 싱크대 한 곳에 여러가지의 피니쉬가 섞여있는 건 싫었다.
I got one for $169.99 from Amazon, but it's not cheap for a 24 inch ceramic sink.
I've found some for less than $100, but there were some negative reviews pertaining to a defective drain hole. So I went for a safer one.
What I bought is fine overall except that it has a chrome overflow cover.
I wanted to have a brushed nickel faucet, but I don't like it with the chrome overflow cover. It wouldn't have mattered if the overflow hole was located in the front of the sink basin where it is not visible.
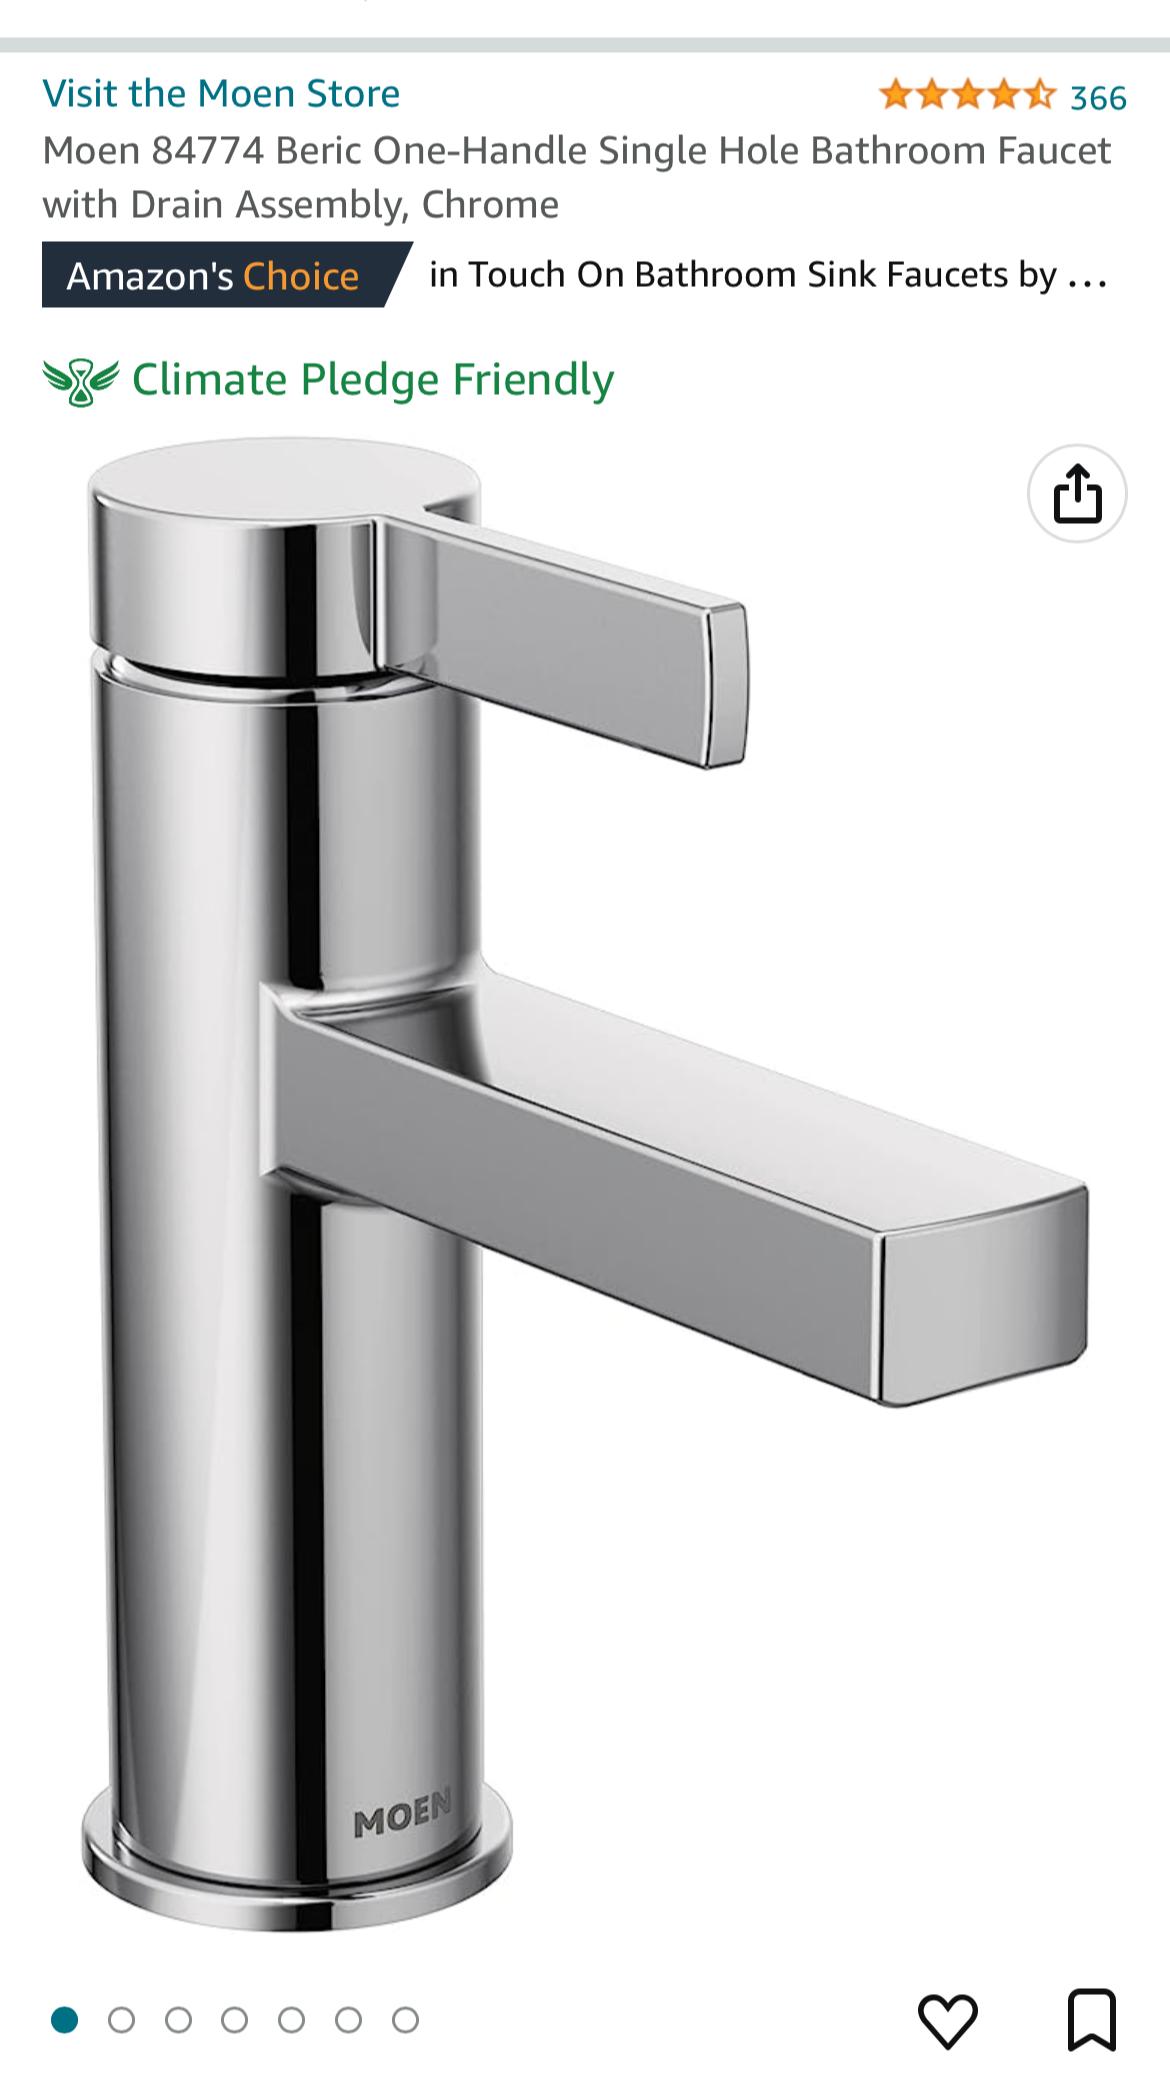
어쨌든 그에 맞추기 위해 크롬 수도꼭지도 구입했다.
부엌에 쓸 수도꼭지도 MOEN 제품으로 샀는데 꽤 괜찮아서 화장실 수도꼭지도 MOEN 제품으로 결정했다.
Anyway, I bought a chrome faucet to match the overflow cover.
I have a MOEN faucet in the kitchen and I like it. So I got another MOEN for the bathroom sink.
https://www.amazon.com/gp/product/B07RLJ1K44/ref=ppx_yo_dt_b_asin_image_o01_s00?ie=UTF8&psc=1
Moen 84774 Beric One-Handle Single Hole Bathroom Faucet with Drain Assembly, Chrome
Shows what's inside. Item often ships in manufacturer container to reduce packaging. To hide what's inside, choose Ship in Amazon packaging at checkout.
www.amazon.com
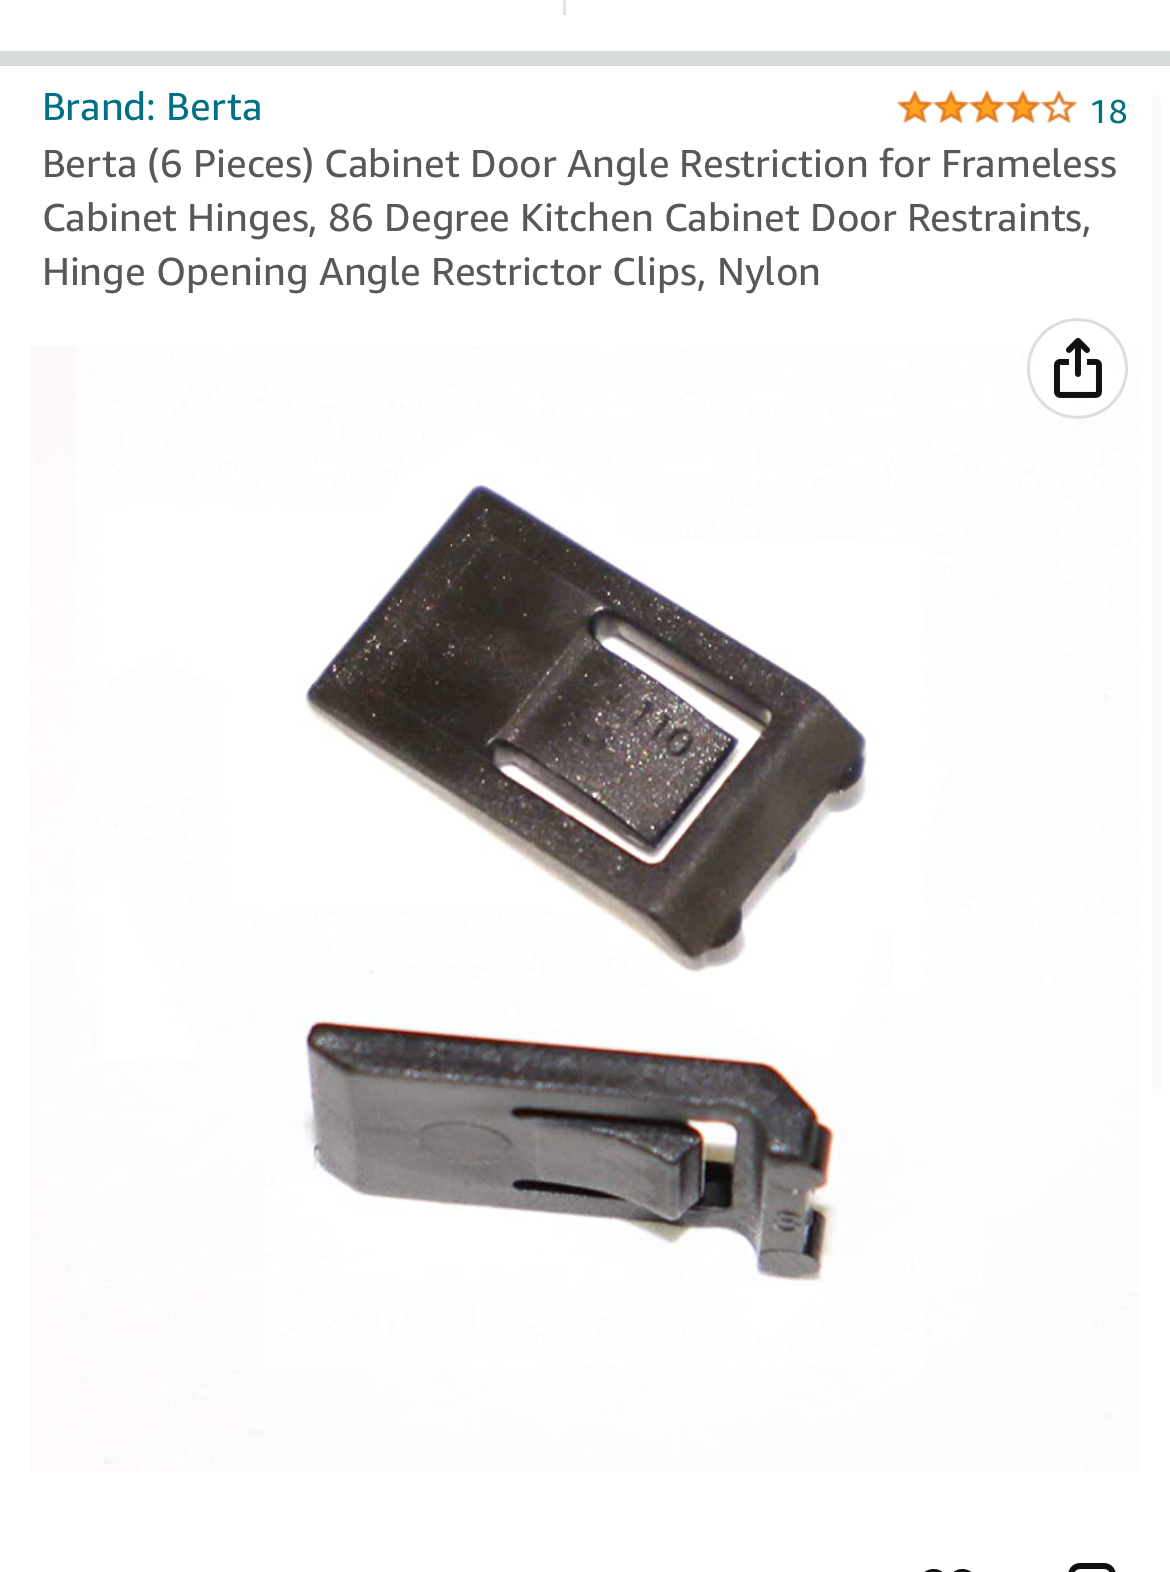
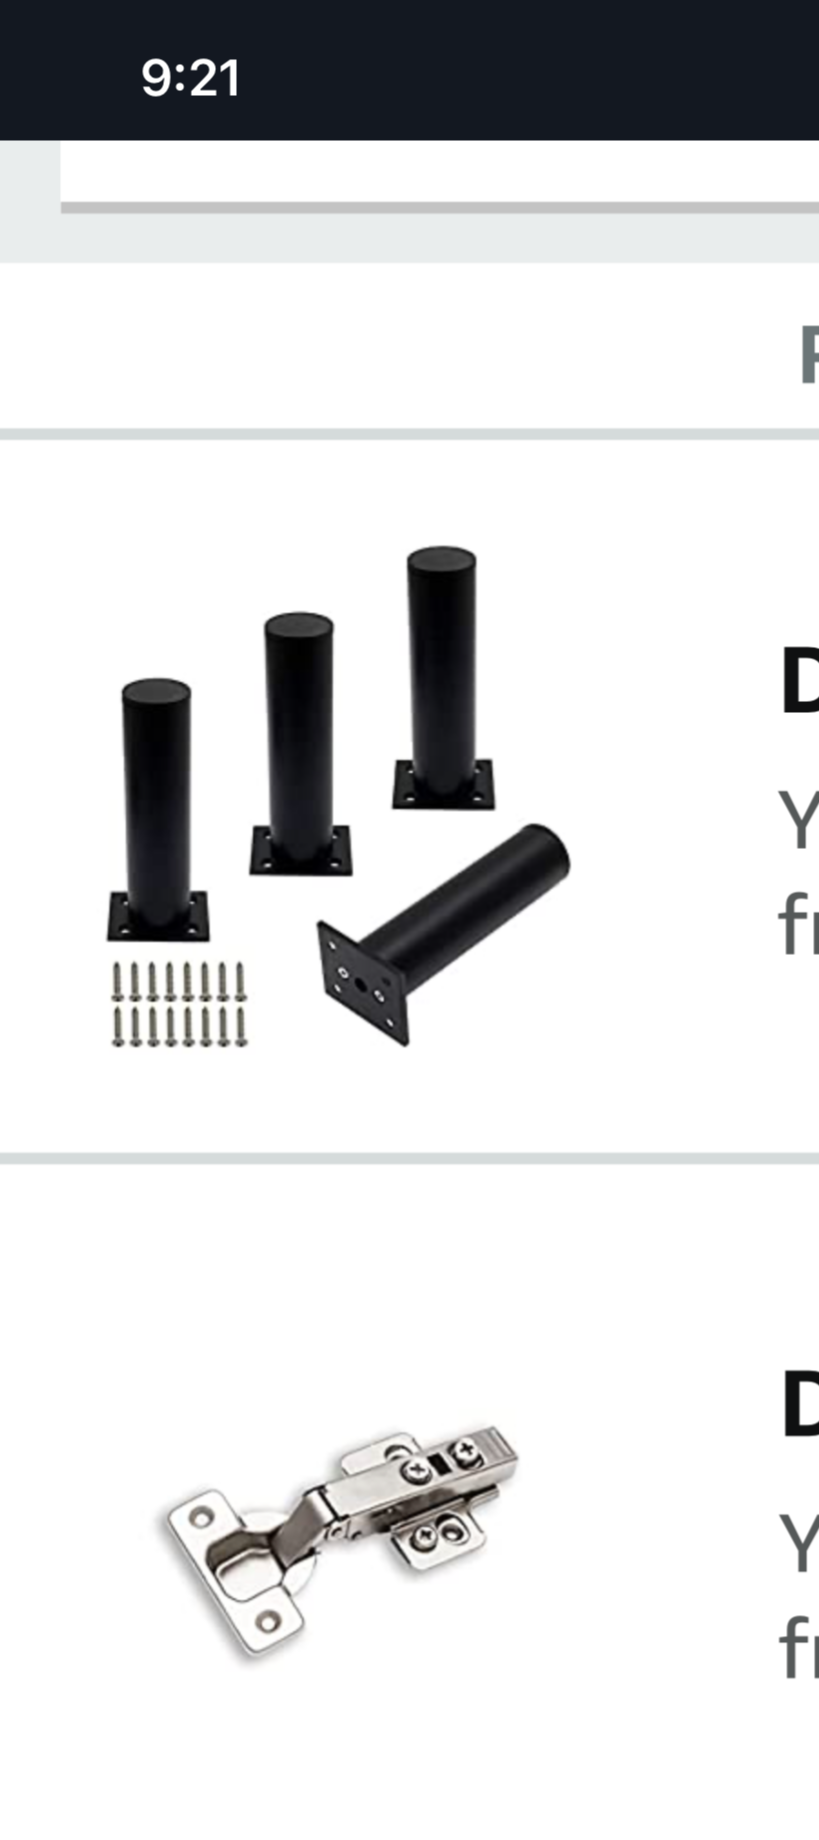
그리고, 캐비넷 도어 힌지와 도어 앵글을 제한시킬 수 있는 클립, 높이를 조절할 수 있는 다리까지 구입했다.
도어 힌지와 클립 역시 부엌 캐비넷을 만들 때 사용했던 같은 Berta 제품으로 샀다.
I got some door hinges, door angle restrictions, and adjustable legs too.
The door hinges and angle restriction are from Berta which I used on the kitchen cabinets.
싱크대 위에 달린 메디슨 캐비넷과 캐비넷 다리가 검은색이라서 캐비넷 손잡이도 검은색으로 맞췄다.
Since I have a black medicine cabinet and cabinet legs, I got a couple of black cabinet door knobs to match the color.
캐비넷 제작시 사용할 나무는 부엌 캐비넷을 만들고 남은 나무 합판을 활용하기로 했다.
어차피 하나 만드는 것이기도 했고 사이즈가 작았기 때문에 나무가 많이 필요하지도 않았다. 이것 덕분에 $100 정도는 아꼈다. 24인치 vanity 만들려면 최소 plywood 4 * 8 한장은 필요하고 이걸 집으로 싣고 오로면 트럭까지 렌트해야하는데 이걸 따로 구매하지 않았으니 말이다.
I decided to use some left-over plywood from the kitchen cabinet project to make the vanity cabinet and doors.
I don't need a lot of wood since I'm only going to make one vanity. Thanks to this, I can save at least $100.
가장 중요한 페인트!!!
부엌 캐비넷은 벤자민 무어 어드밴스를 사용했는데, 이번에는 셜윈 윌리엄즈의 에메랄드를 사용해보기로 했다.
벤자민 무어 어드밴스가 좋다고 소문이 자자했기에 나도 사용해봤었는데.... 지금 생각해보니 의외로 별로다.
페인트를 바르기에는 참 좋다. 레벨링이 너무 잘되니 말이다. 근데 말리는 시간, 예상과 다르게 잘 까지고 벗겨지는 문제점으로 인해 이번에 갈아타보기로 했다.
색상은 Rhinestone이다. 이거는 싱크대 뒤에 들어갈 백스플래쉬 타일과 색깔을 최대한 비슷하게 맞춘 것이다.
The most important thing is the paint.
I used Benjamin Moore Advance on the kitchen cabinets, but decided to use Sherwin Williams Emerald this time.
Since almost everyone said Advance is really good, I tried it for the kitchen cabinets but I didn't like the result that much.
Advance is really good to apply because it levels so well. However the drying time is too long, it comes off easier than I expected. So I wanted to try a different one.
The color I chose is SW Rhinestone. It's a similiar color with the backsplash tile I got for the bathroom.
이제 화장실이 준비될 동안, 캐비넷도 천천히 제작만 하면 된다.
화장실은 현재, 천장만 끝내놓은 상태인데.. 벽도 새로 페인트해야 하고, 바닥에 부서진 타일도 교체해야 캐비넷을 들일 수가 있다.
I'm planning on making the vanity while I'm finishg the bathroom at the same time.
I only finished the ceiling of the bathroom and now I have to paint the wall, replace some broken floor tiles, and then I can install the vanity.
부엌도 혼자 해냈으니 화장실도 잘 해낼 수 있으리라 믿어본다...
Since I finished our kitchen by myself, I'm sure I can do for the bathroom too.