2023. 8. 16. 23:01ㆍDIY projects
After setting up the bathroom with the new stuff, I wanted to install the ceiling light first.
Originally the bathroom had a wall mounted light fixture and vent fan on the ceiling. I removed both of them and decided to have just one ceiling light. I thought the bathroom didn't need a vent since it doesn't have a shower and didn't have enough space for the wall mounted light becasue I wanted to have a bigger mirror than the original one. (Also the original light fixture wasn't even installed correctly becuase it was just hung on the wall without a junction box.)
(Check out the first episode by clicking the link below ↓)
DIY Attic Small Half Bathroom Renovation 1. From Demolition To Painting
This time, I'd like to share my half bathroom renovation process. I have 2 bed rooms, 1 half bathroom, and 1 extra closet on the second floor. Out of all the second floor projects, I finished the bathroom first. This is the picture of the original bathroom
akoreaninamerica.tistory.com

Since the ceiling is not that high(The whole second floor height is about 83 inches from the finished floor to the finished ceiling), I needed a low profile light fixture like a flush mount or recessed one.
Also, it had to be gold finish because the bathroom's color theme that I planned was white and gold.
It was hard to find a gold finished(specifically I wanted to have brushed brass) recessed light.
So a recessed one was not an option anymore.
Out of so many flush mount ceiling lights, I found this one on Amazon.
https://www.amazon.com/dp/B09Y4Y2DK4?ref=ppx_yo2ov_dt_b_product_details&th=1
Amazon.com
Enter the characters you see below Sorry, we just need to make sure you're not a robot. For best results, please make sure your browser is accepting cookies.
www.amazon.com
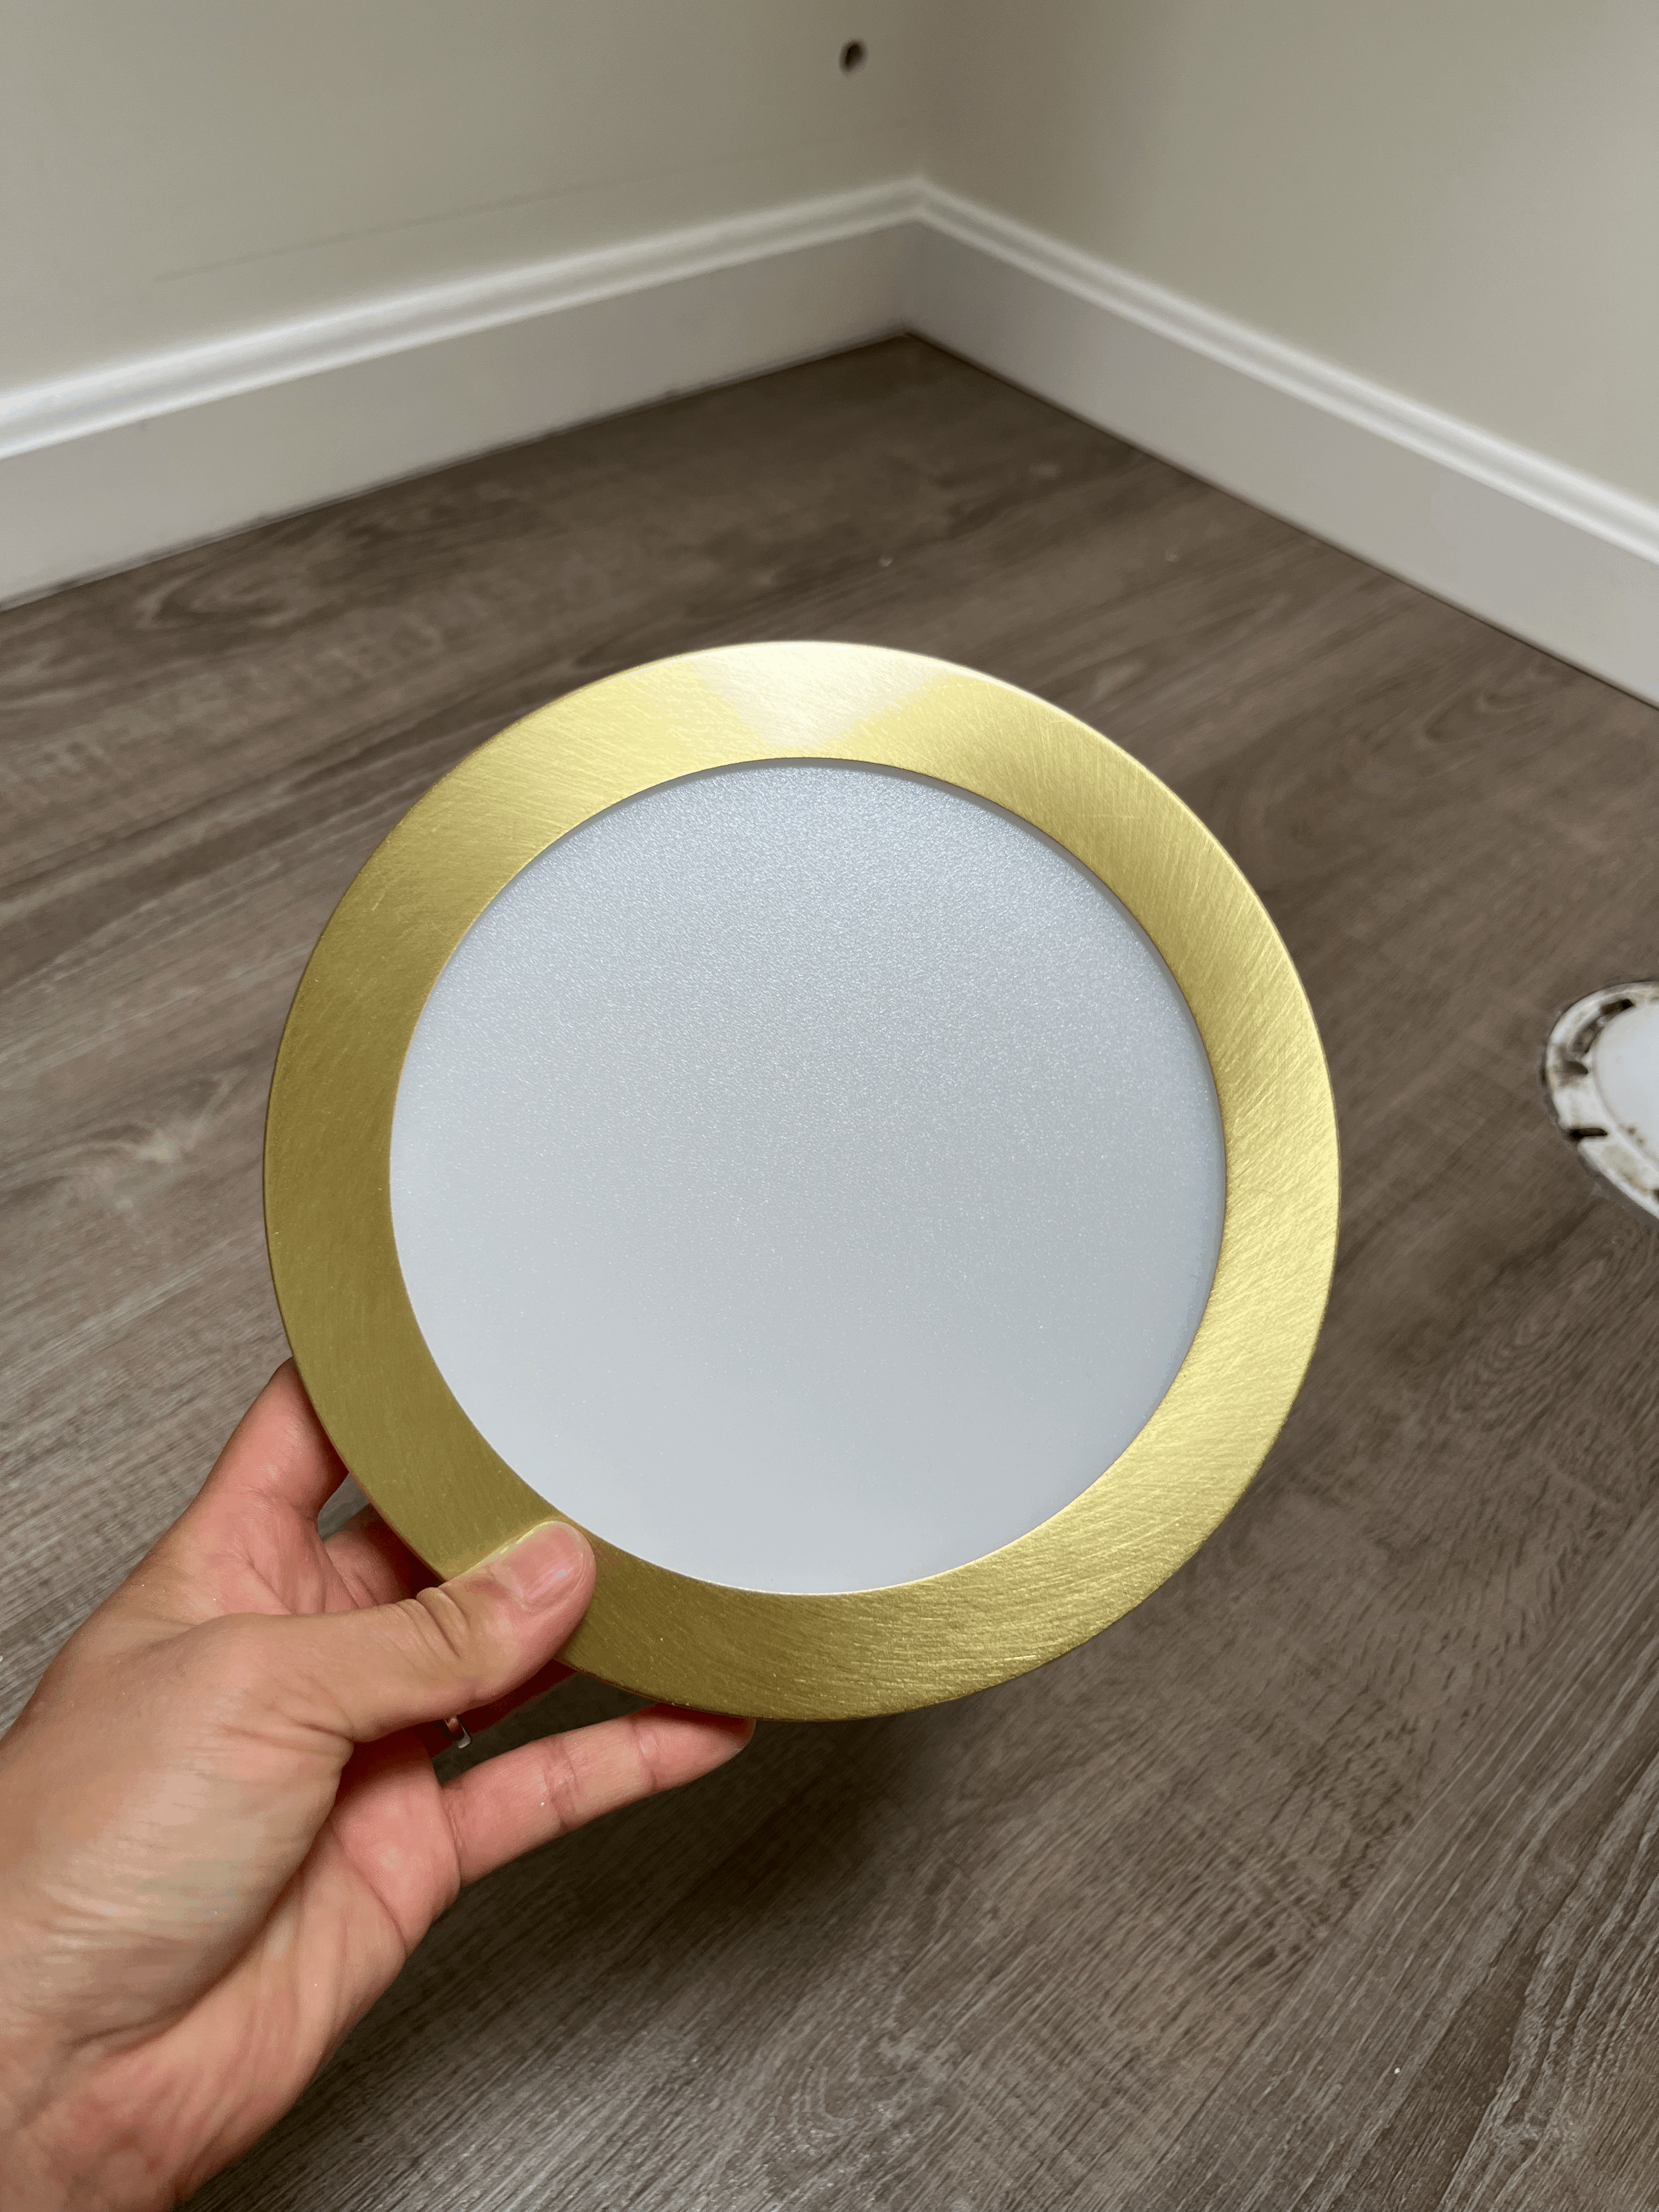
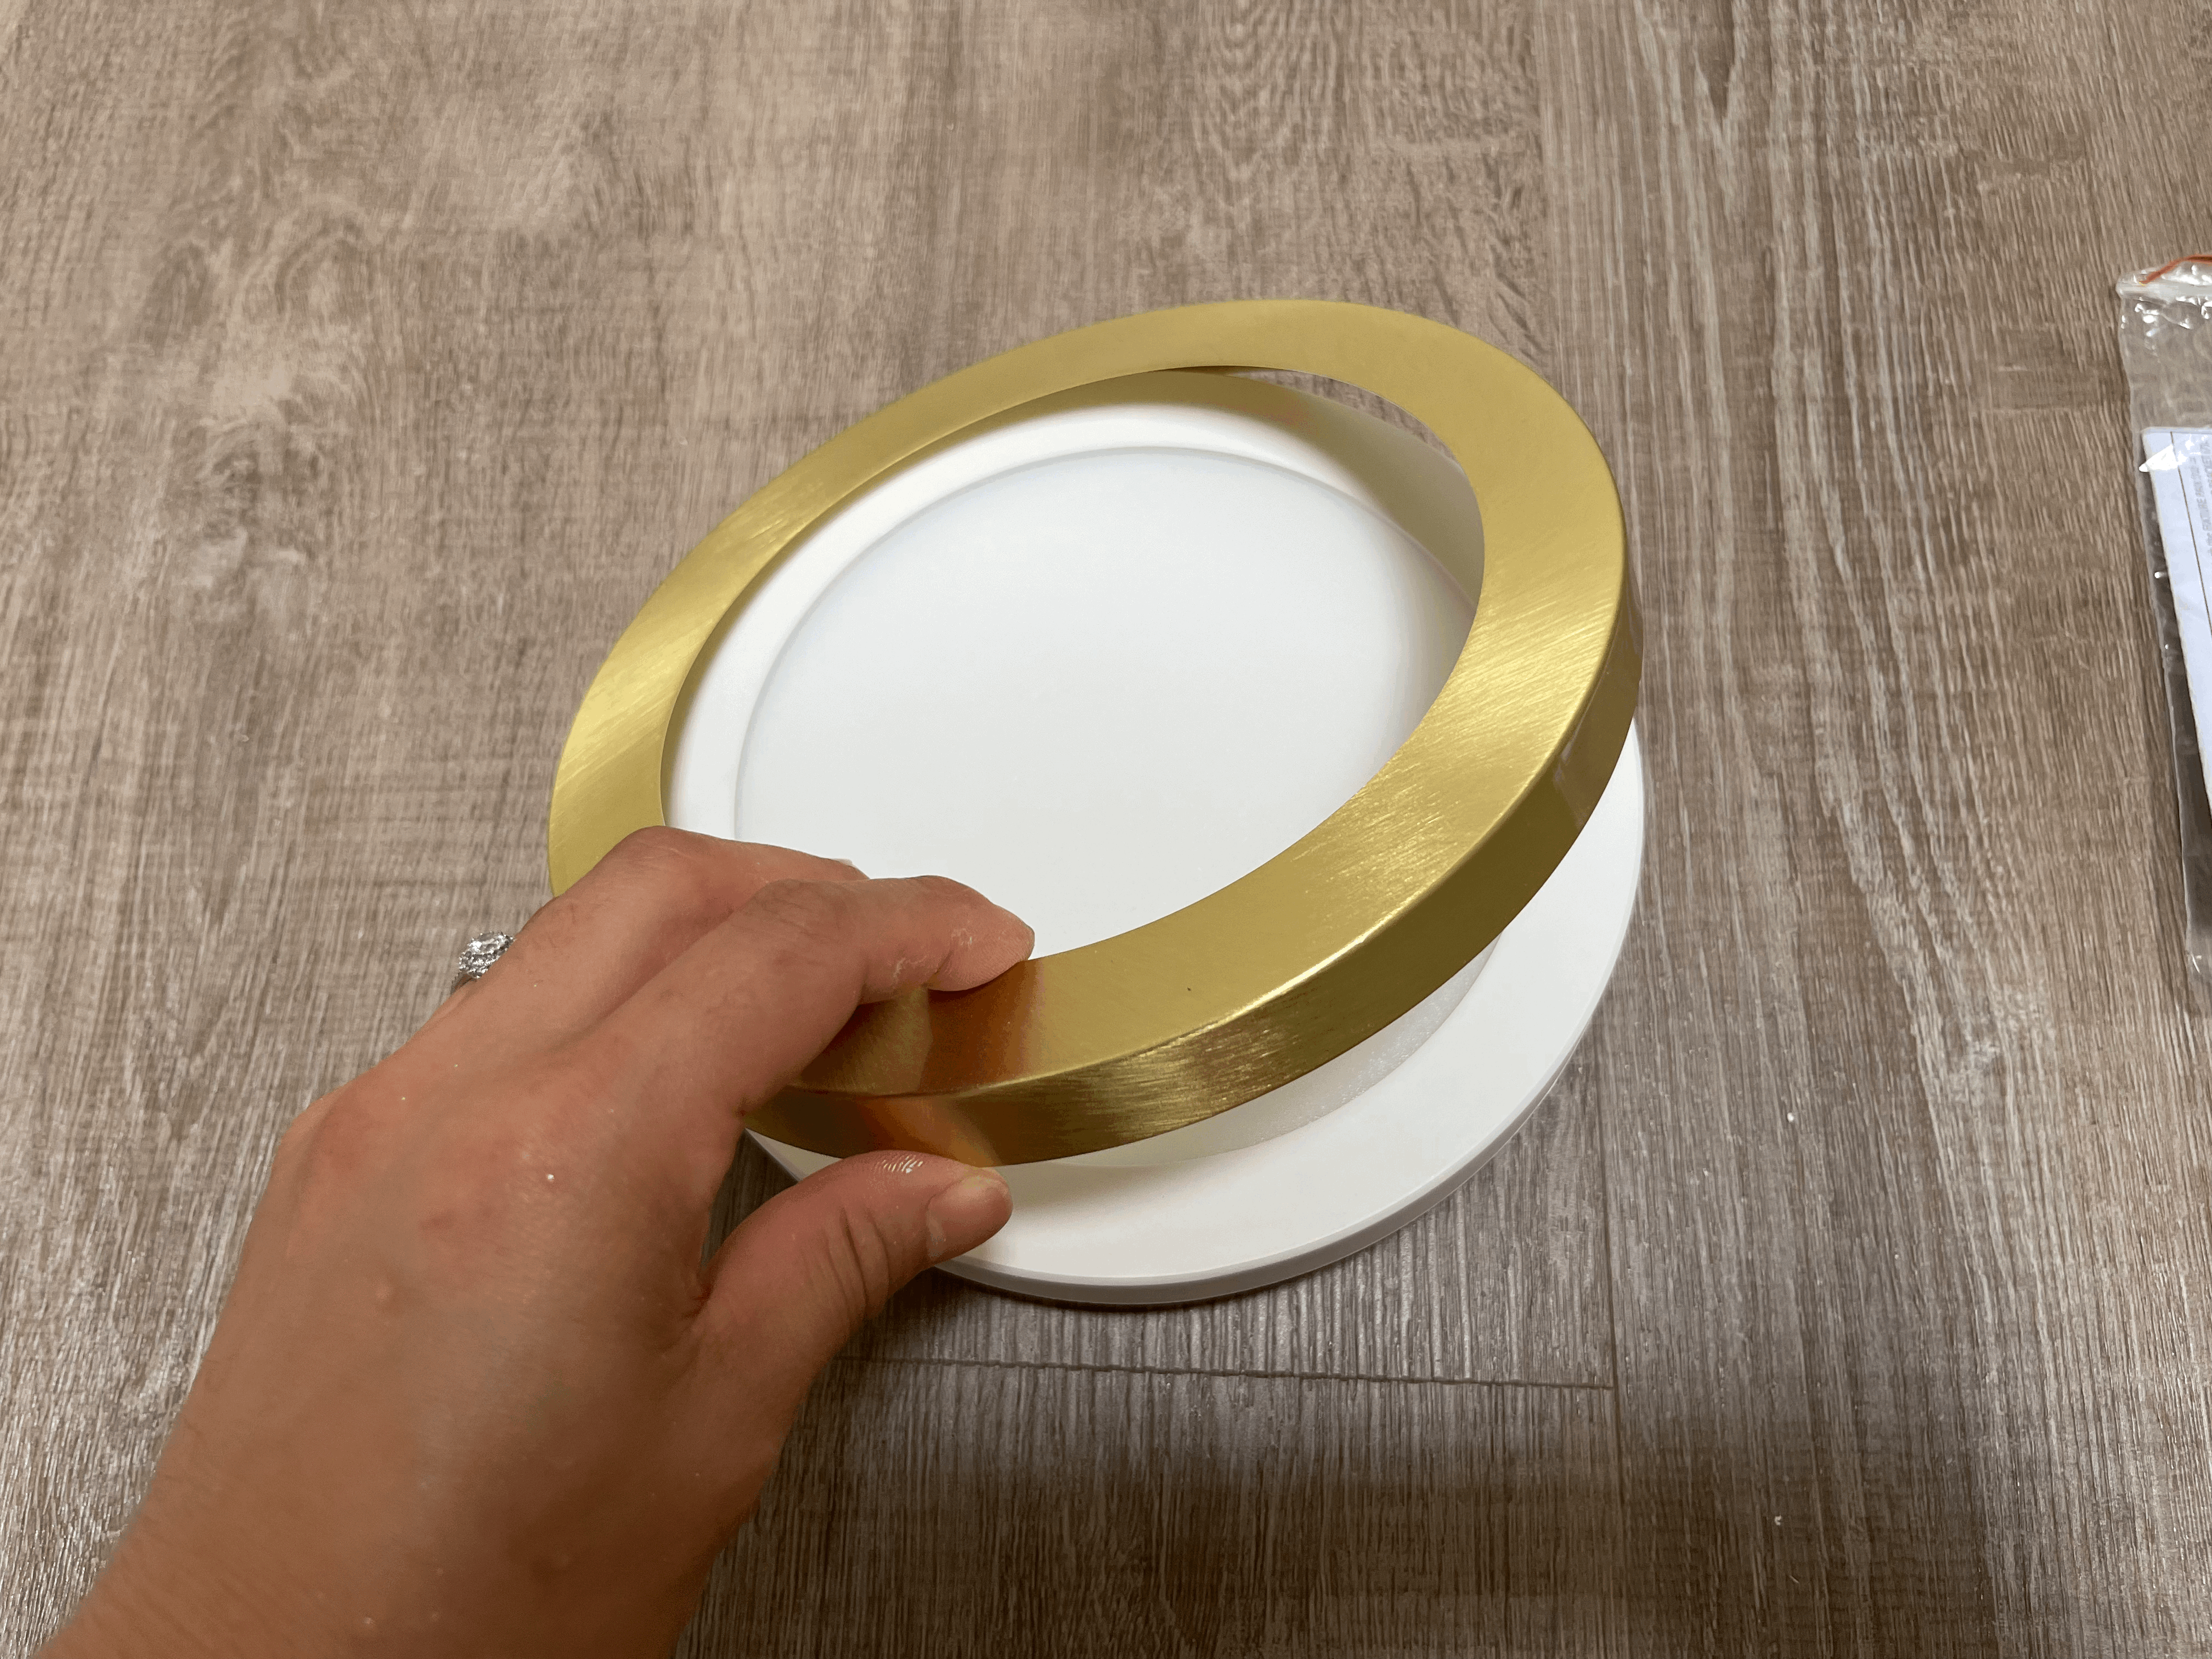
It comes with 3 different color magnetic trims(black, brushed nickel and gold), so you can choose the color you like and just attach it. Since it's magnetic, you can change the trim easily too if you have to. The original trim color is white. So you can just leave it white if you like.
There are two different sizes you can choose: 7 inches and 12 inches. I got the smaller one because the bathroom is pretty small.
The thickness is only 5/8 inch. It is a true low profile ceiling light!
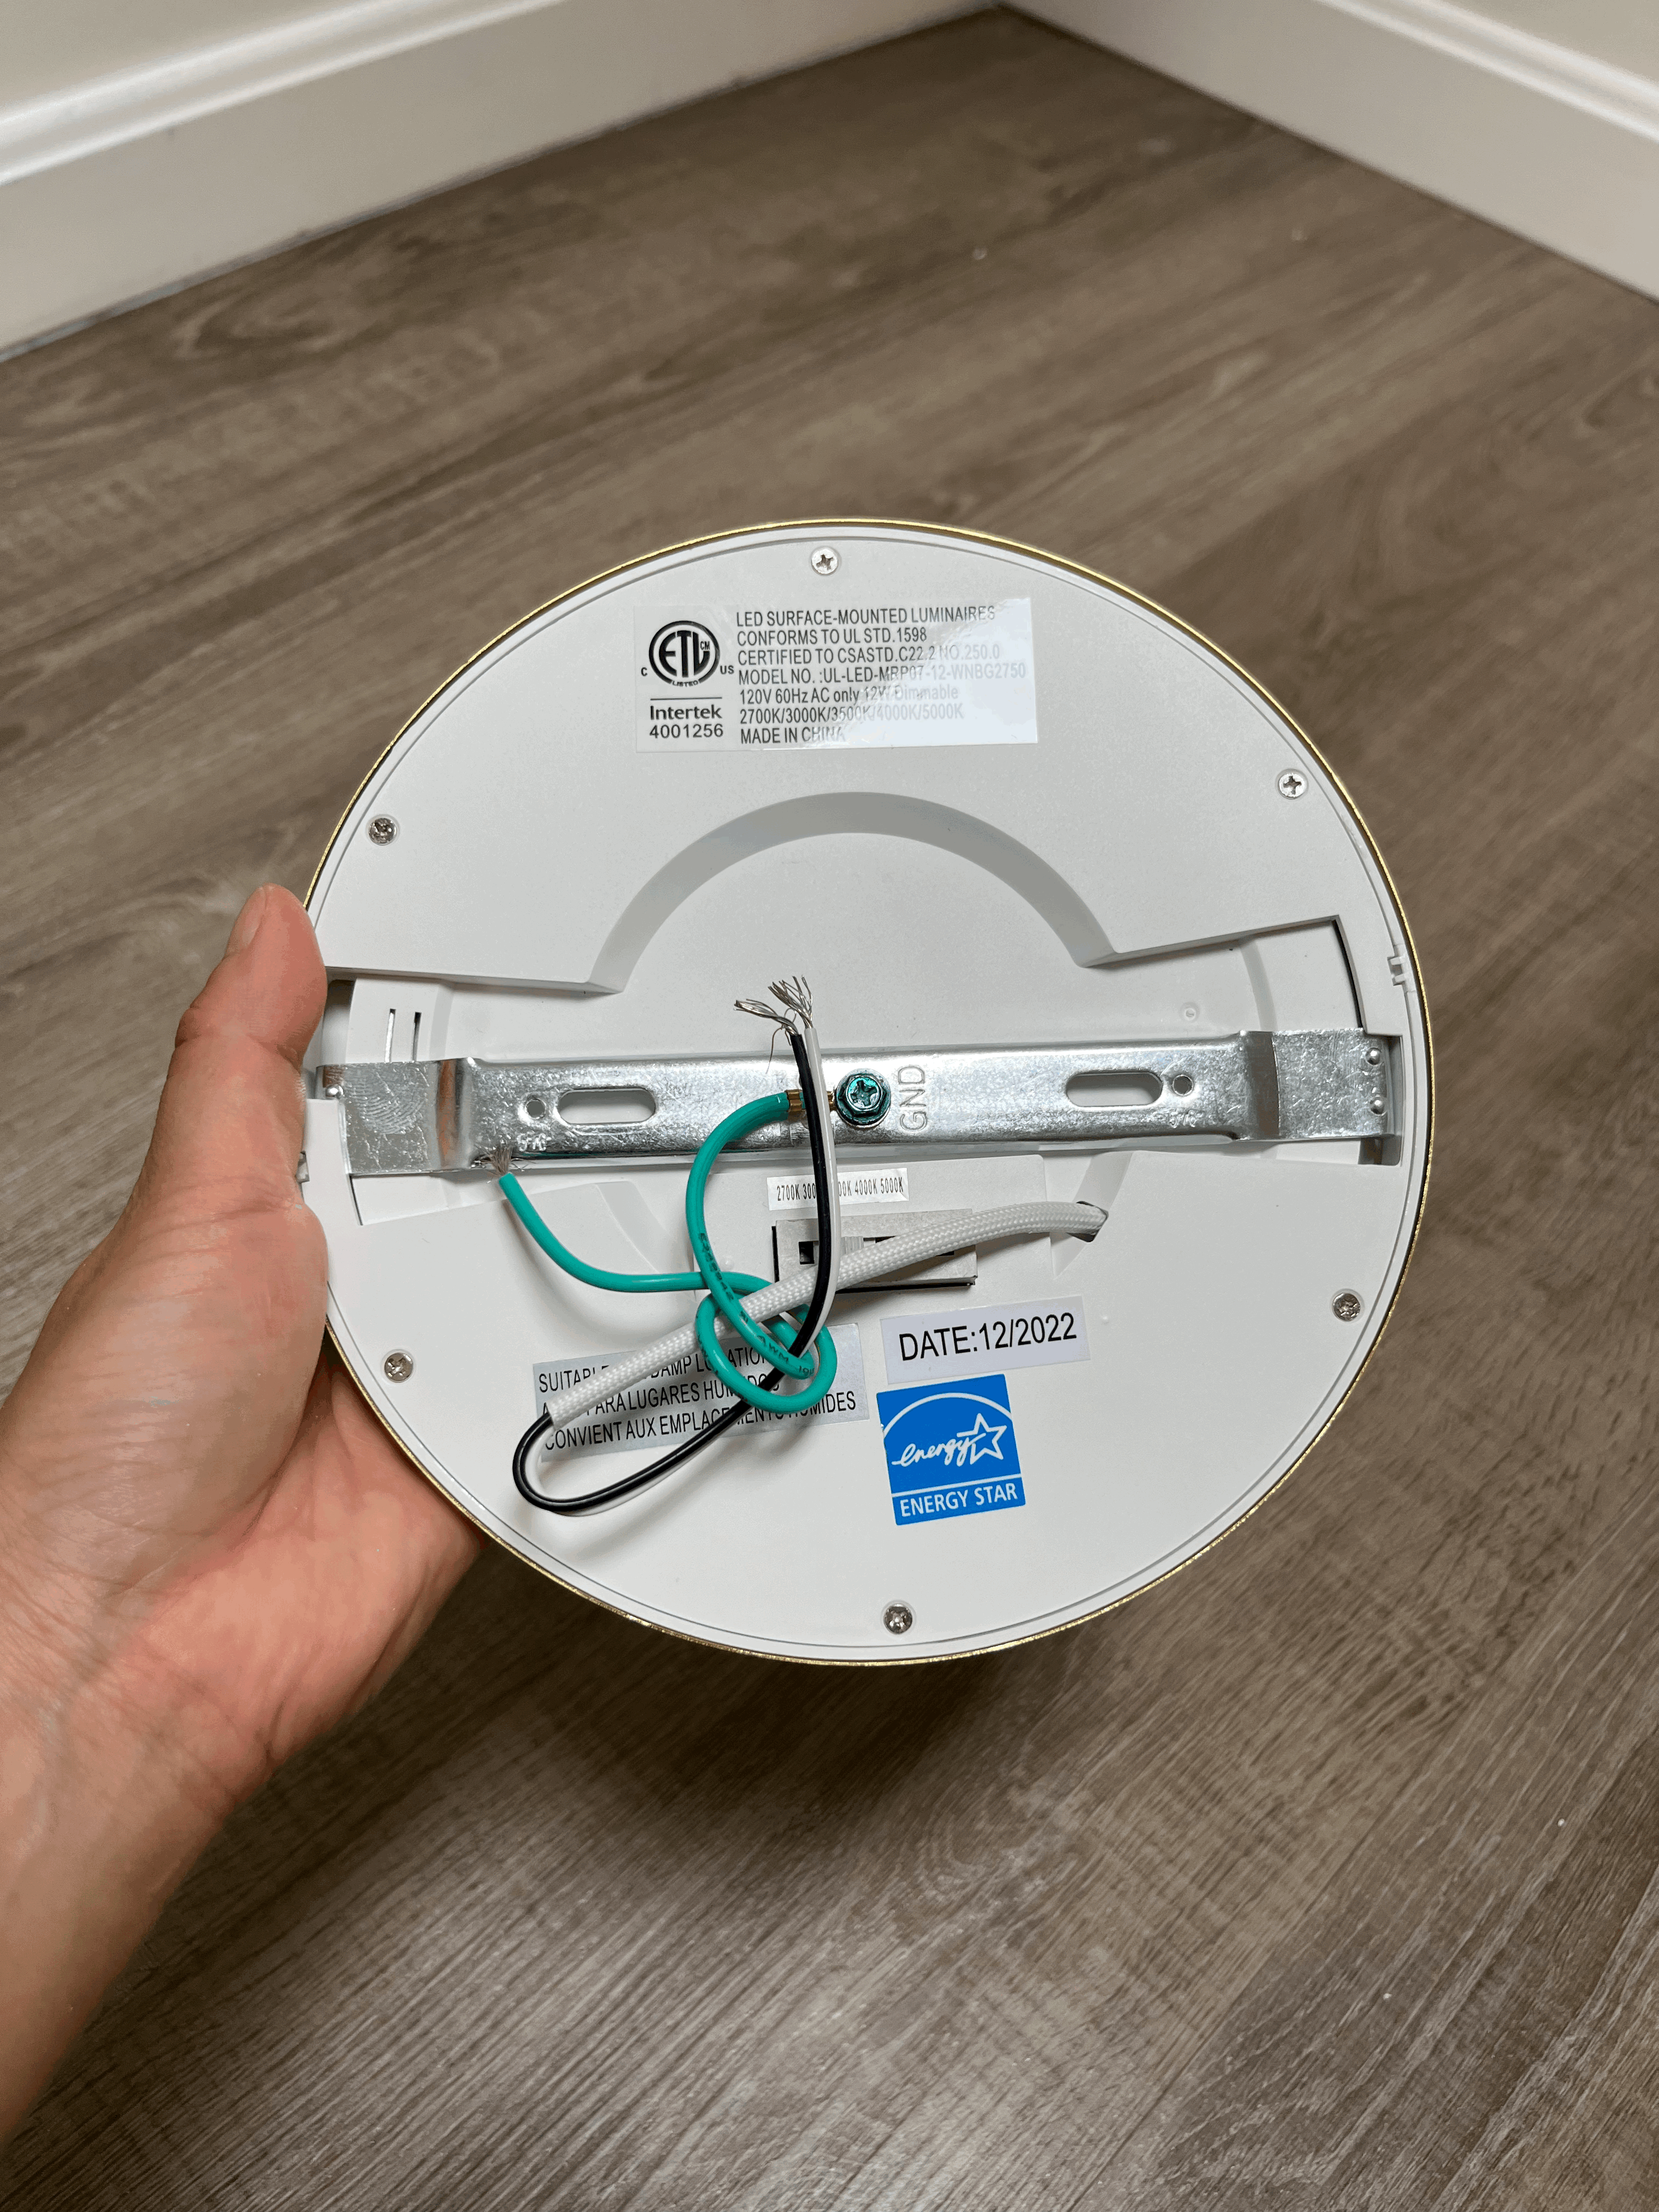
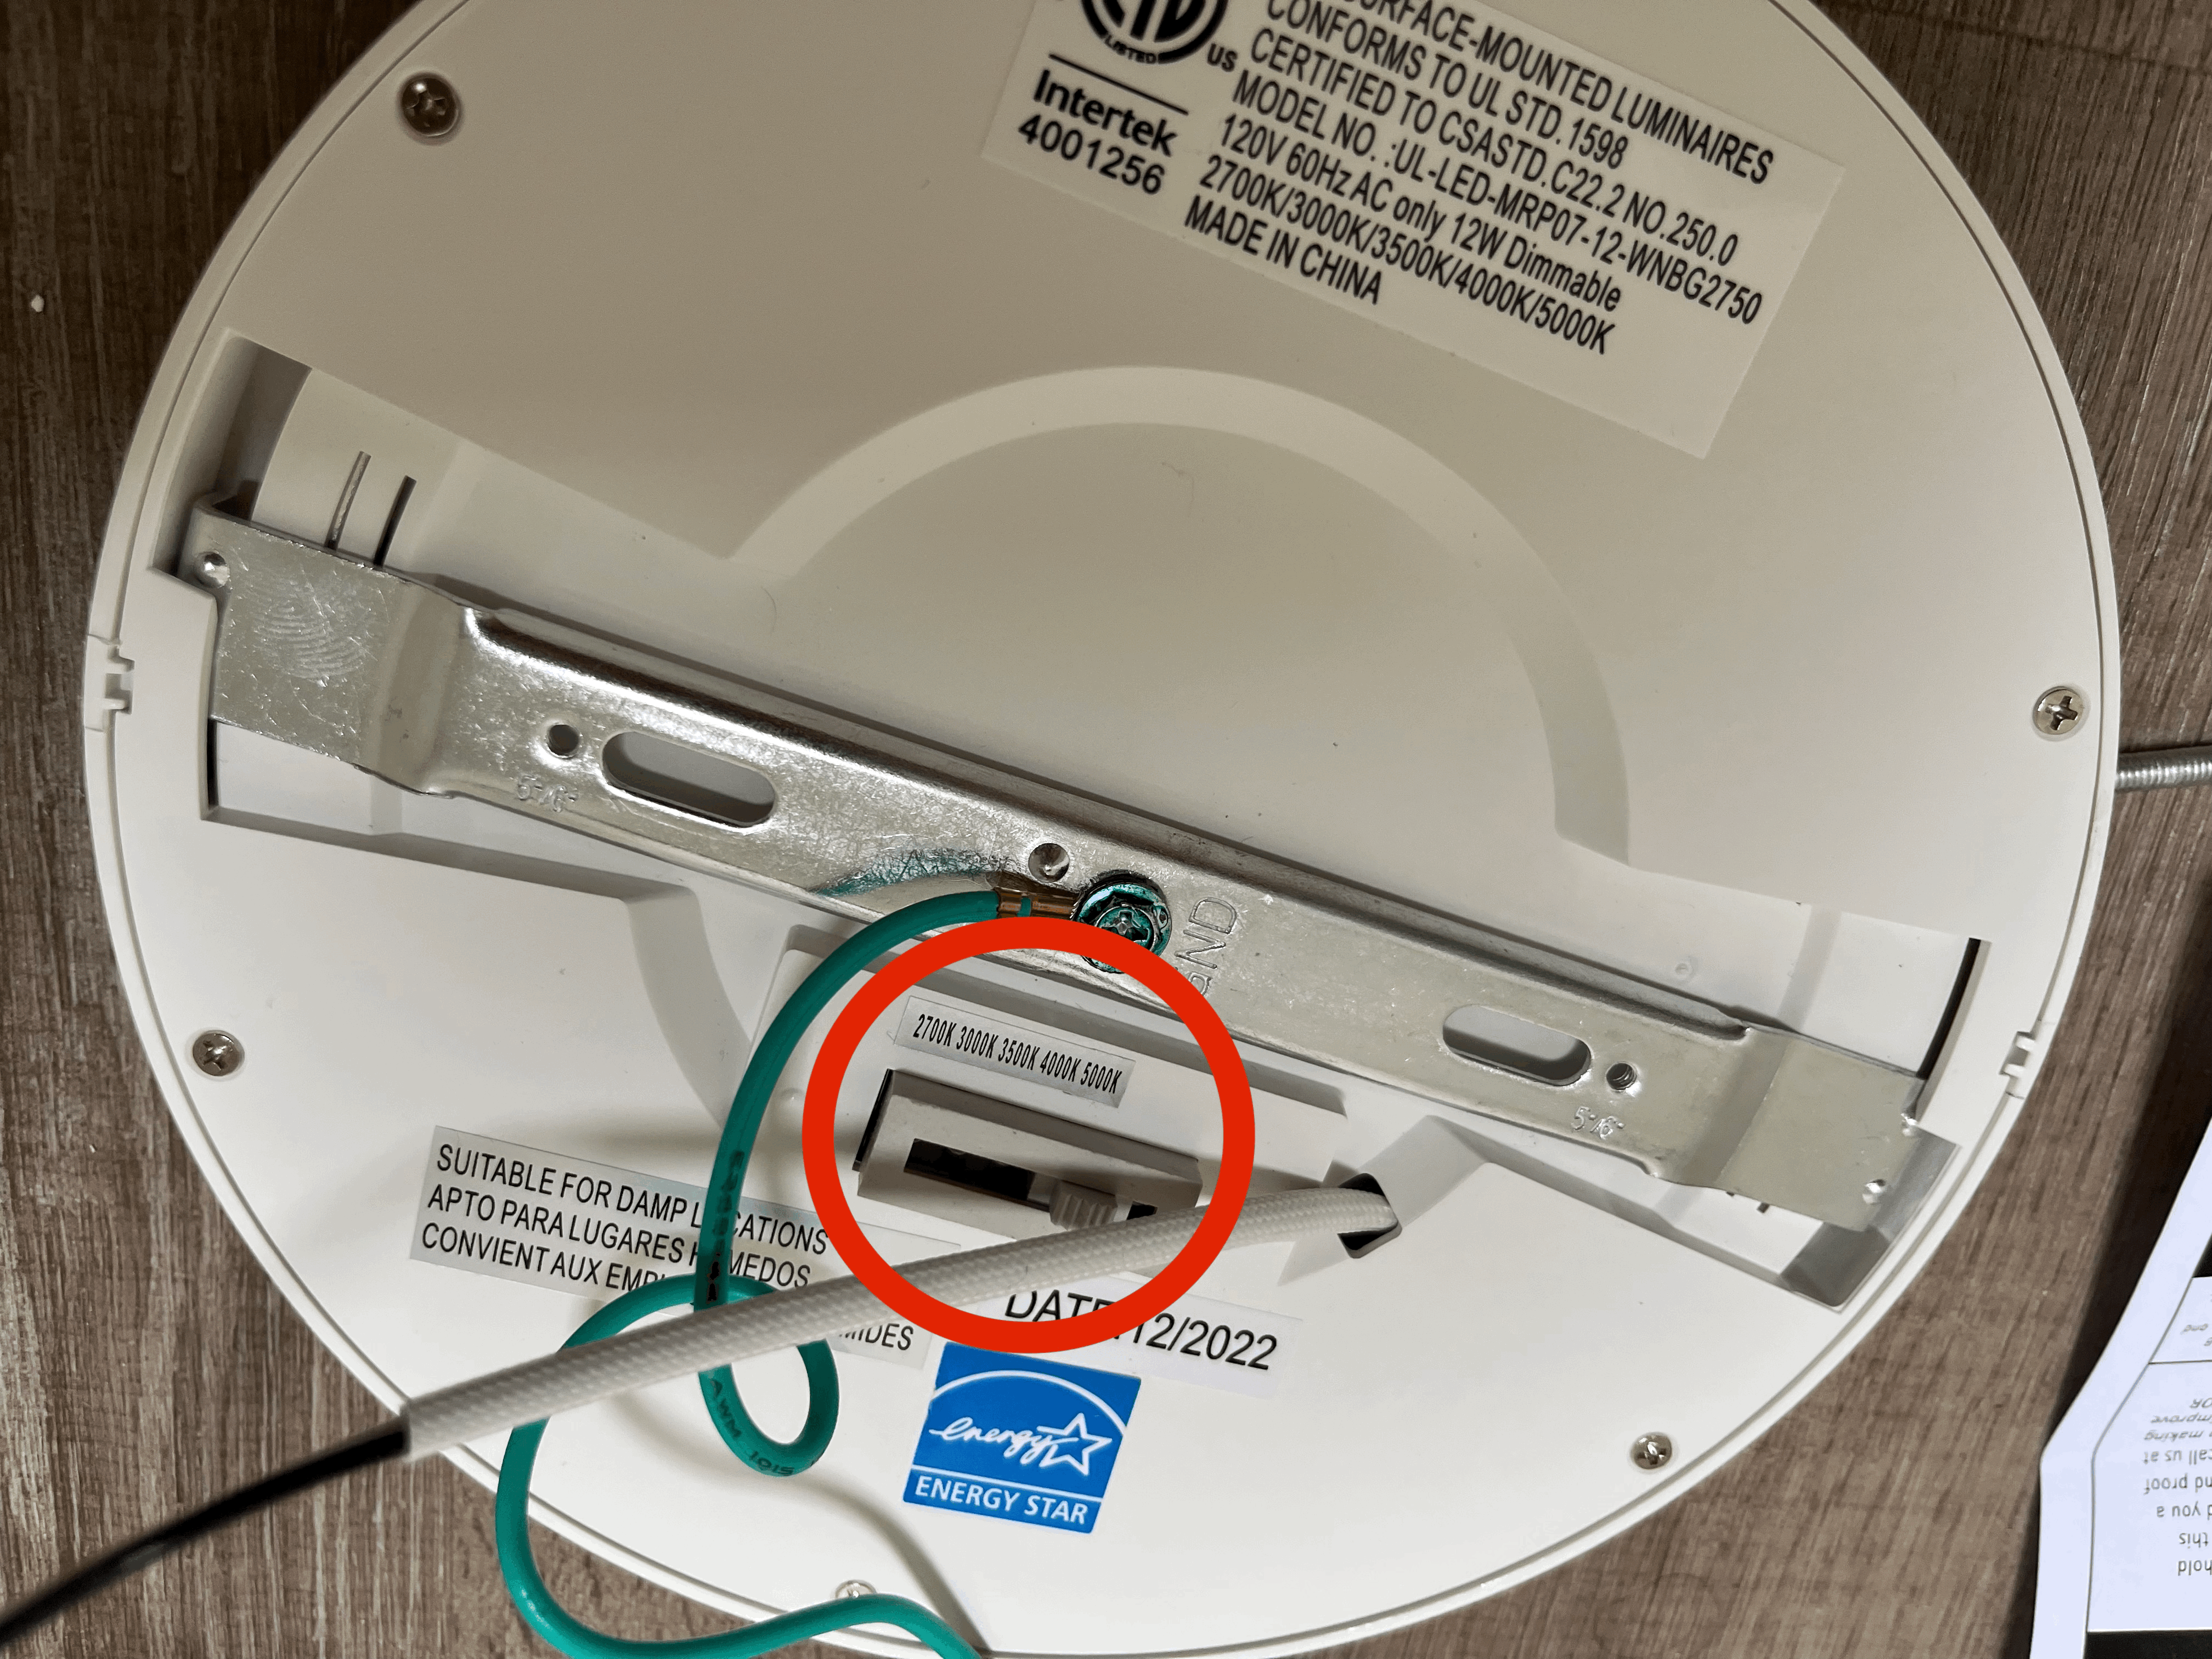
You can change the light color temperature too. I always set it for 5000K.
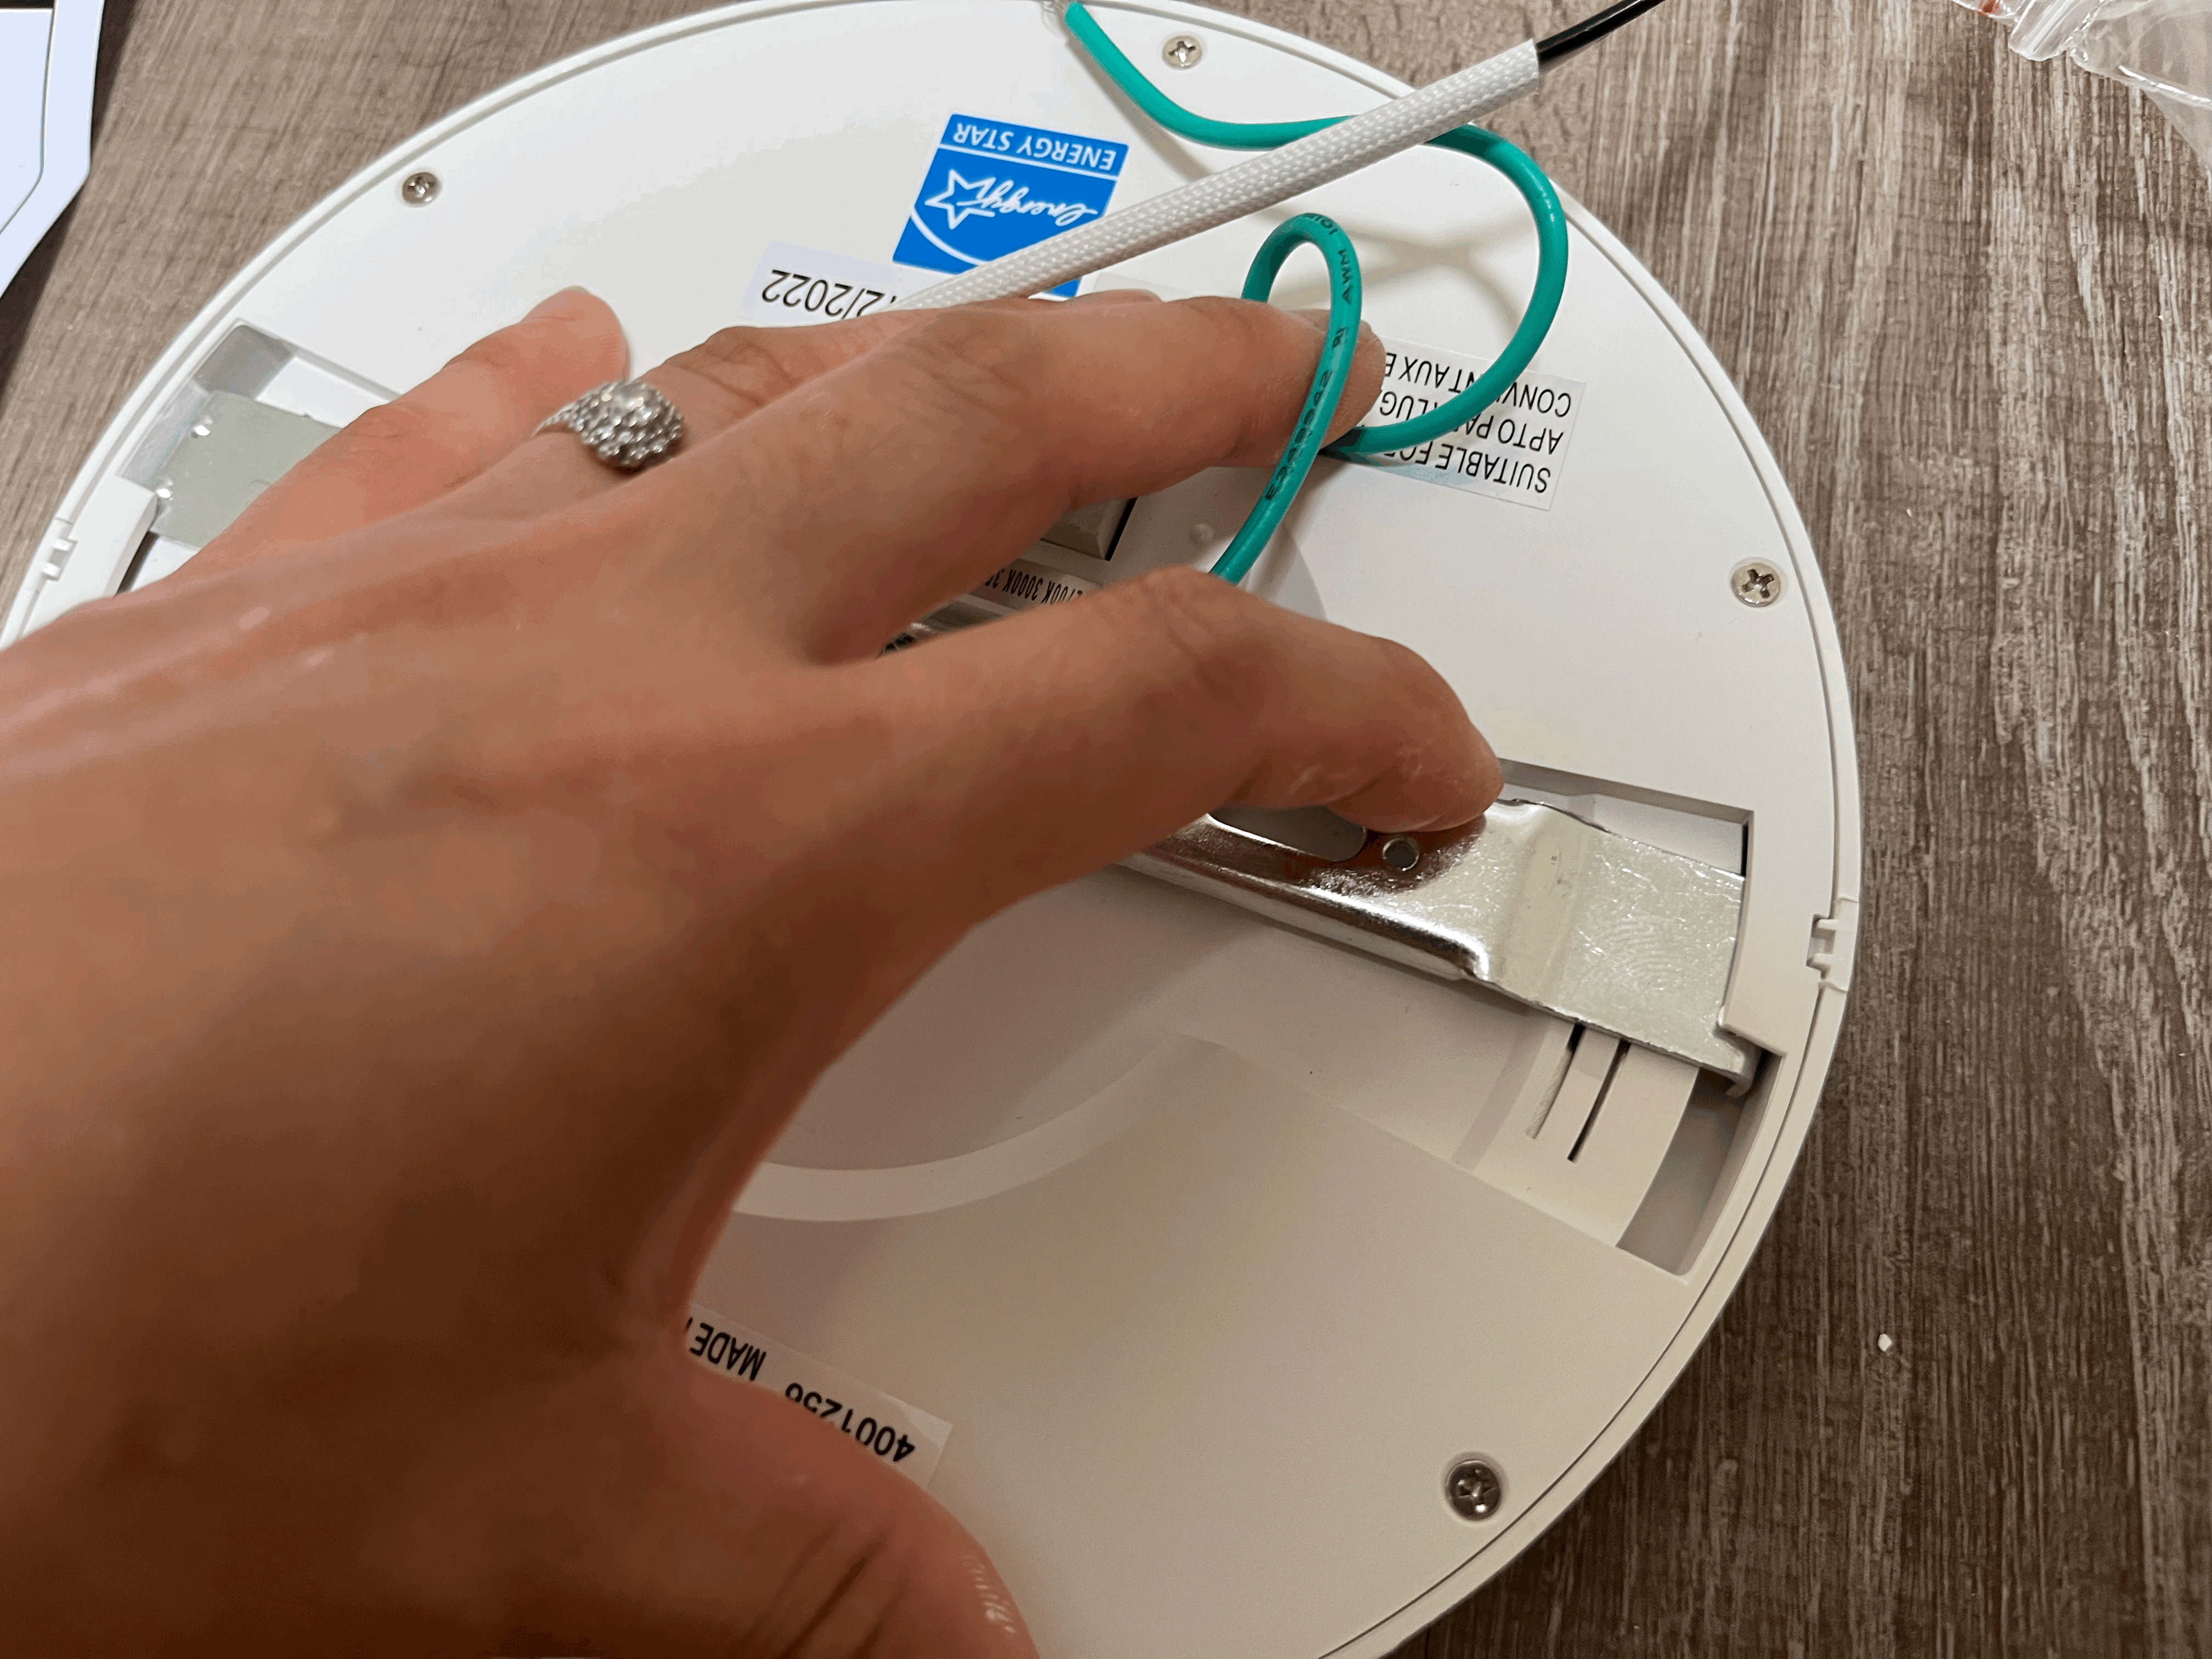
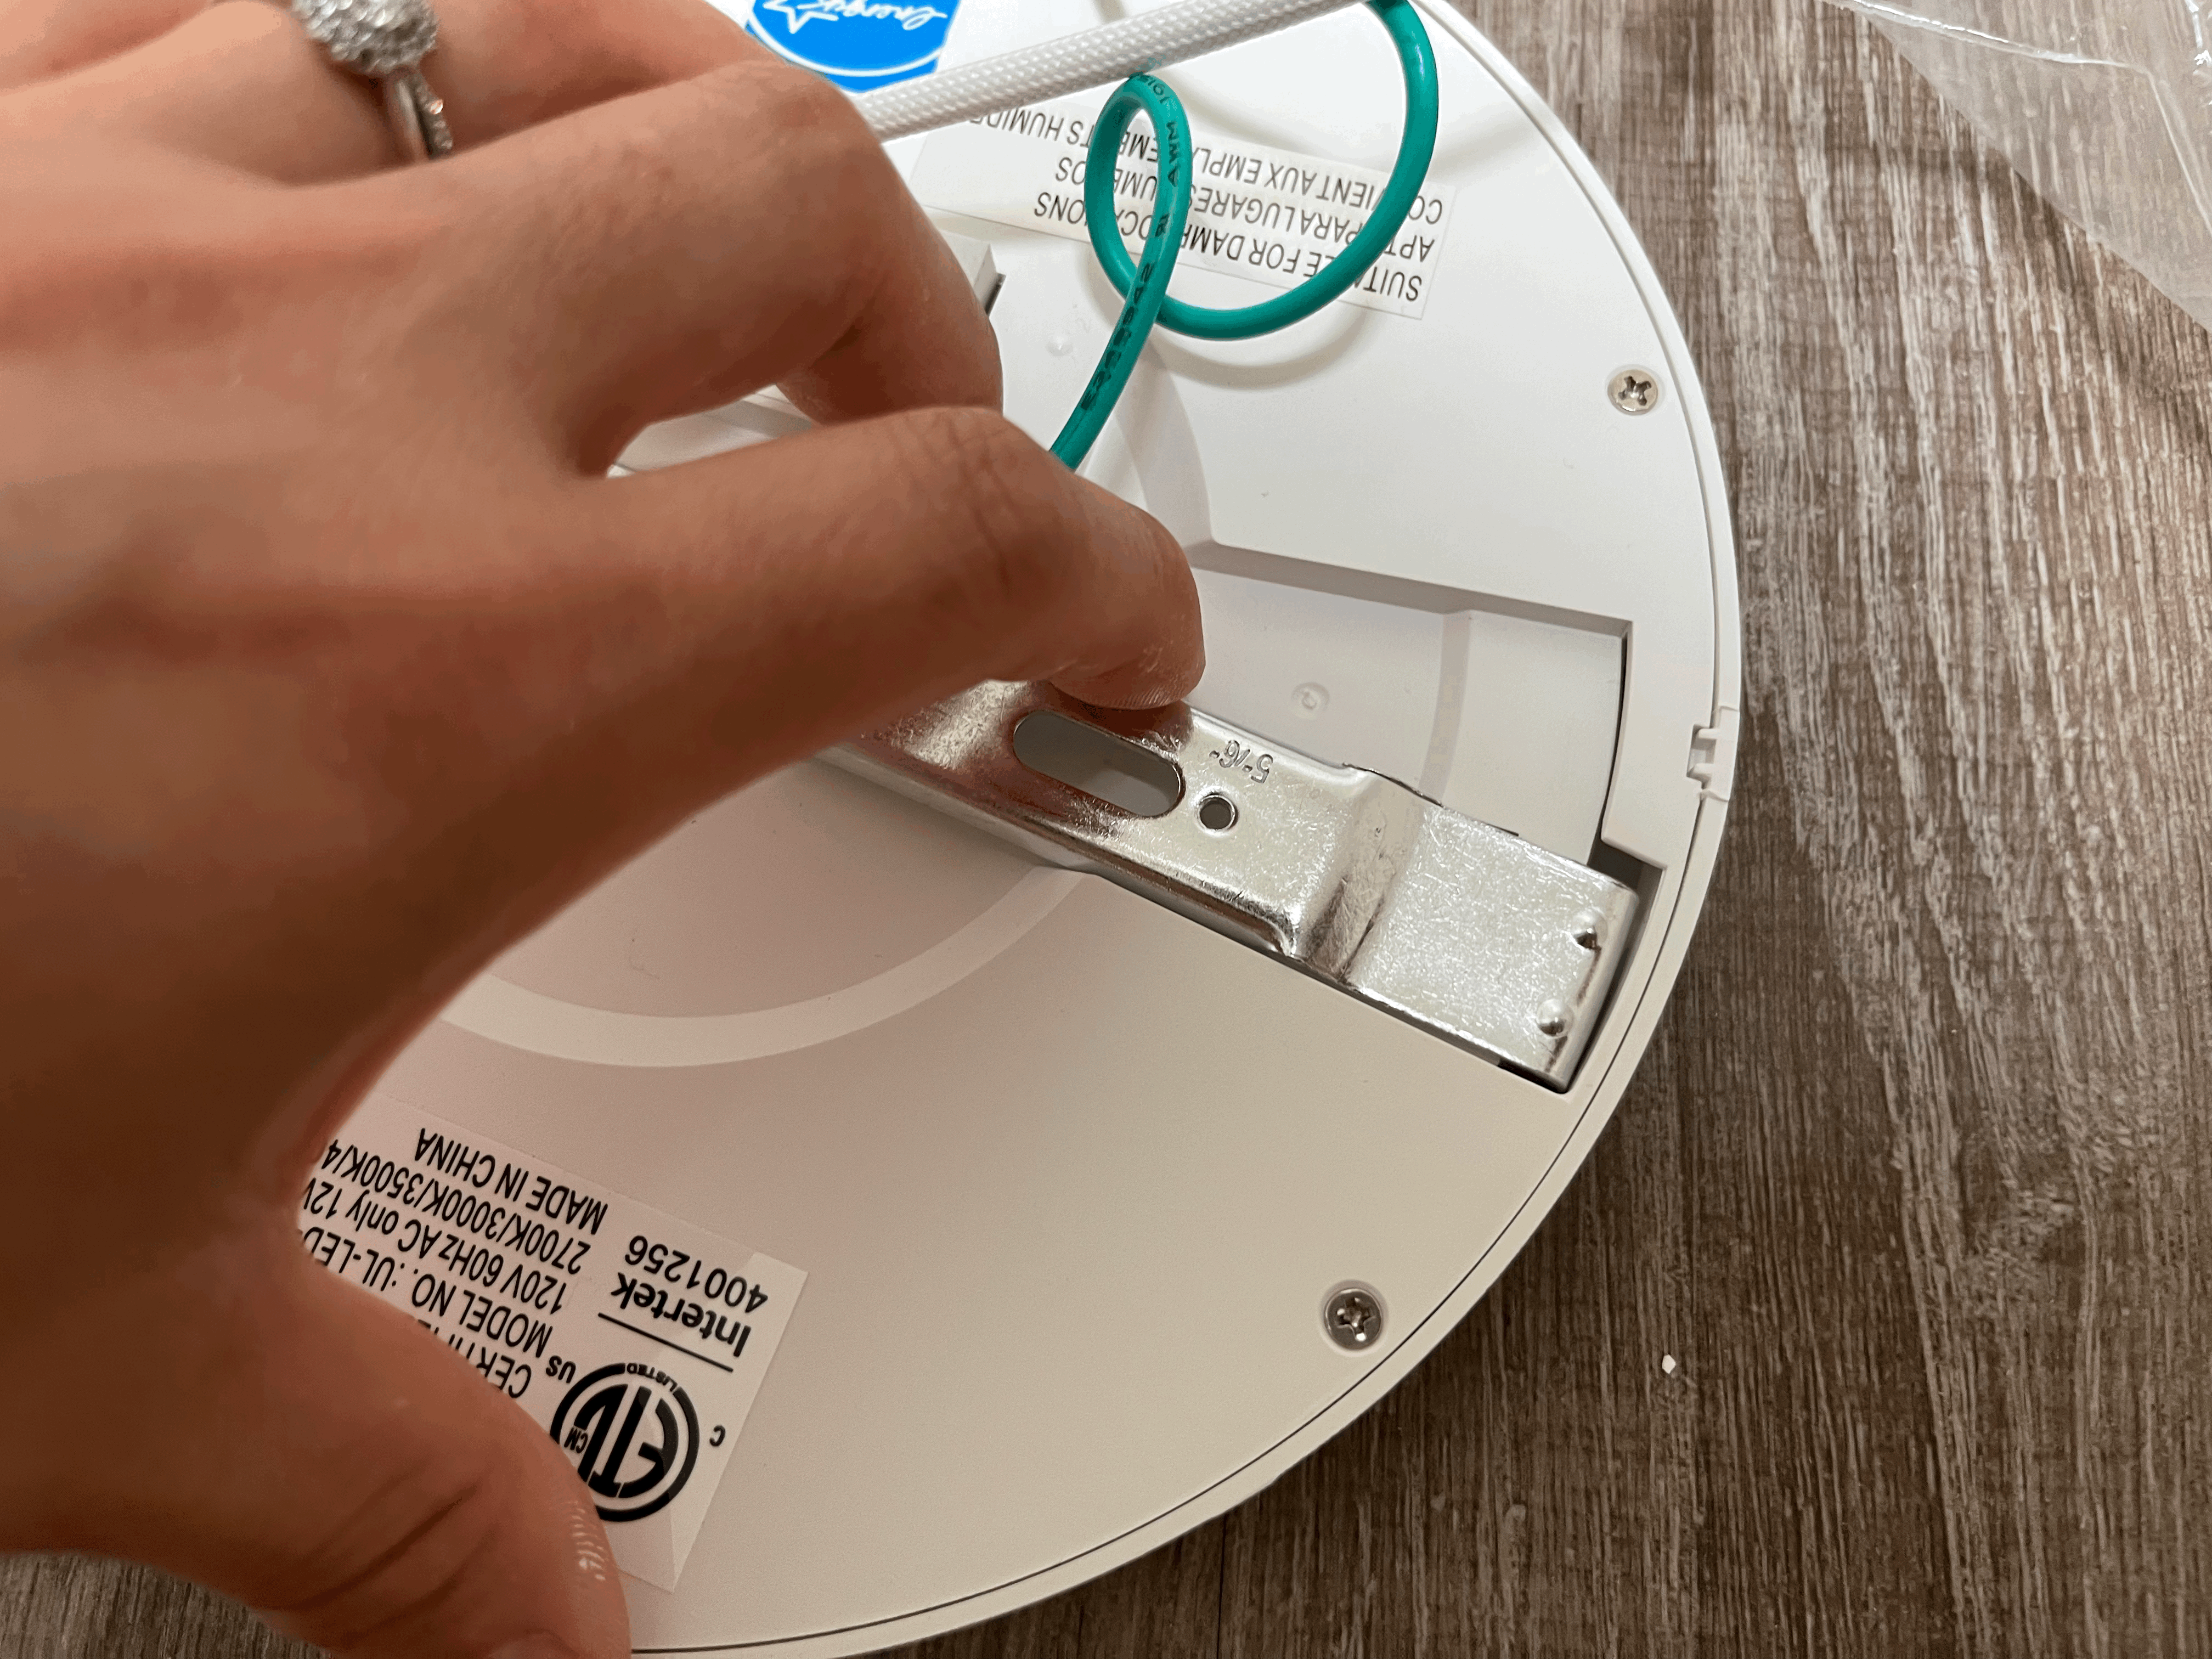
To install this ceiling light, I needed to remove the silver bracket from the light fixture. You just twist the bracket clockwise until it shows the whole body.
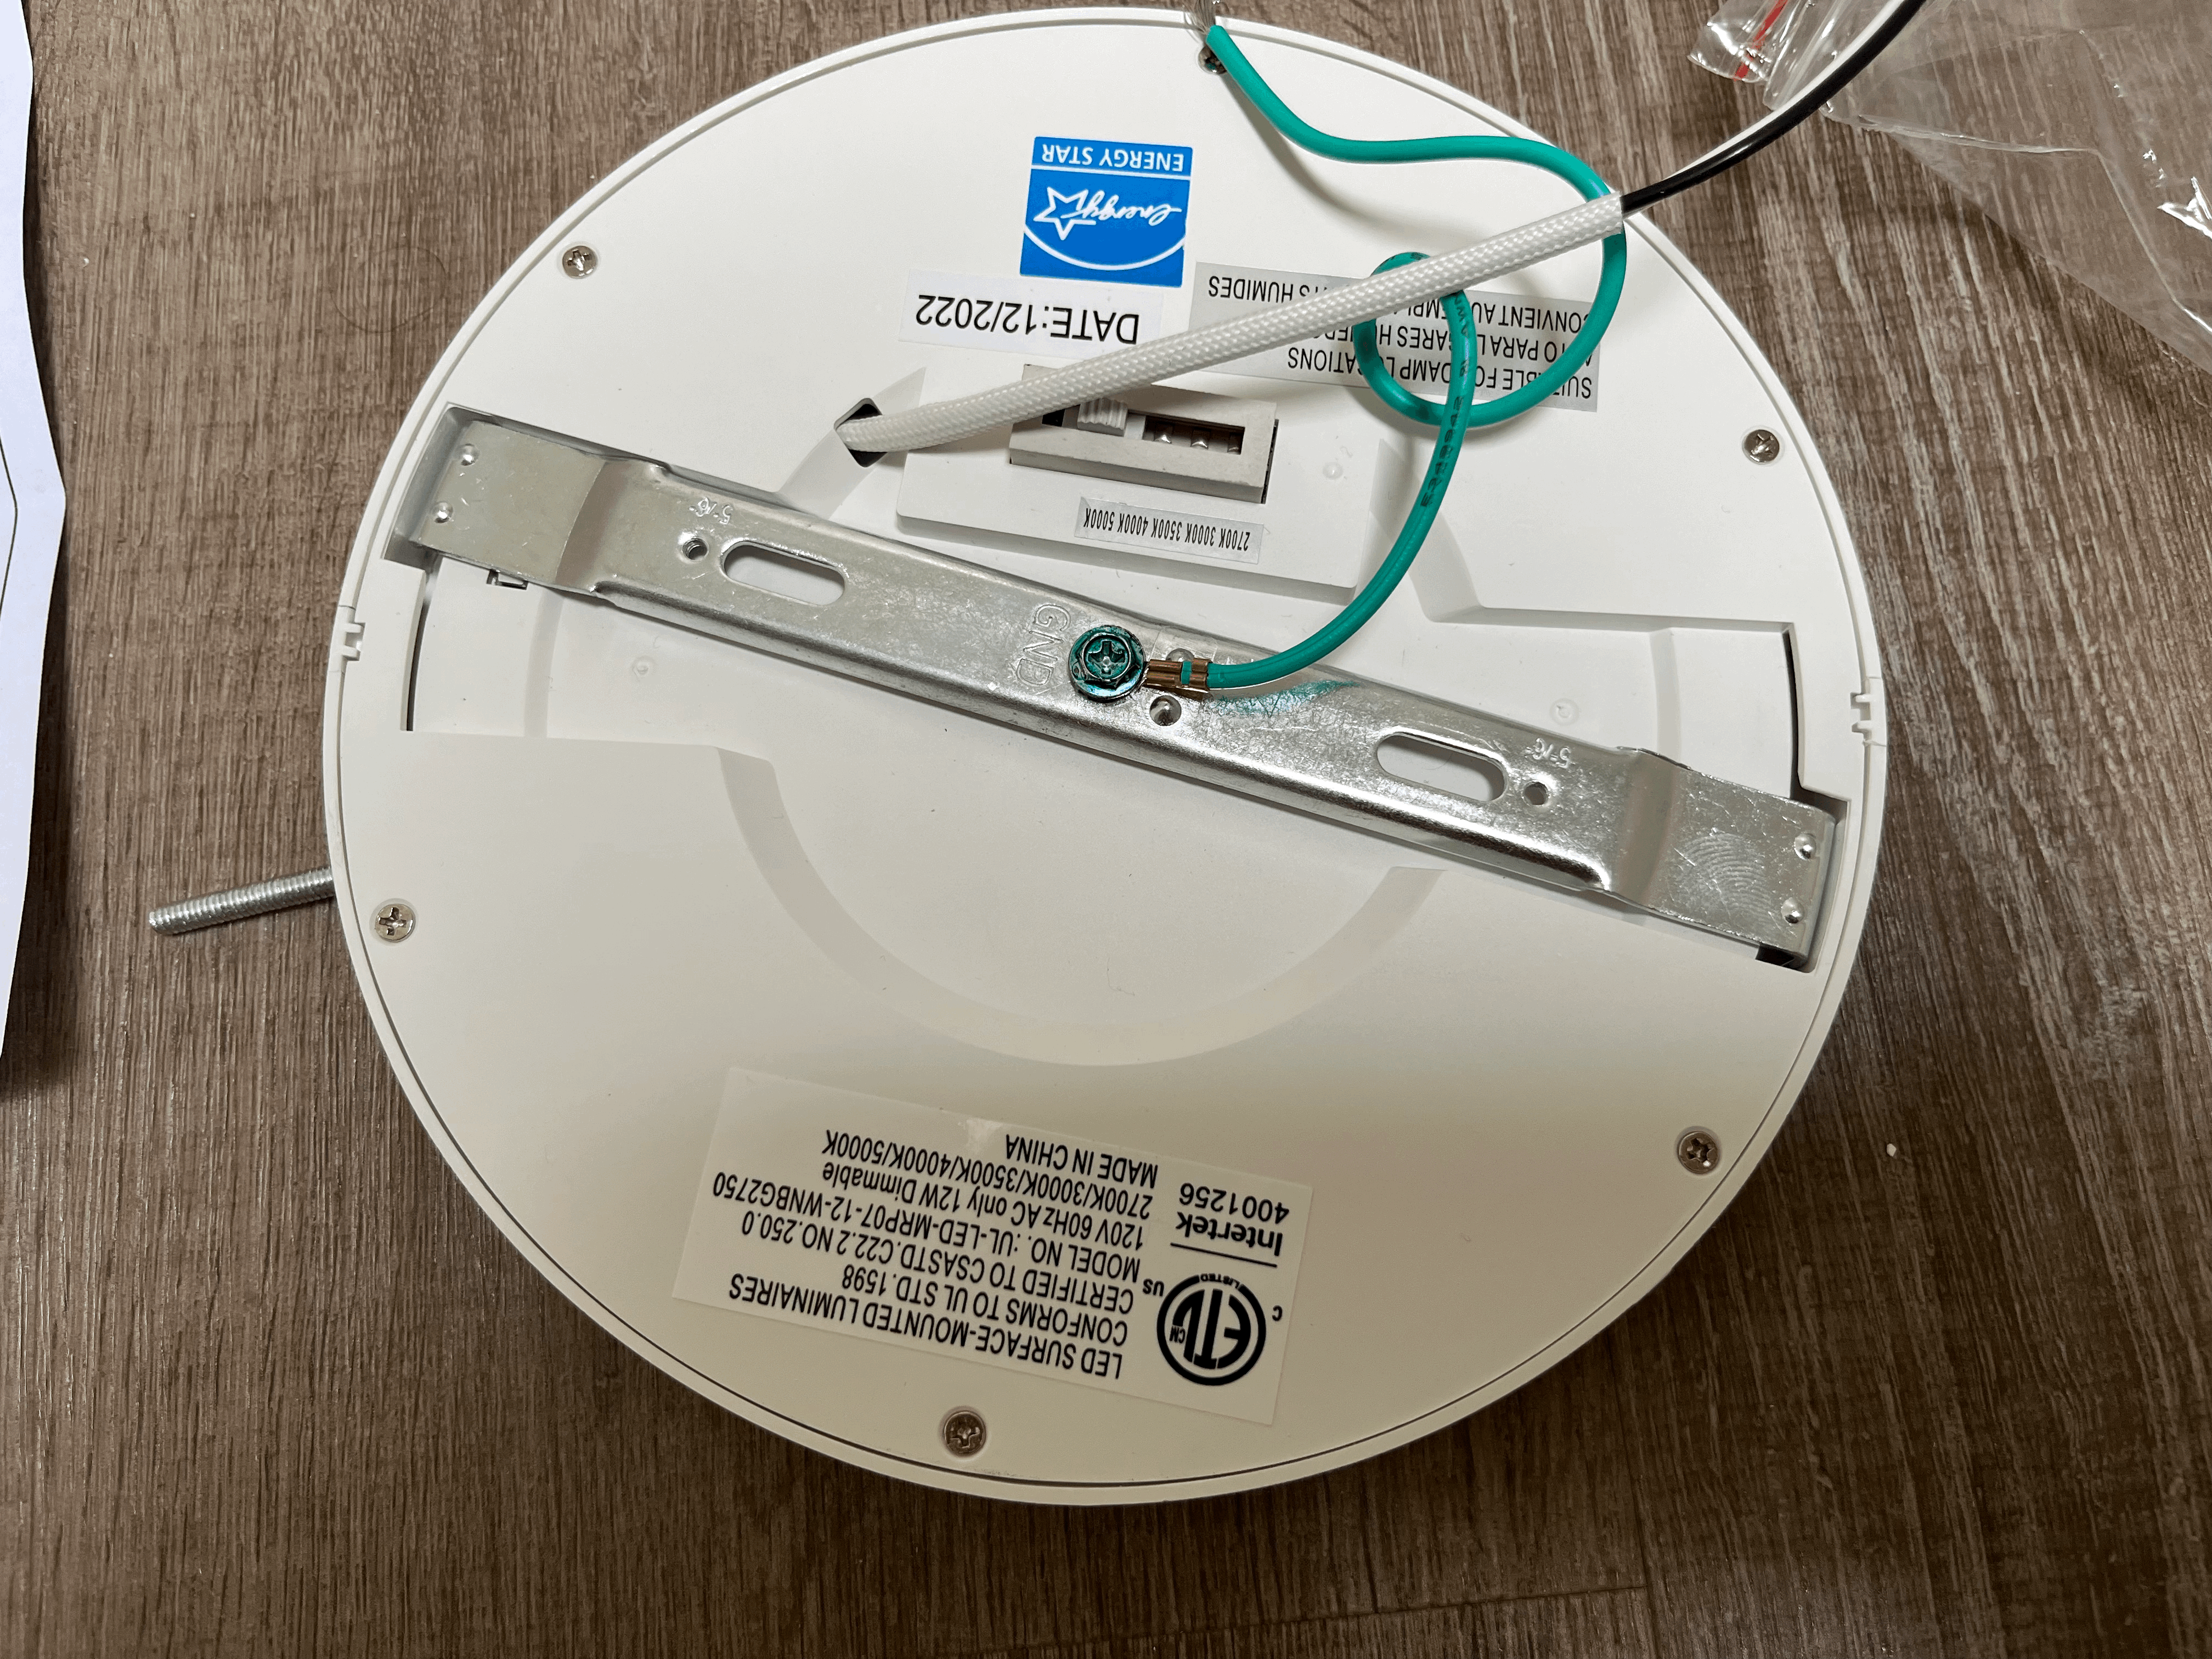
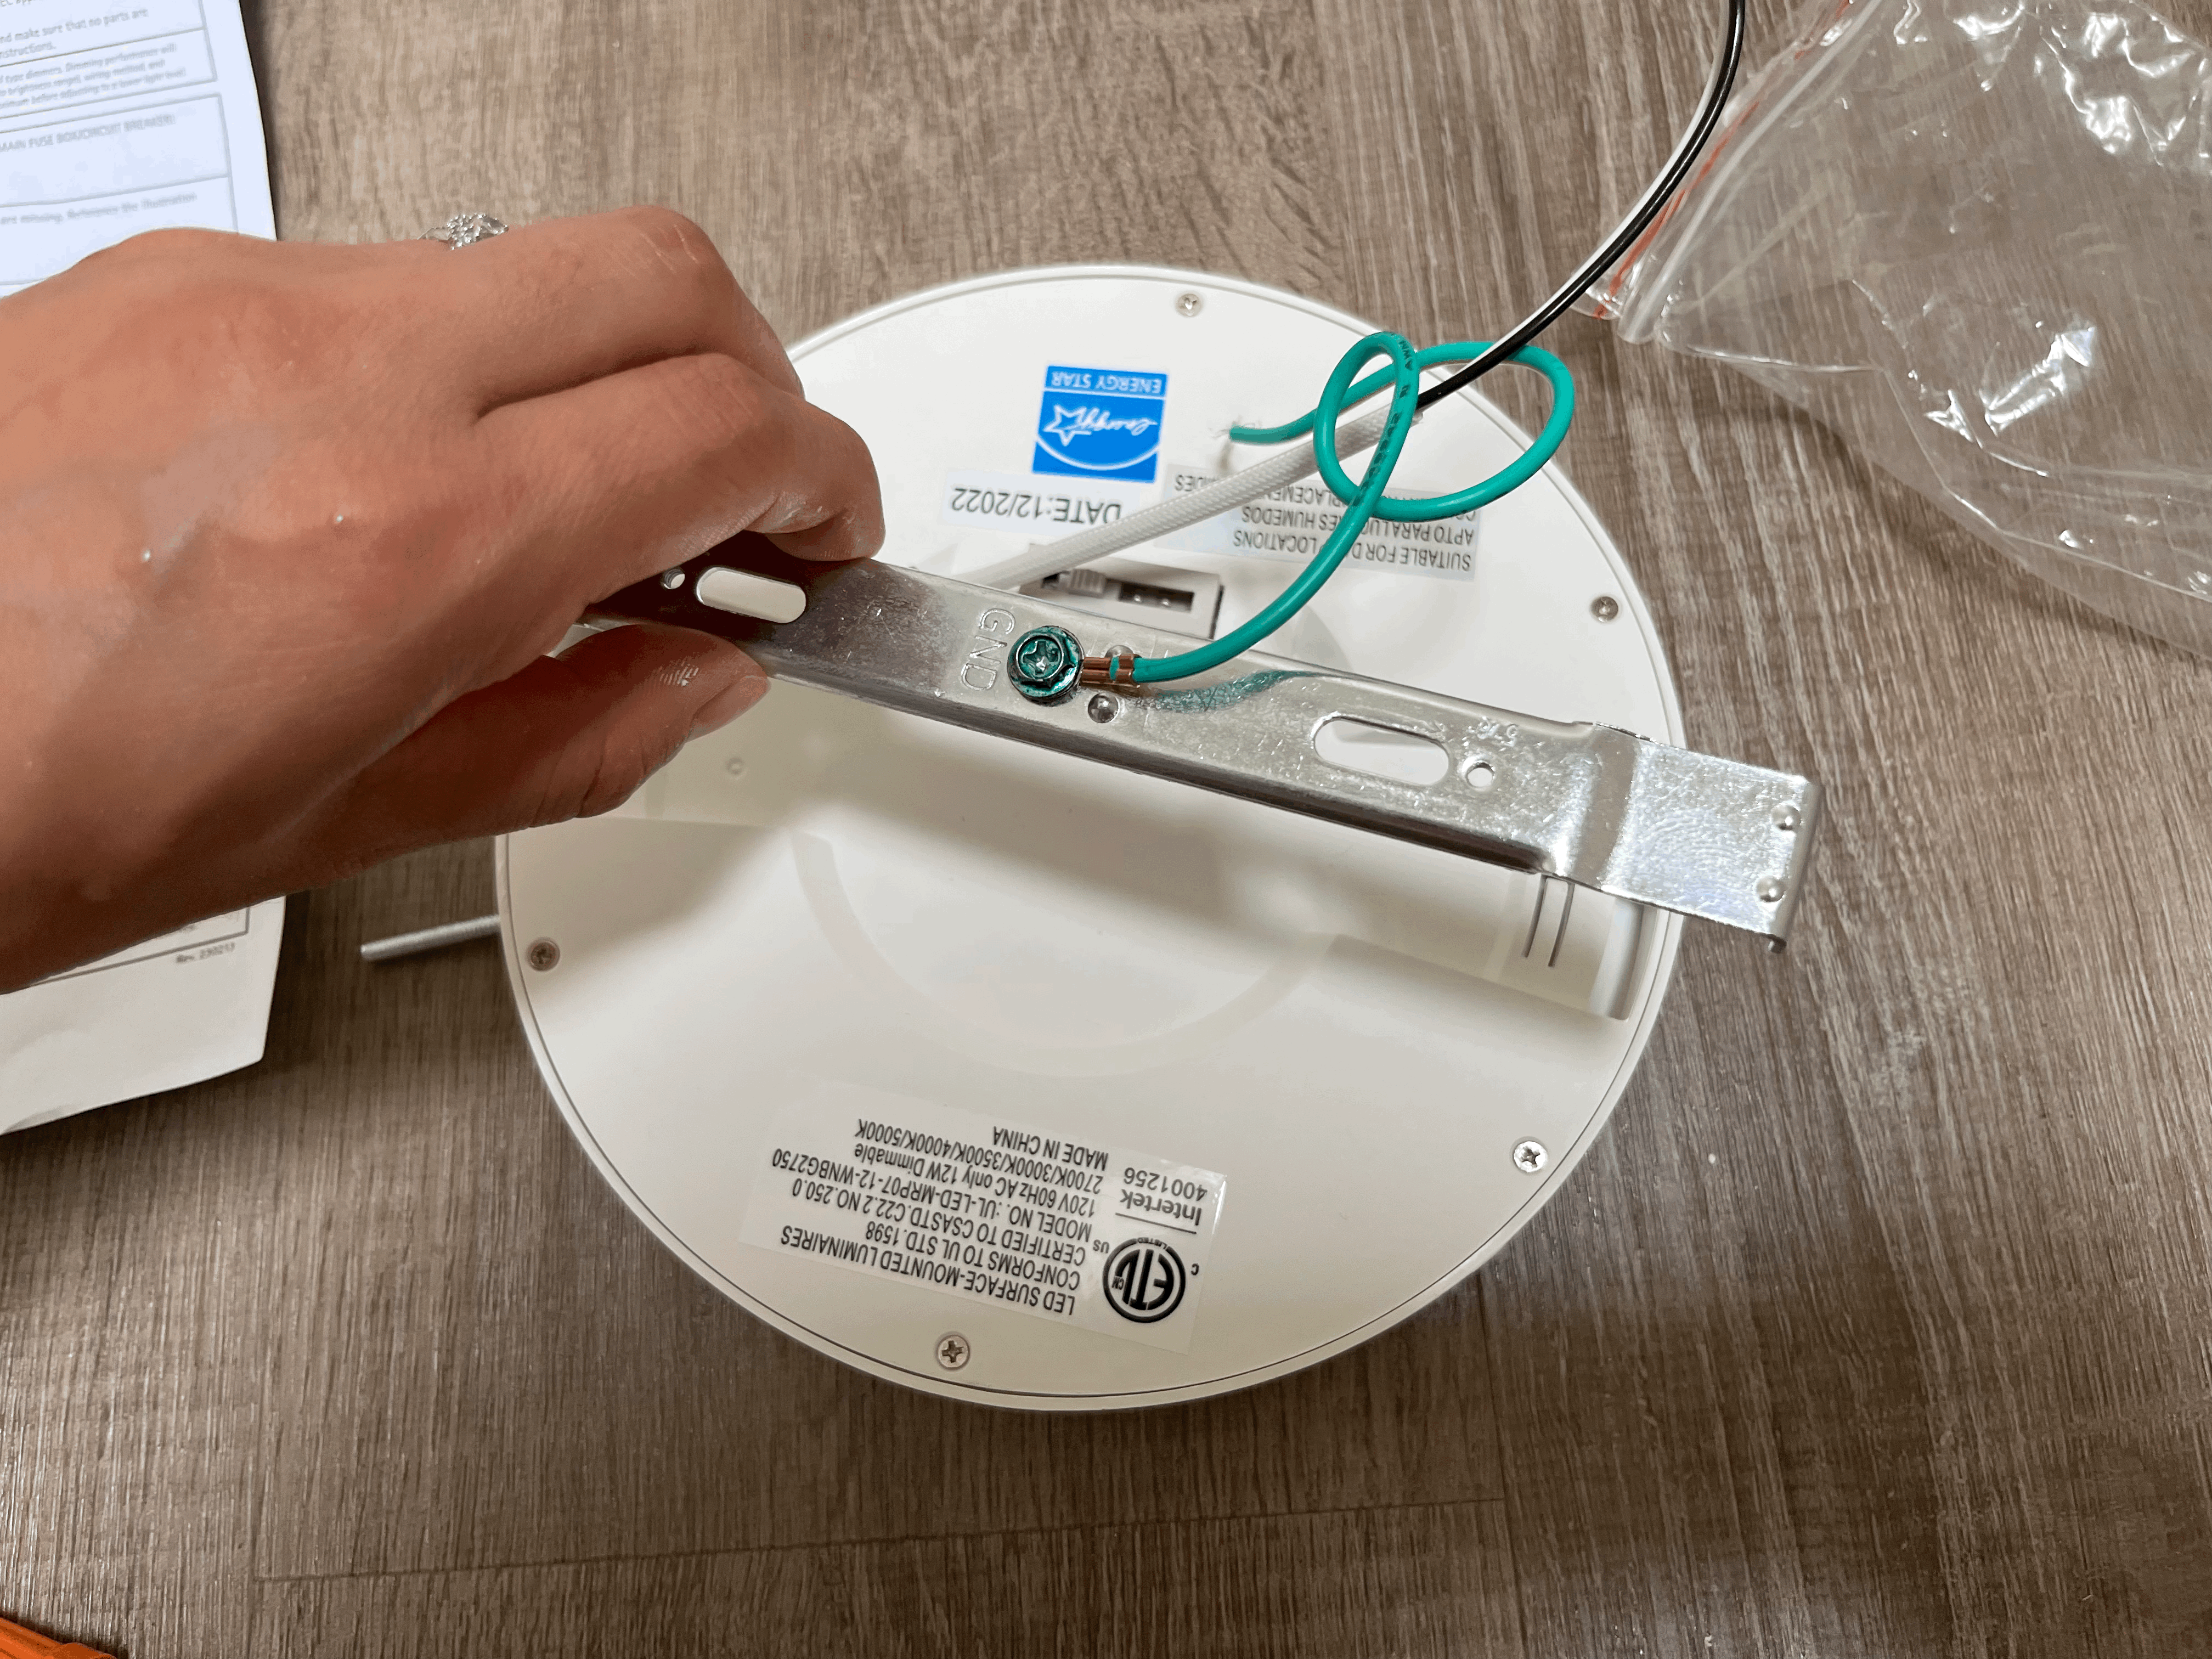
Then you can take the bracket out of the fixture.
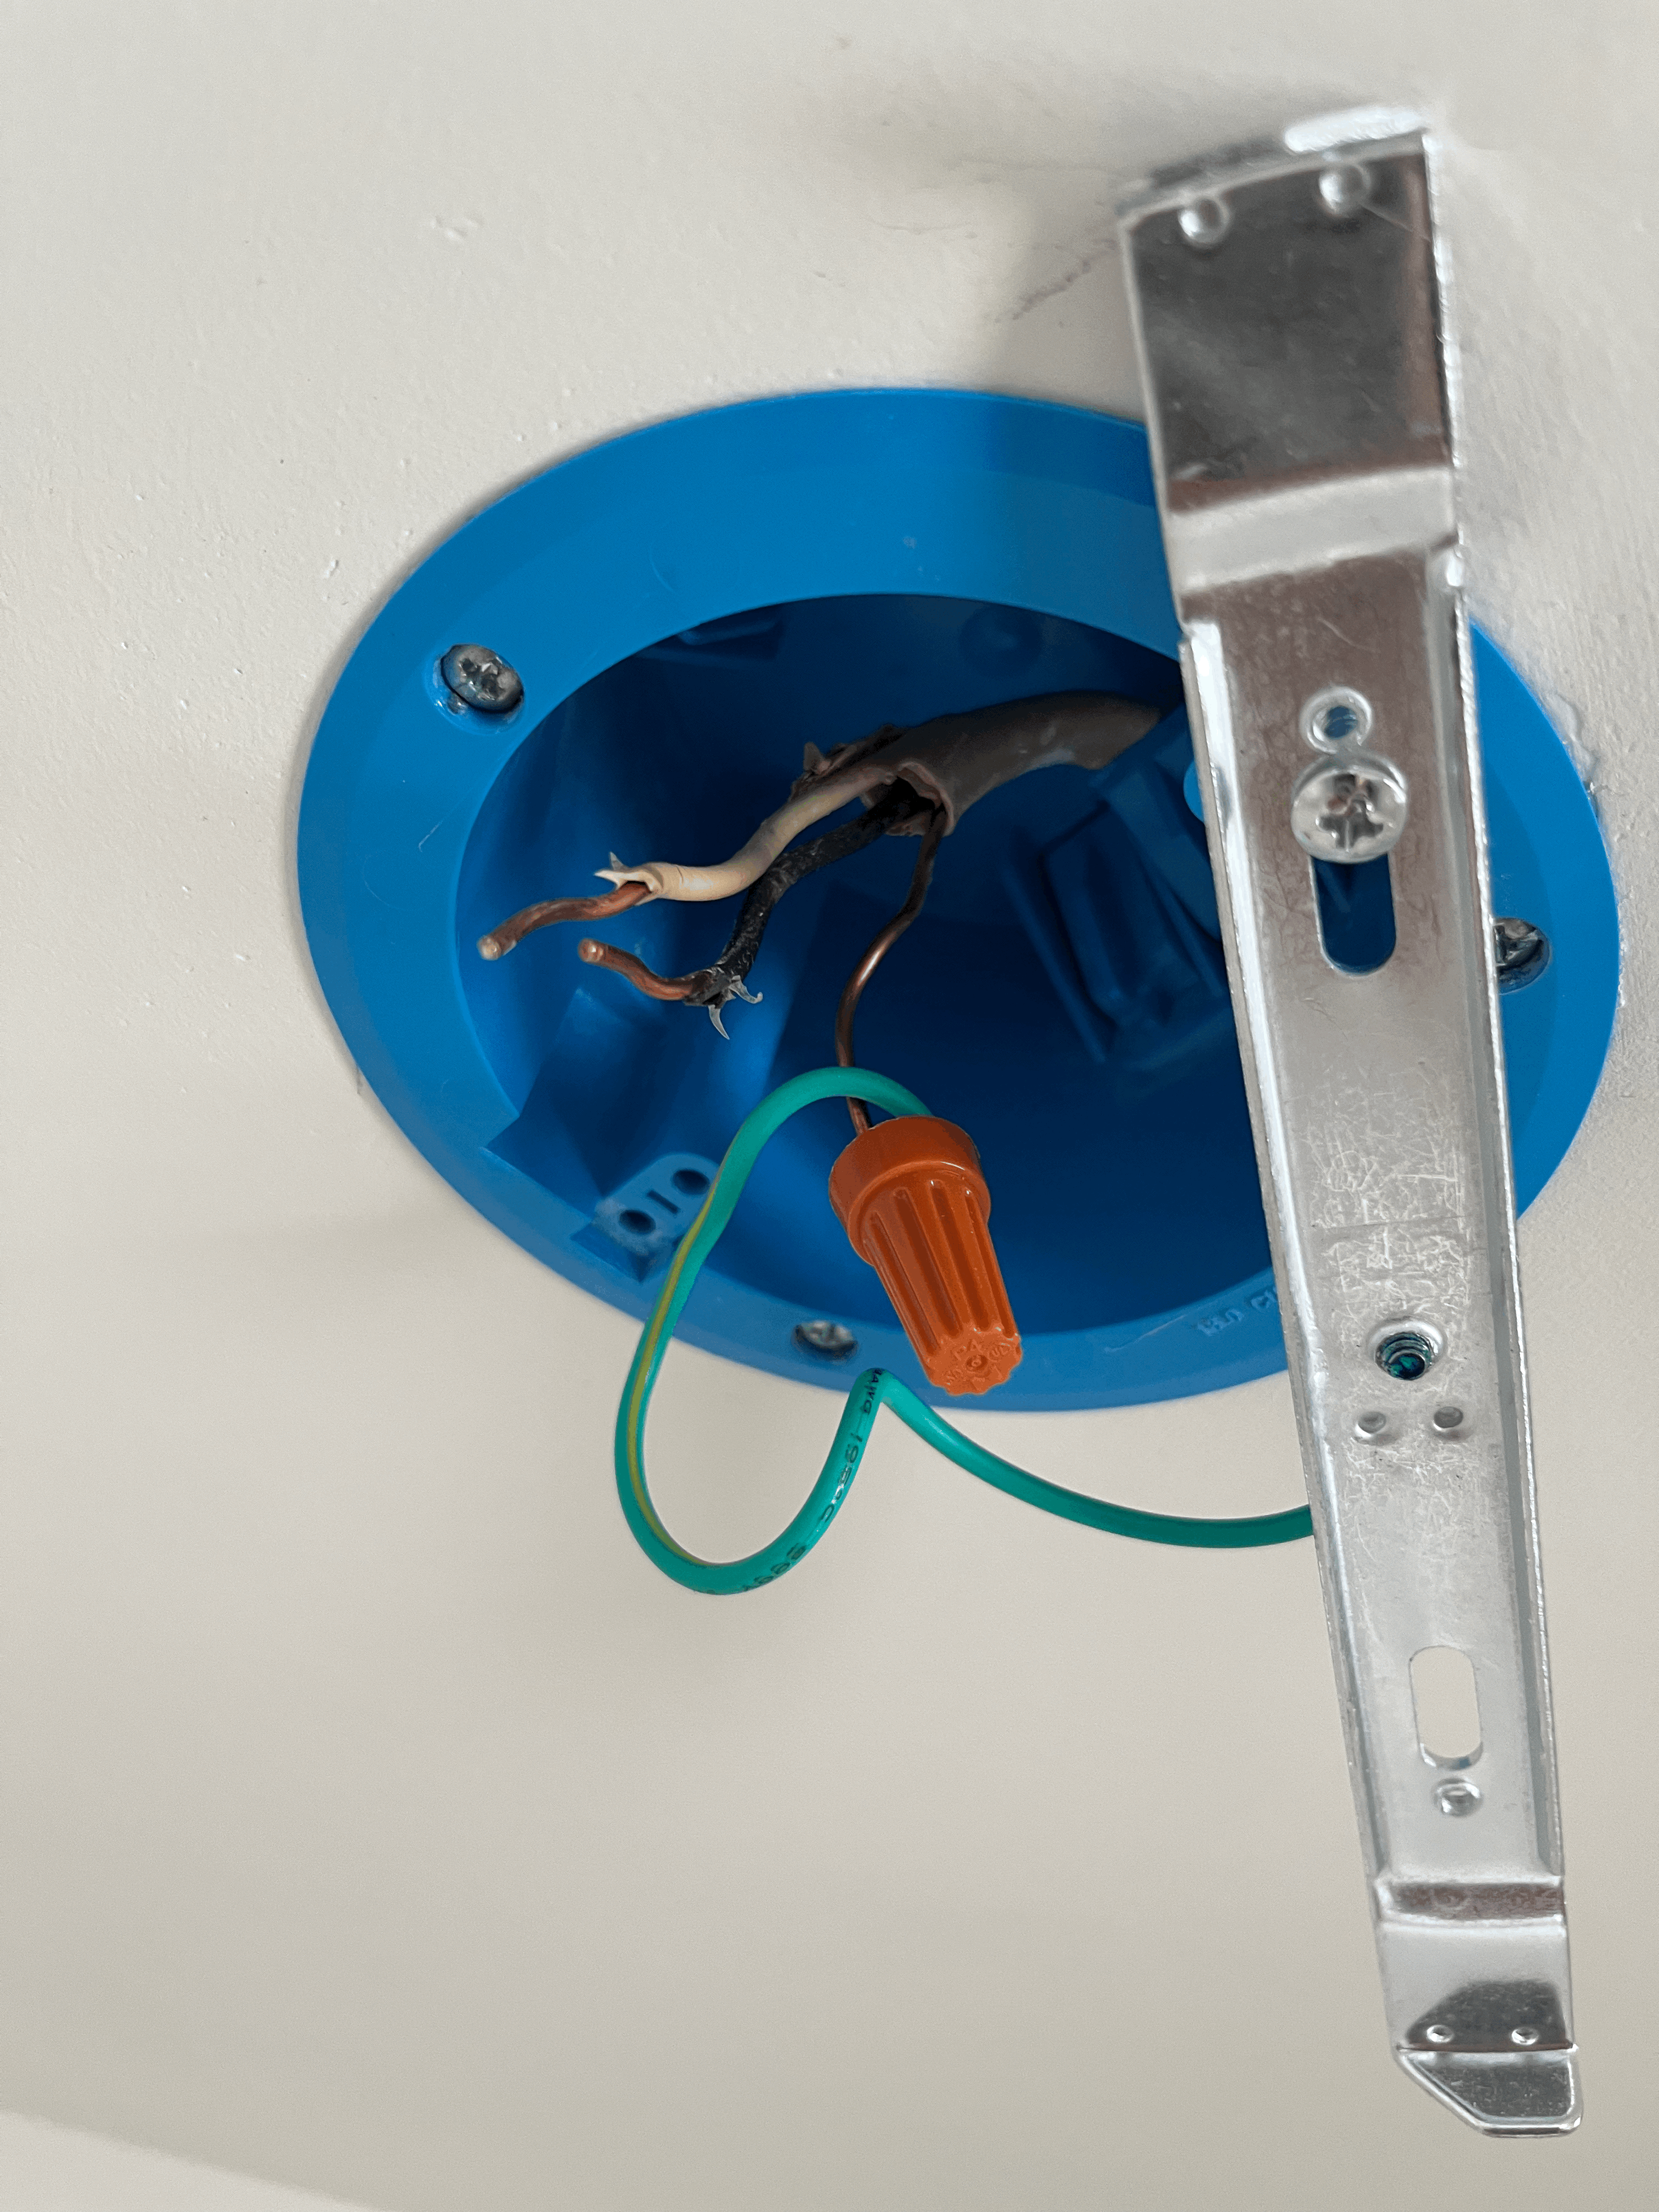
*NOTE: PLEASE MAKE SURE YOU TURN OFF THE CIRCUIT BREAKER BEFORE TOUCHING ANY EXISTING WIRES*
With one of the bracket screws which are included in the package, I fixed one side of the bracket to the juction box on the ceiling and then connected the ground wires(the copper wire without insulation from the existing wires and green wire which is attached to the bracket) first. The reason why I didn't screw both sides of the bracket at first was because I needed some space to play around with the other wires. The existing wires were too short to connect to the light fixture with the bracket fully mounted to the junction box.
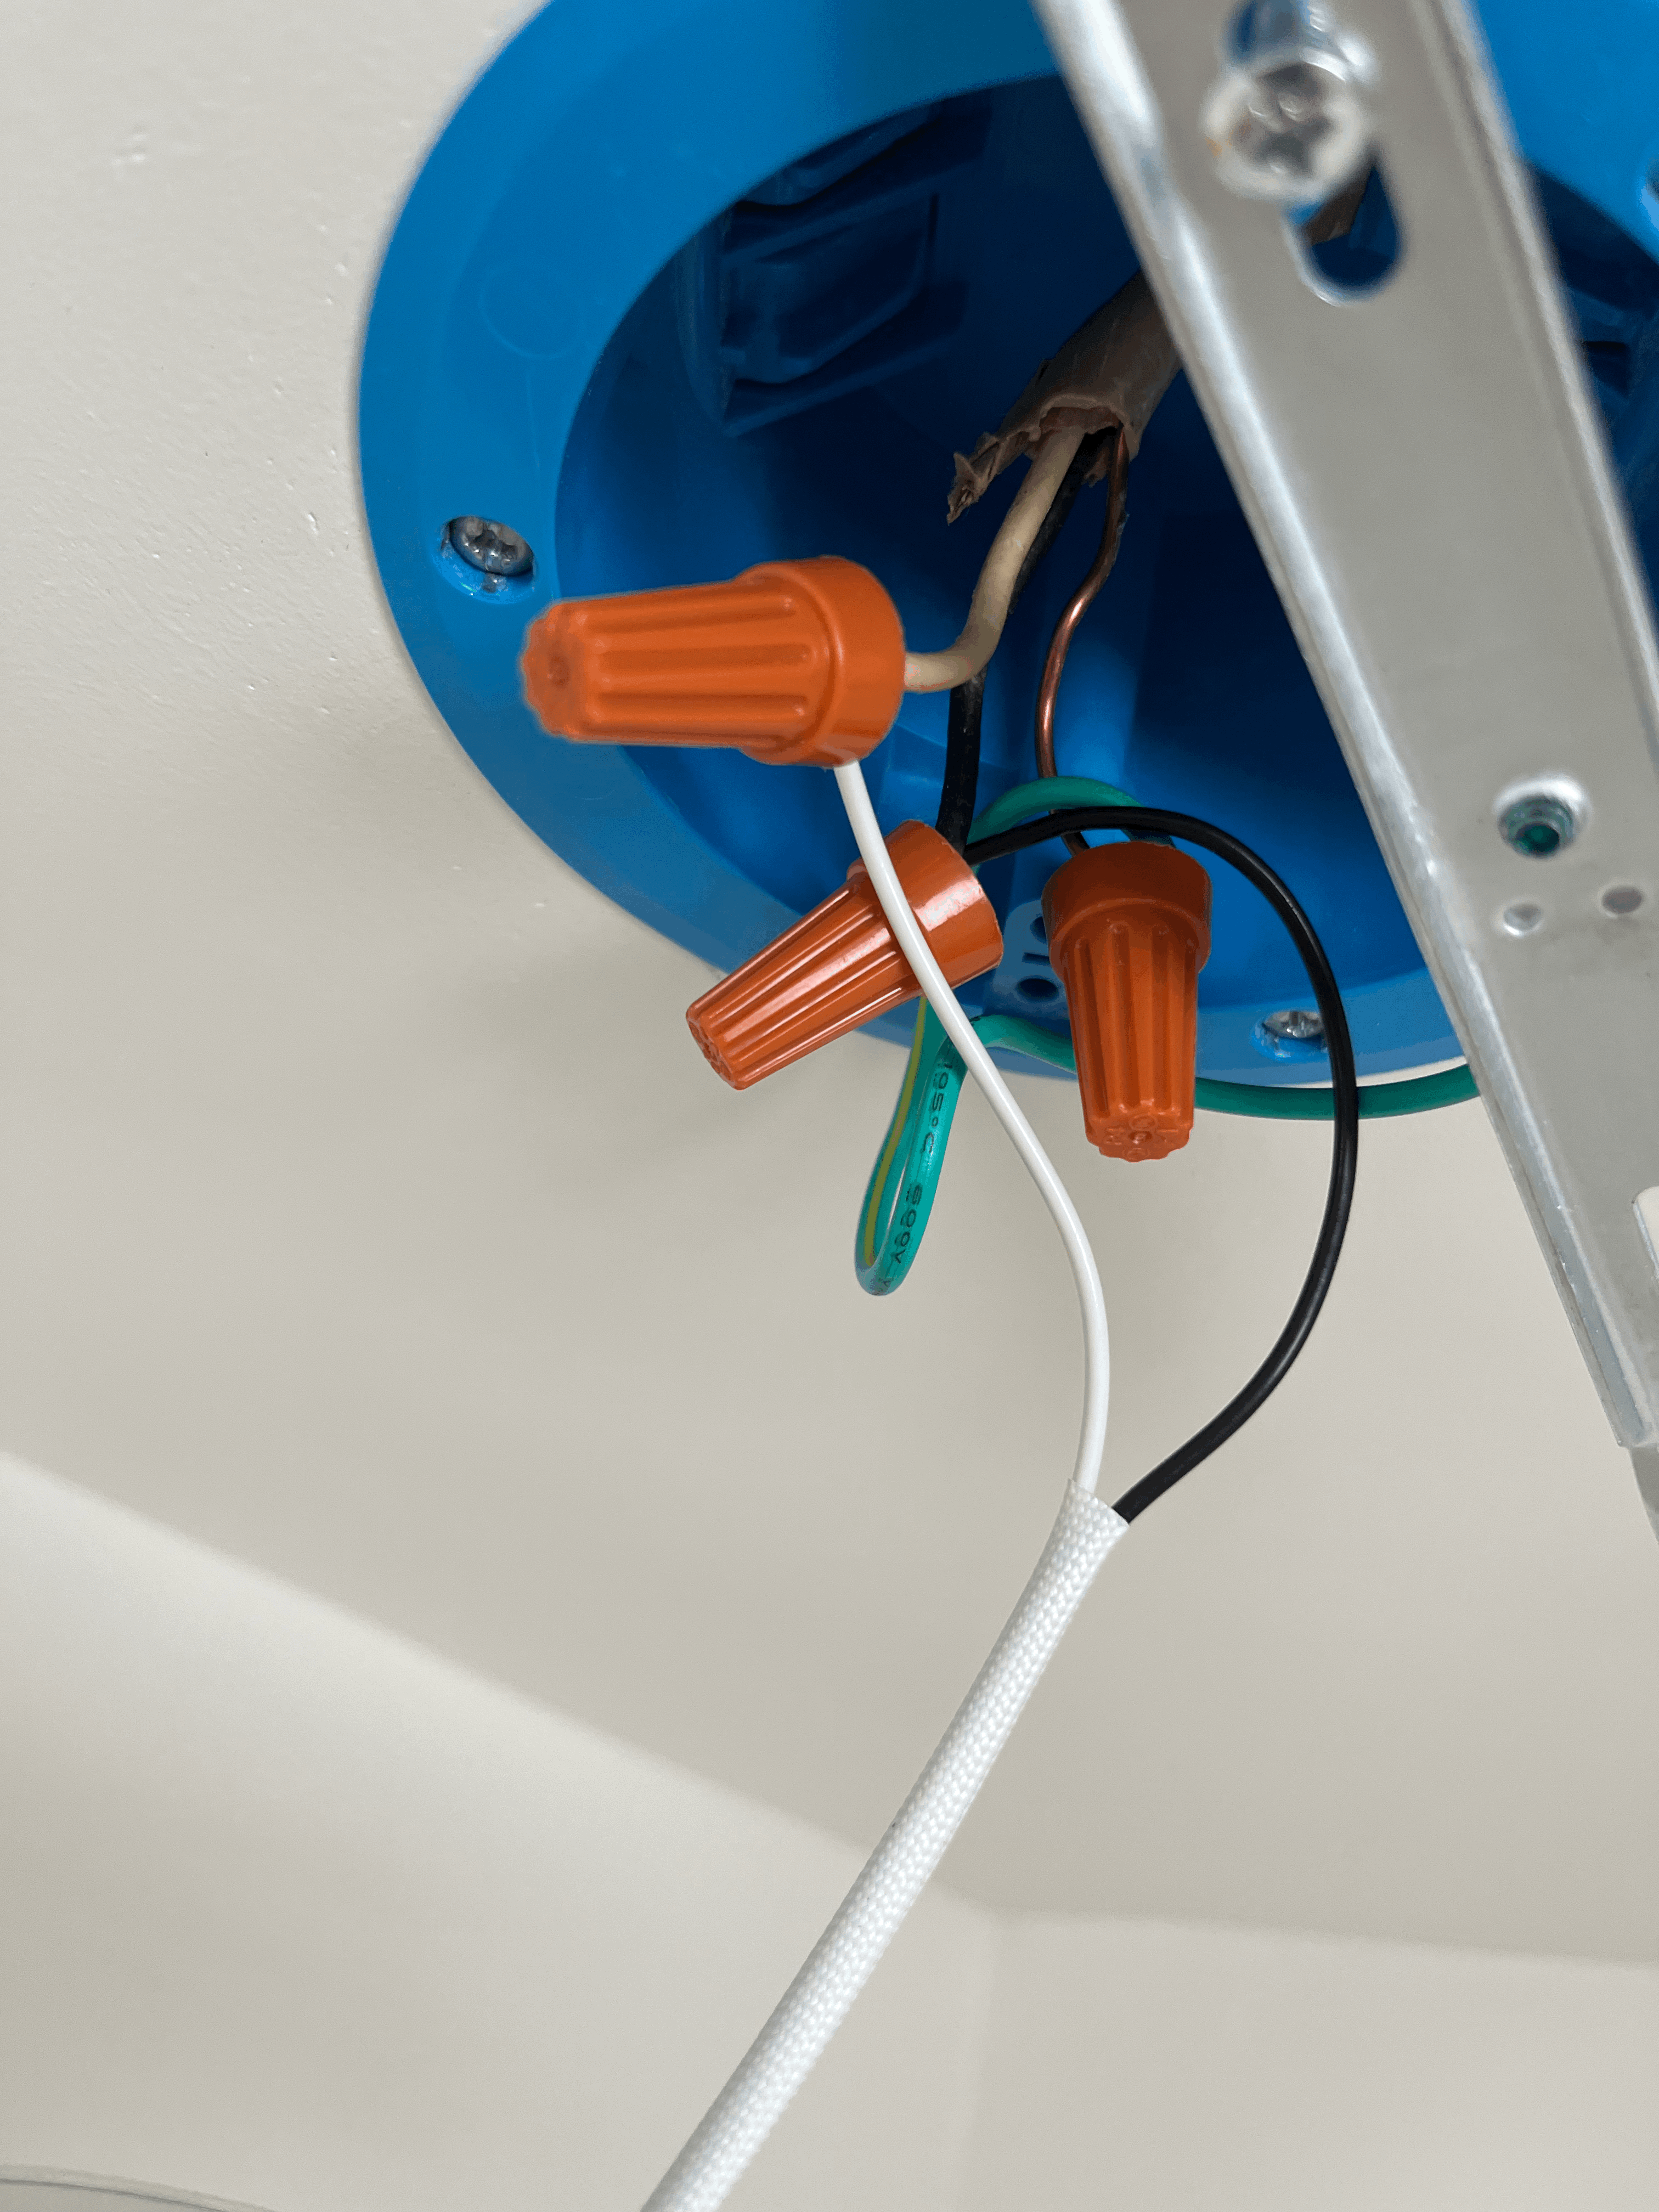
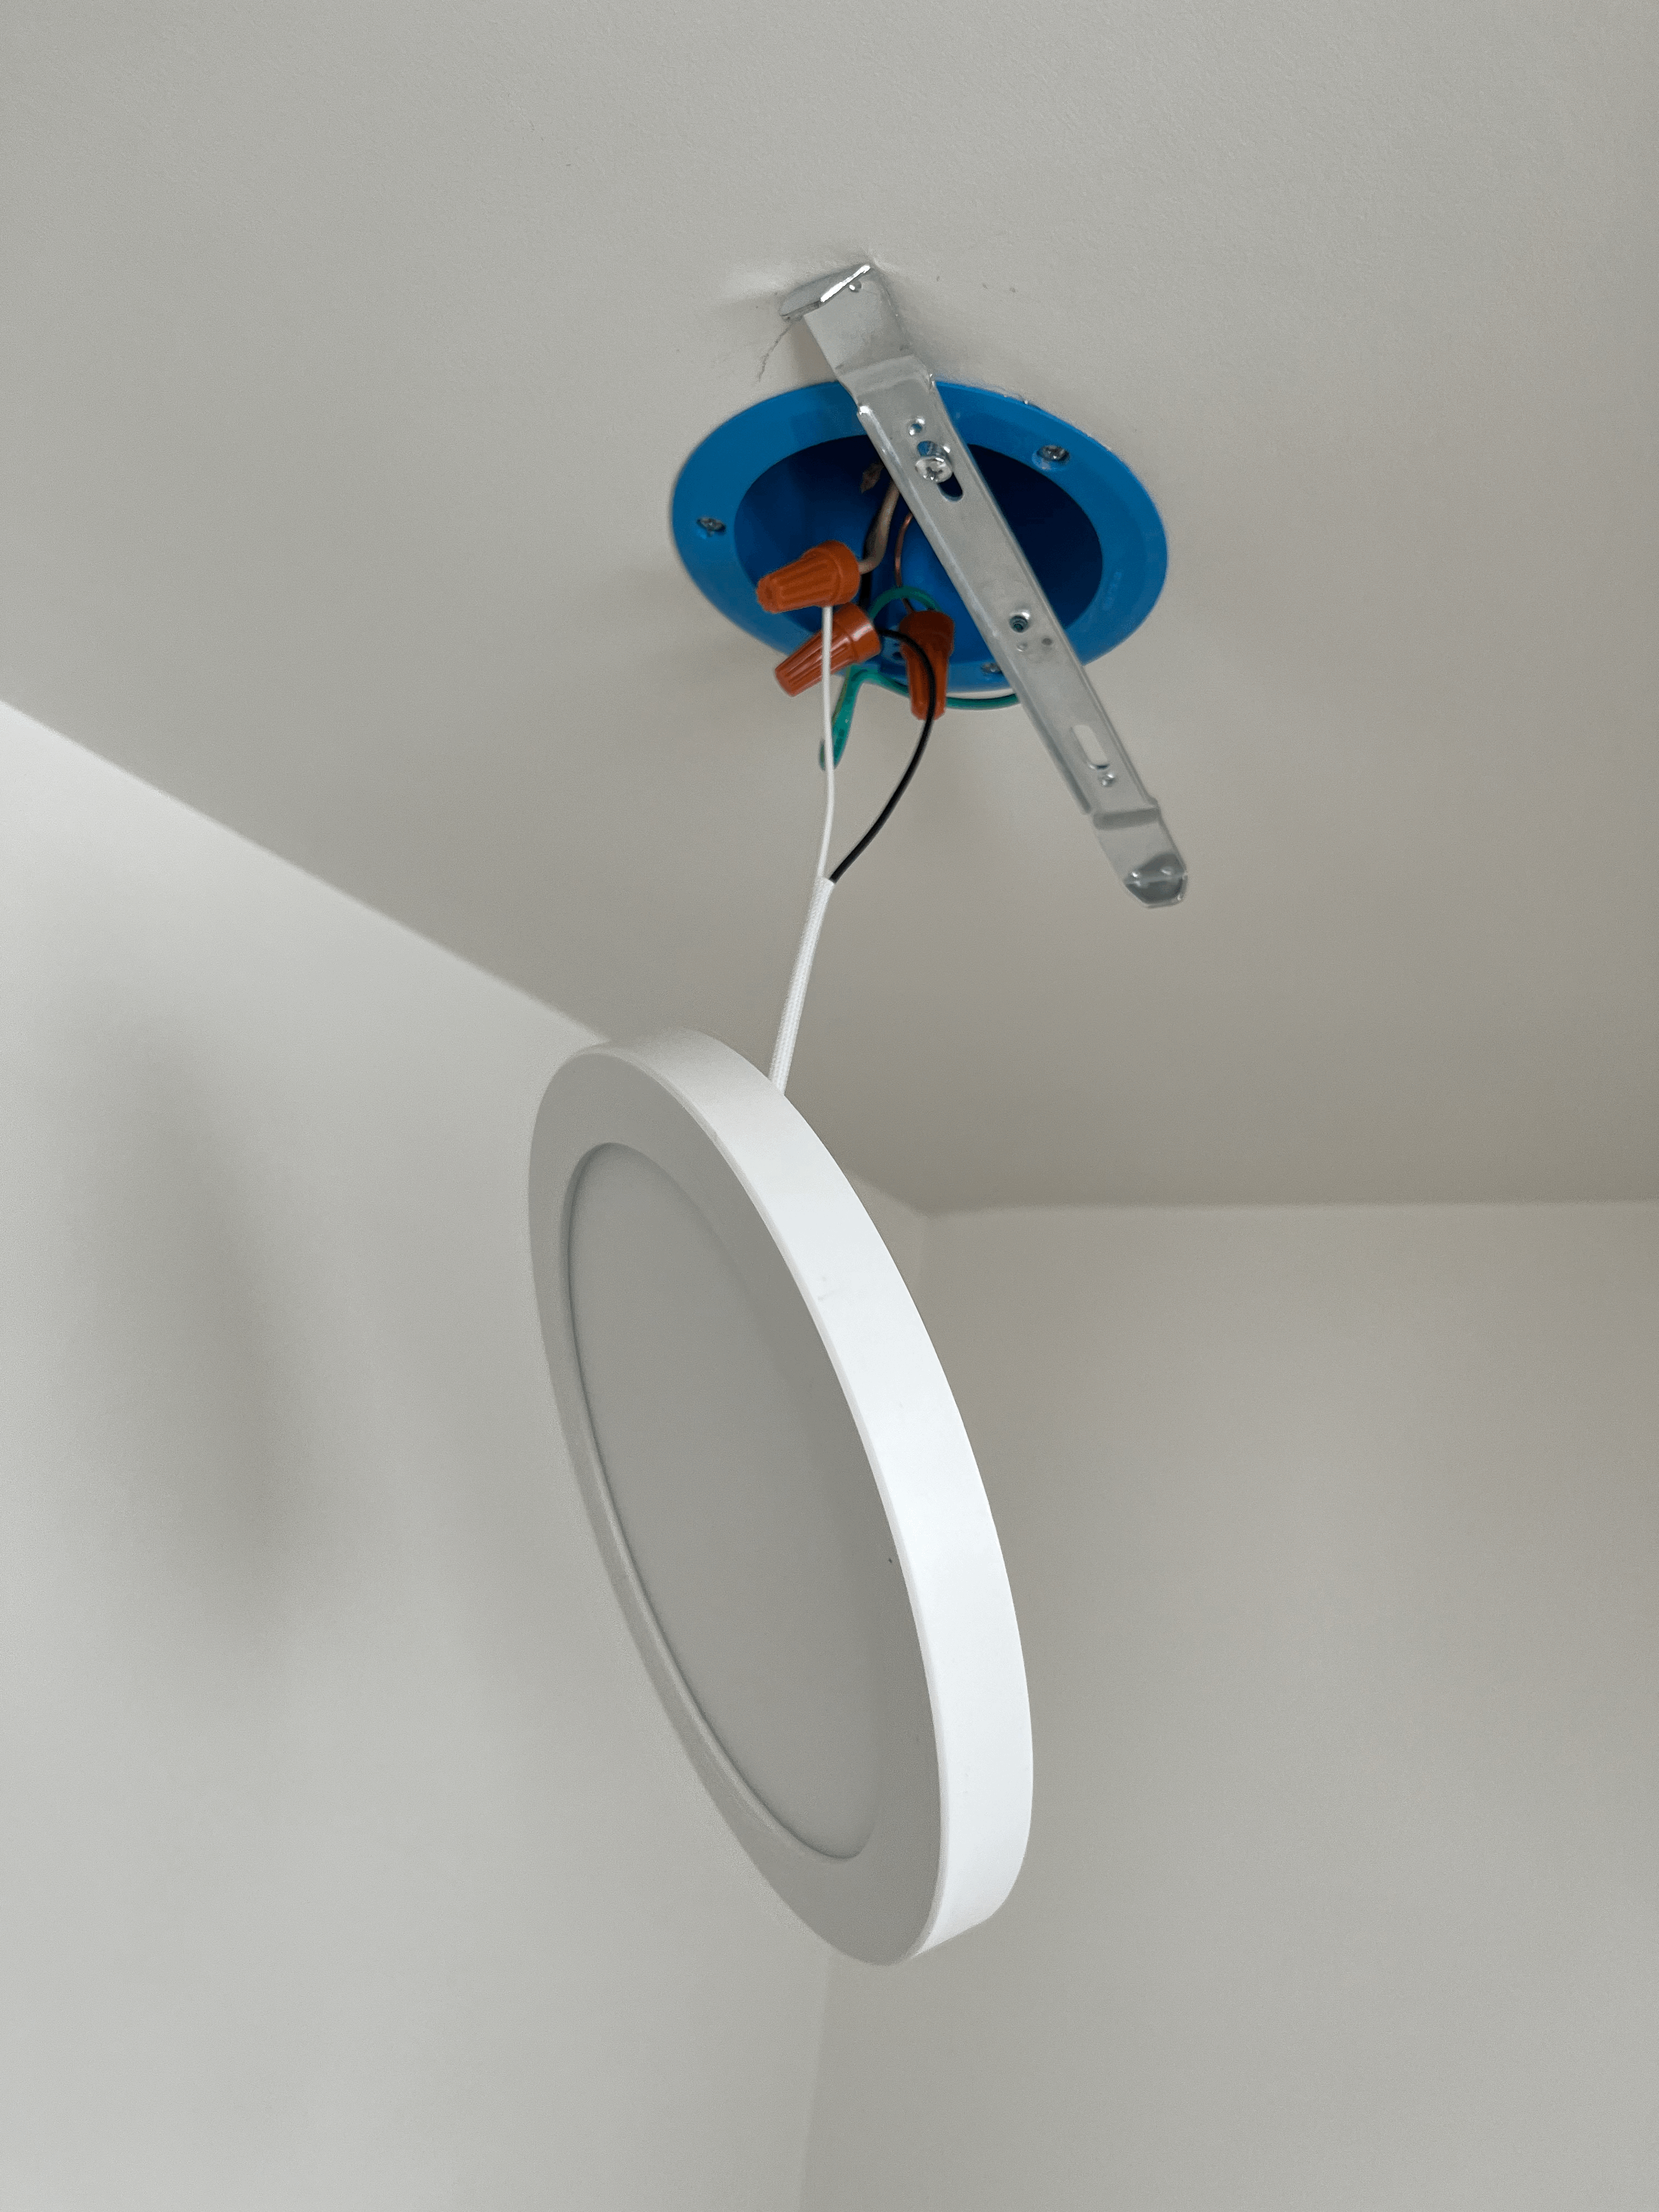
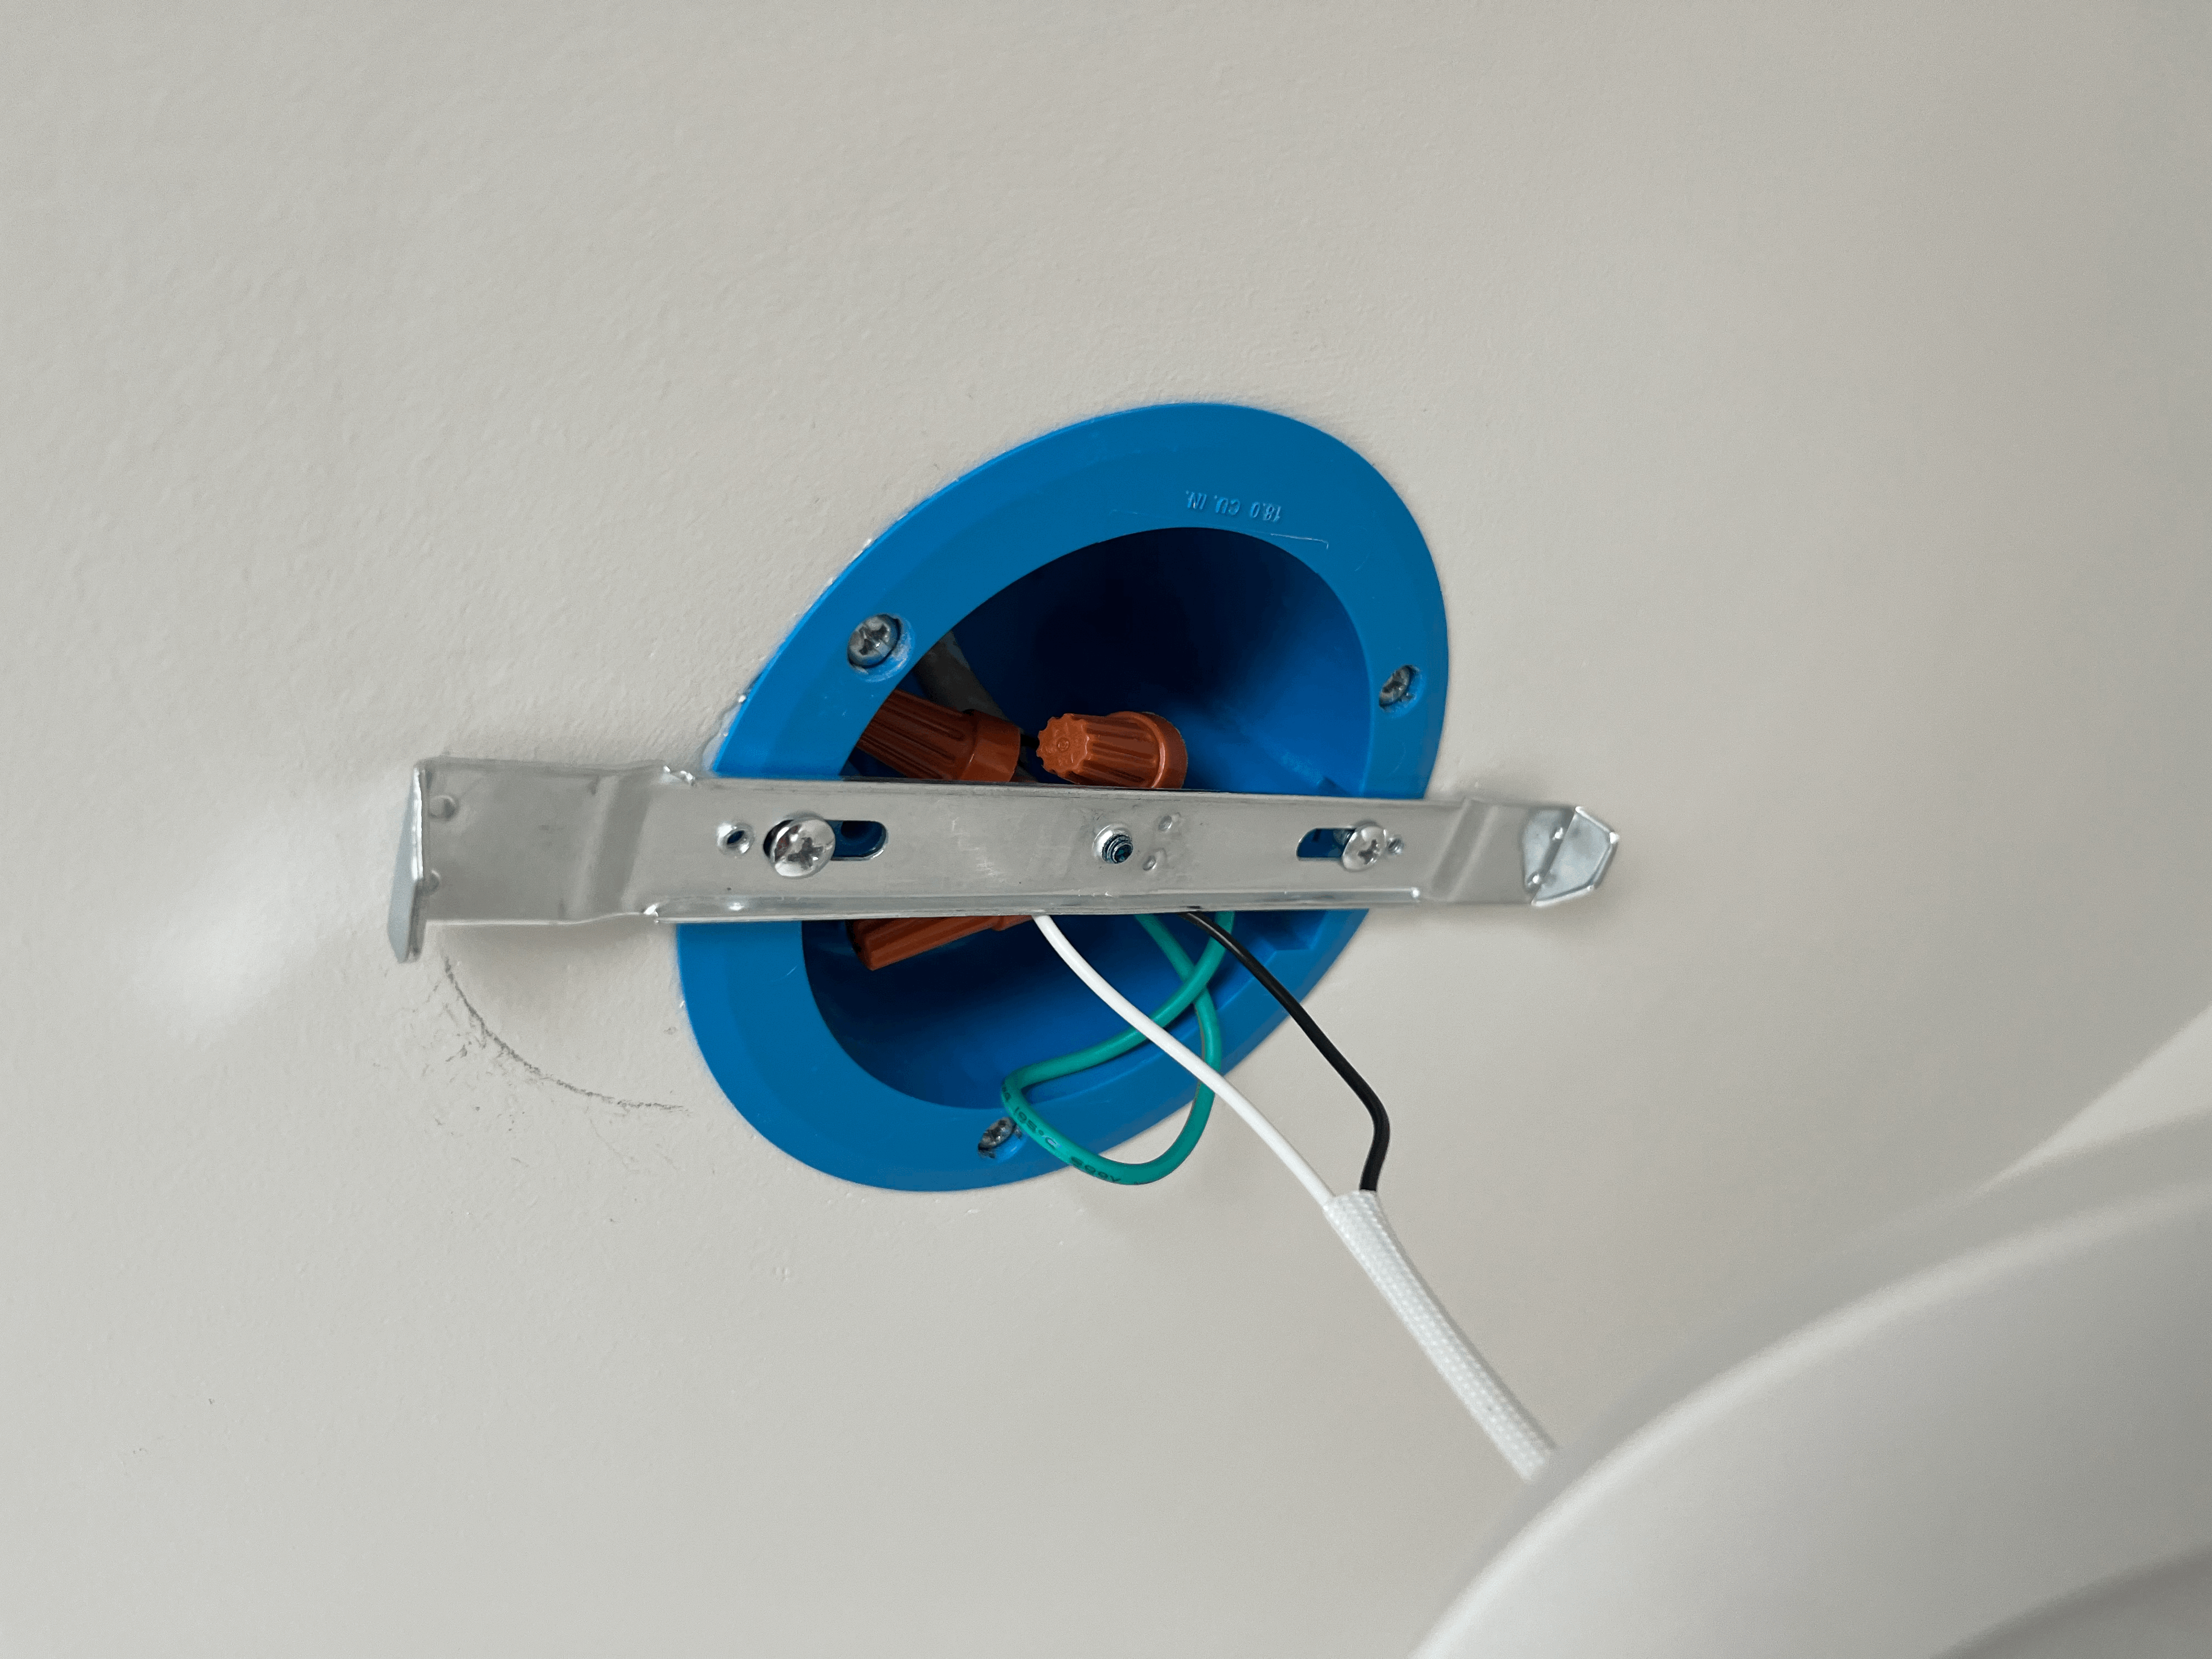
After connecting the ground wires, I went ahead and connected the neutral wires(white) and hot wires(black) too. I recommend checking that those wires are tighly connected in a wire nut by pulling each wire.
Then finally, I could mount the other side of the bracket to the juction box.
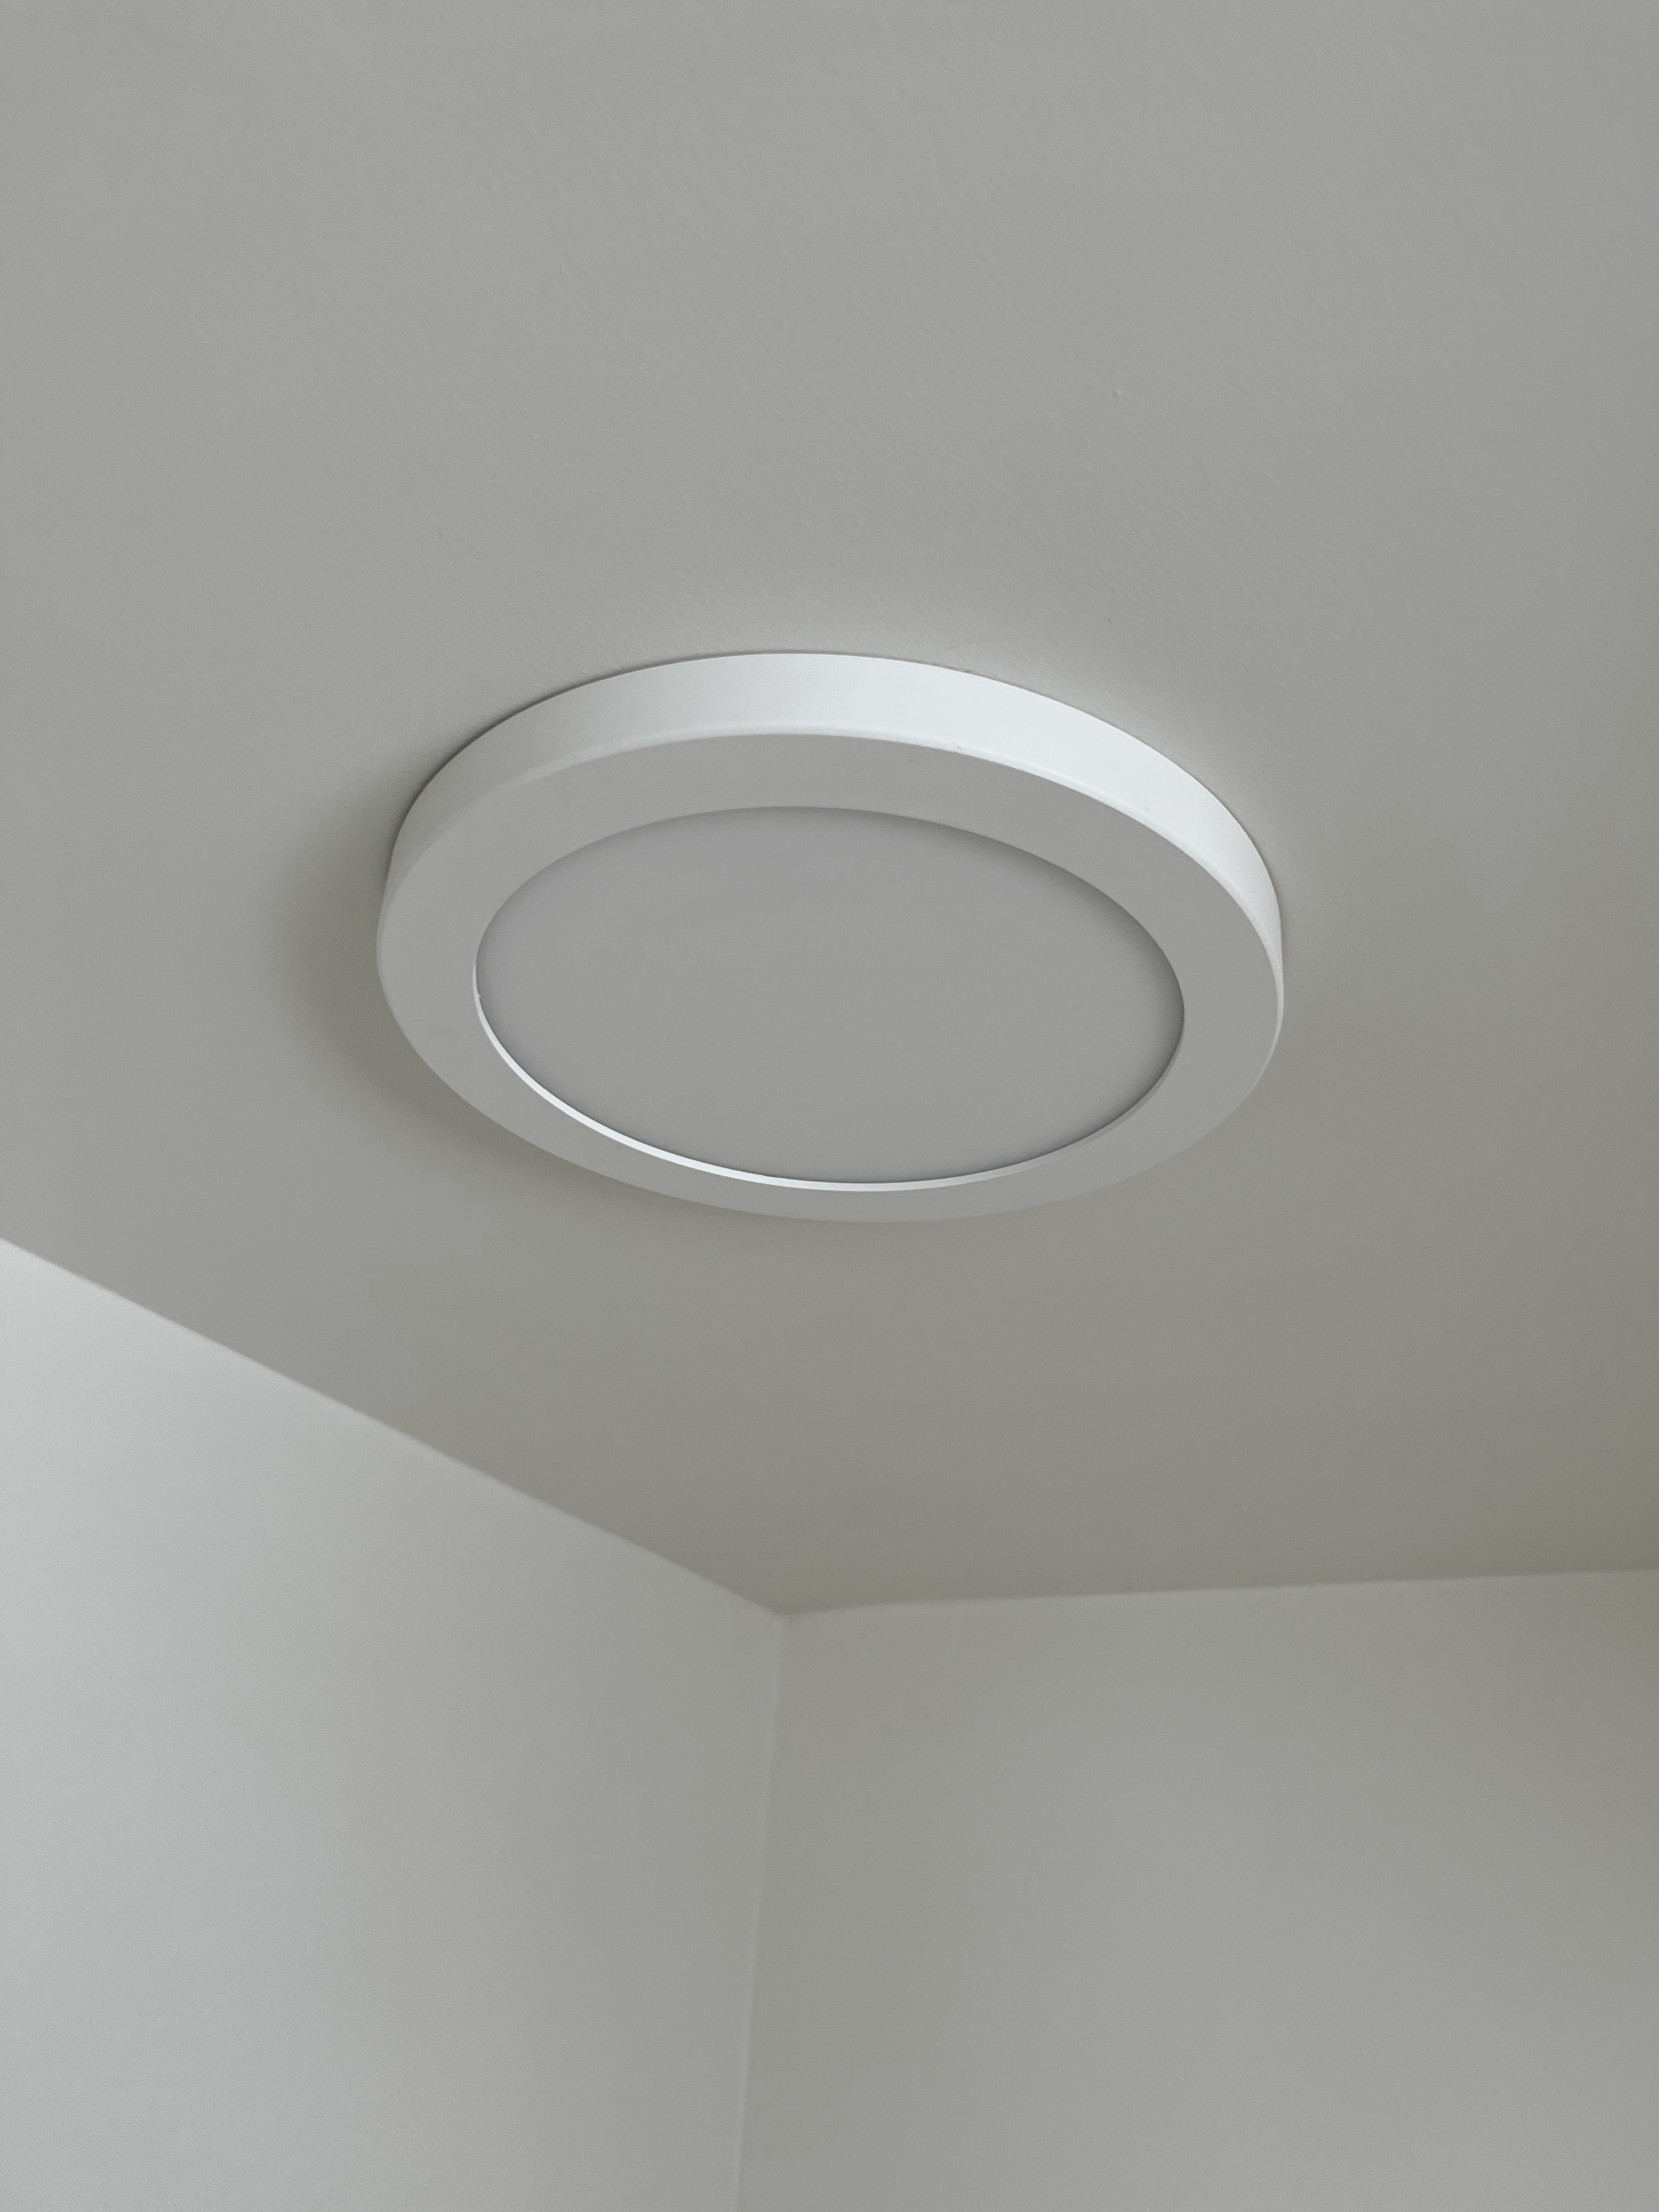

I mounted the light fixture by twisting the bracket the opposite way from when I removed it from the fixture, and then attached the brushed gold magnetic trim.
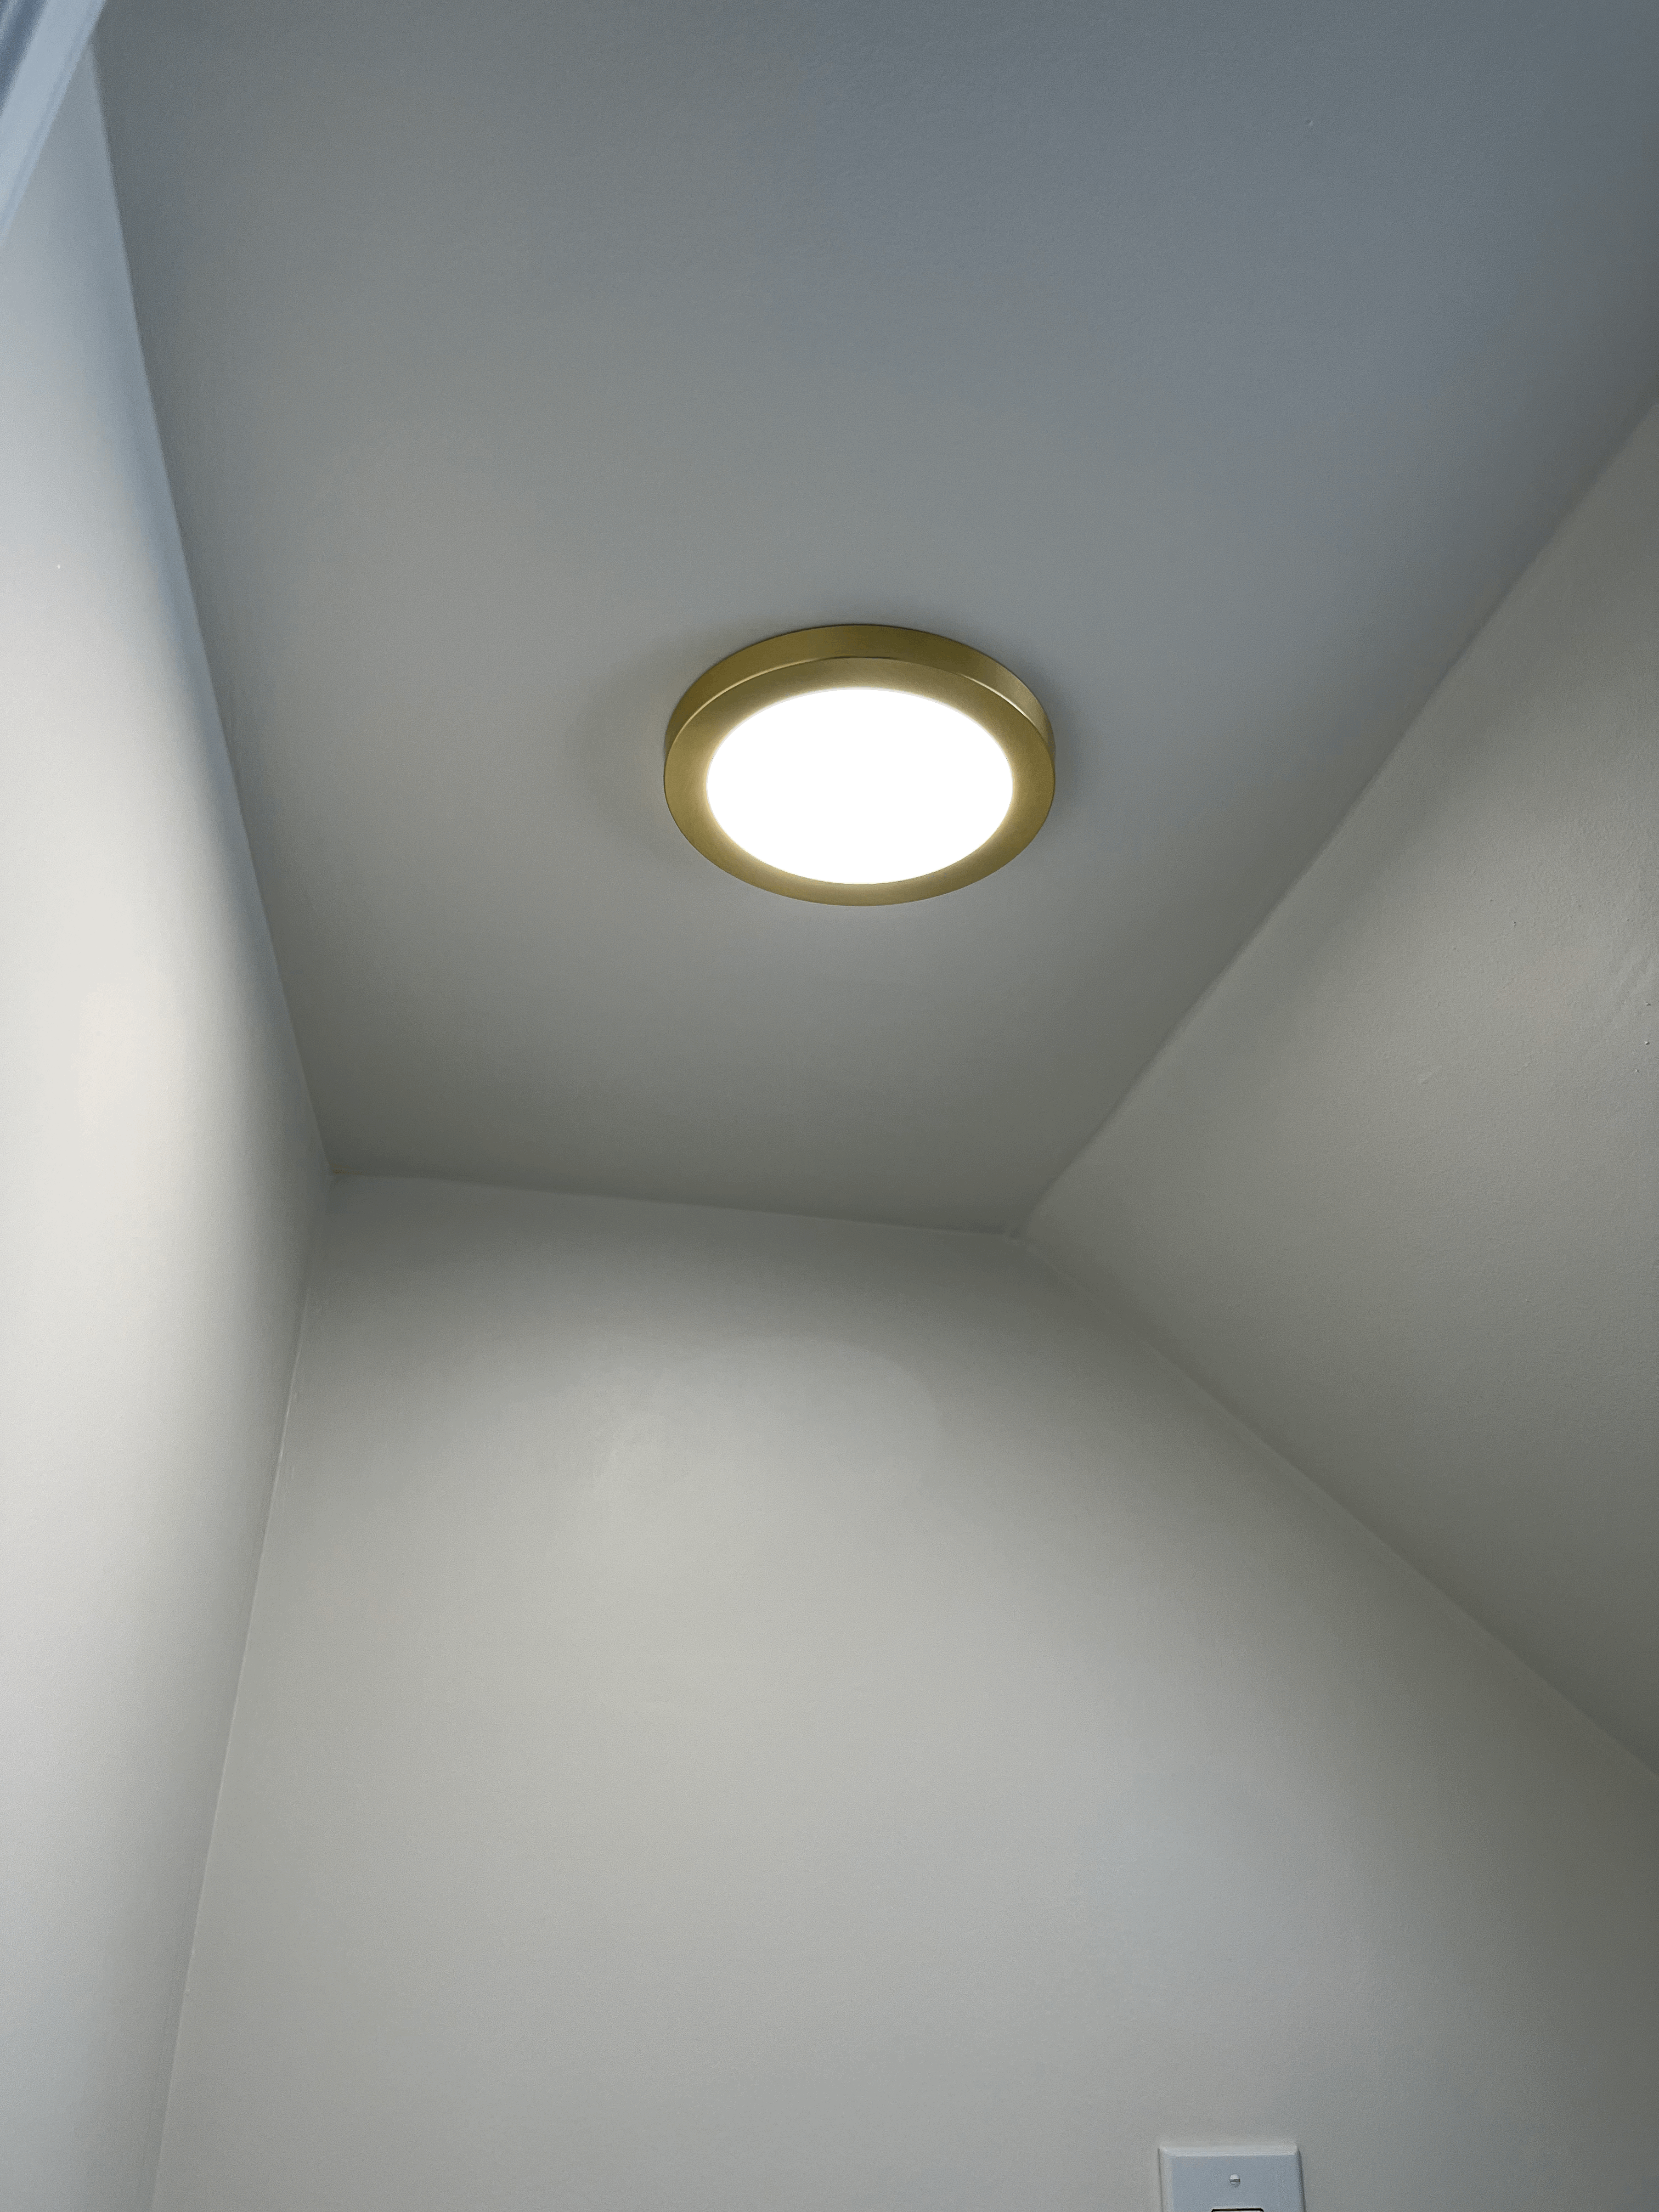
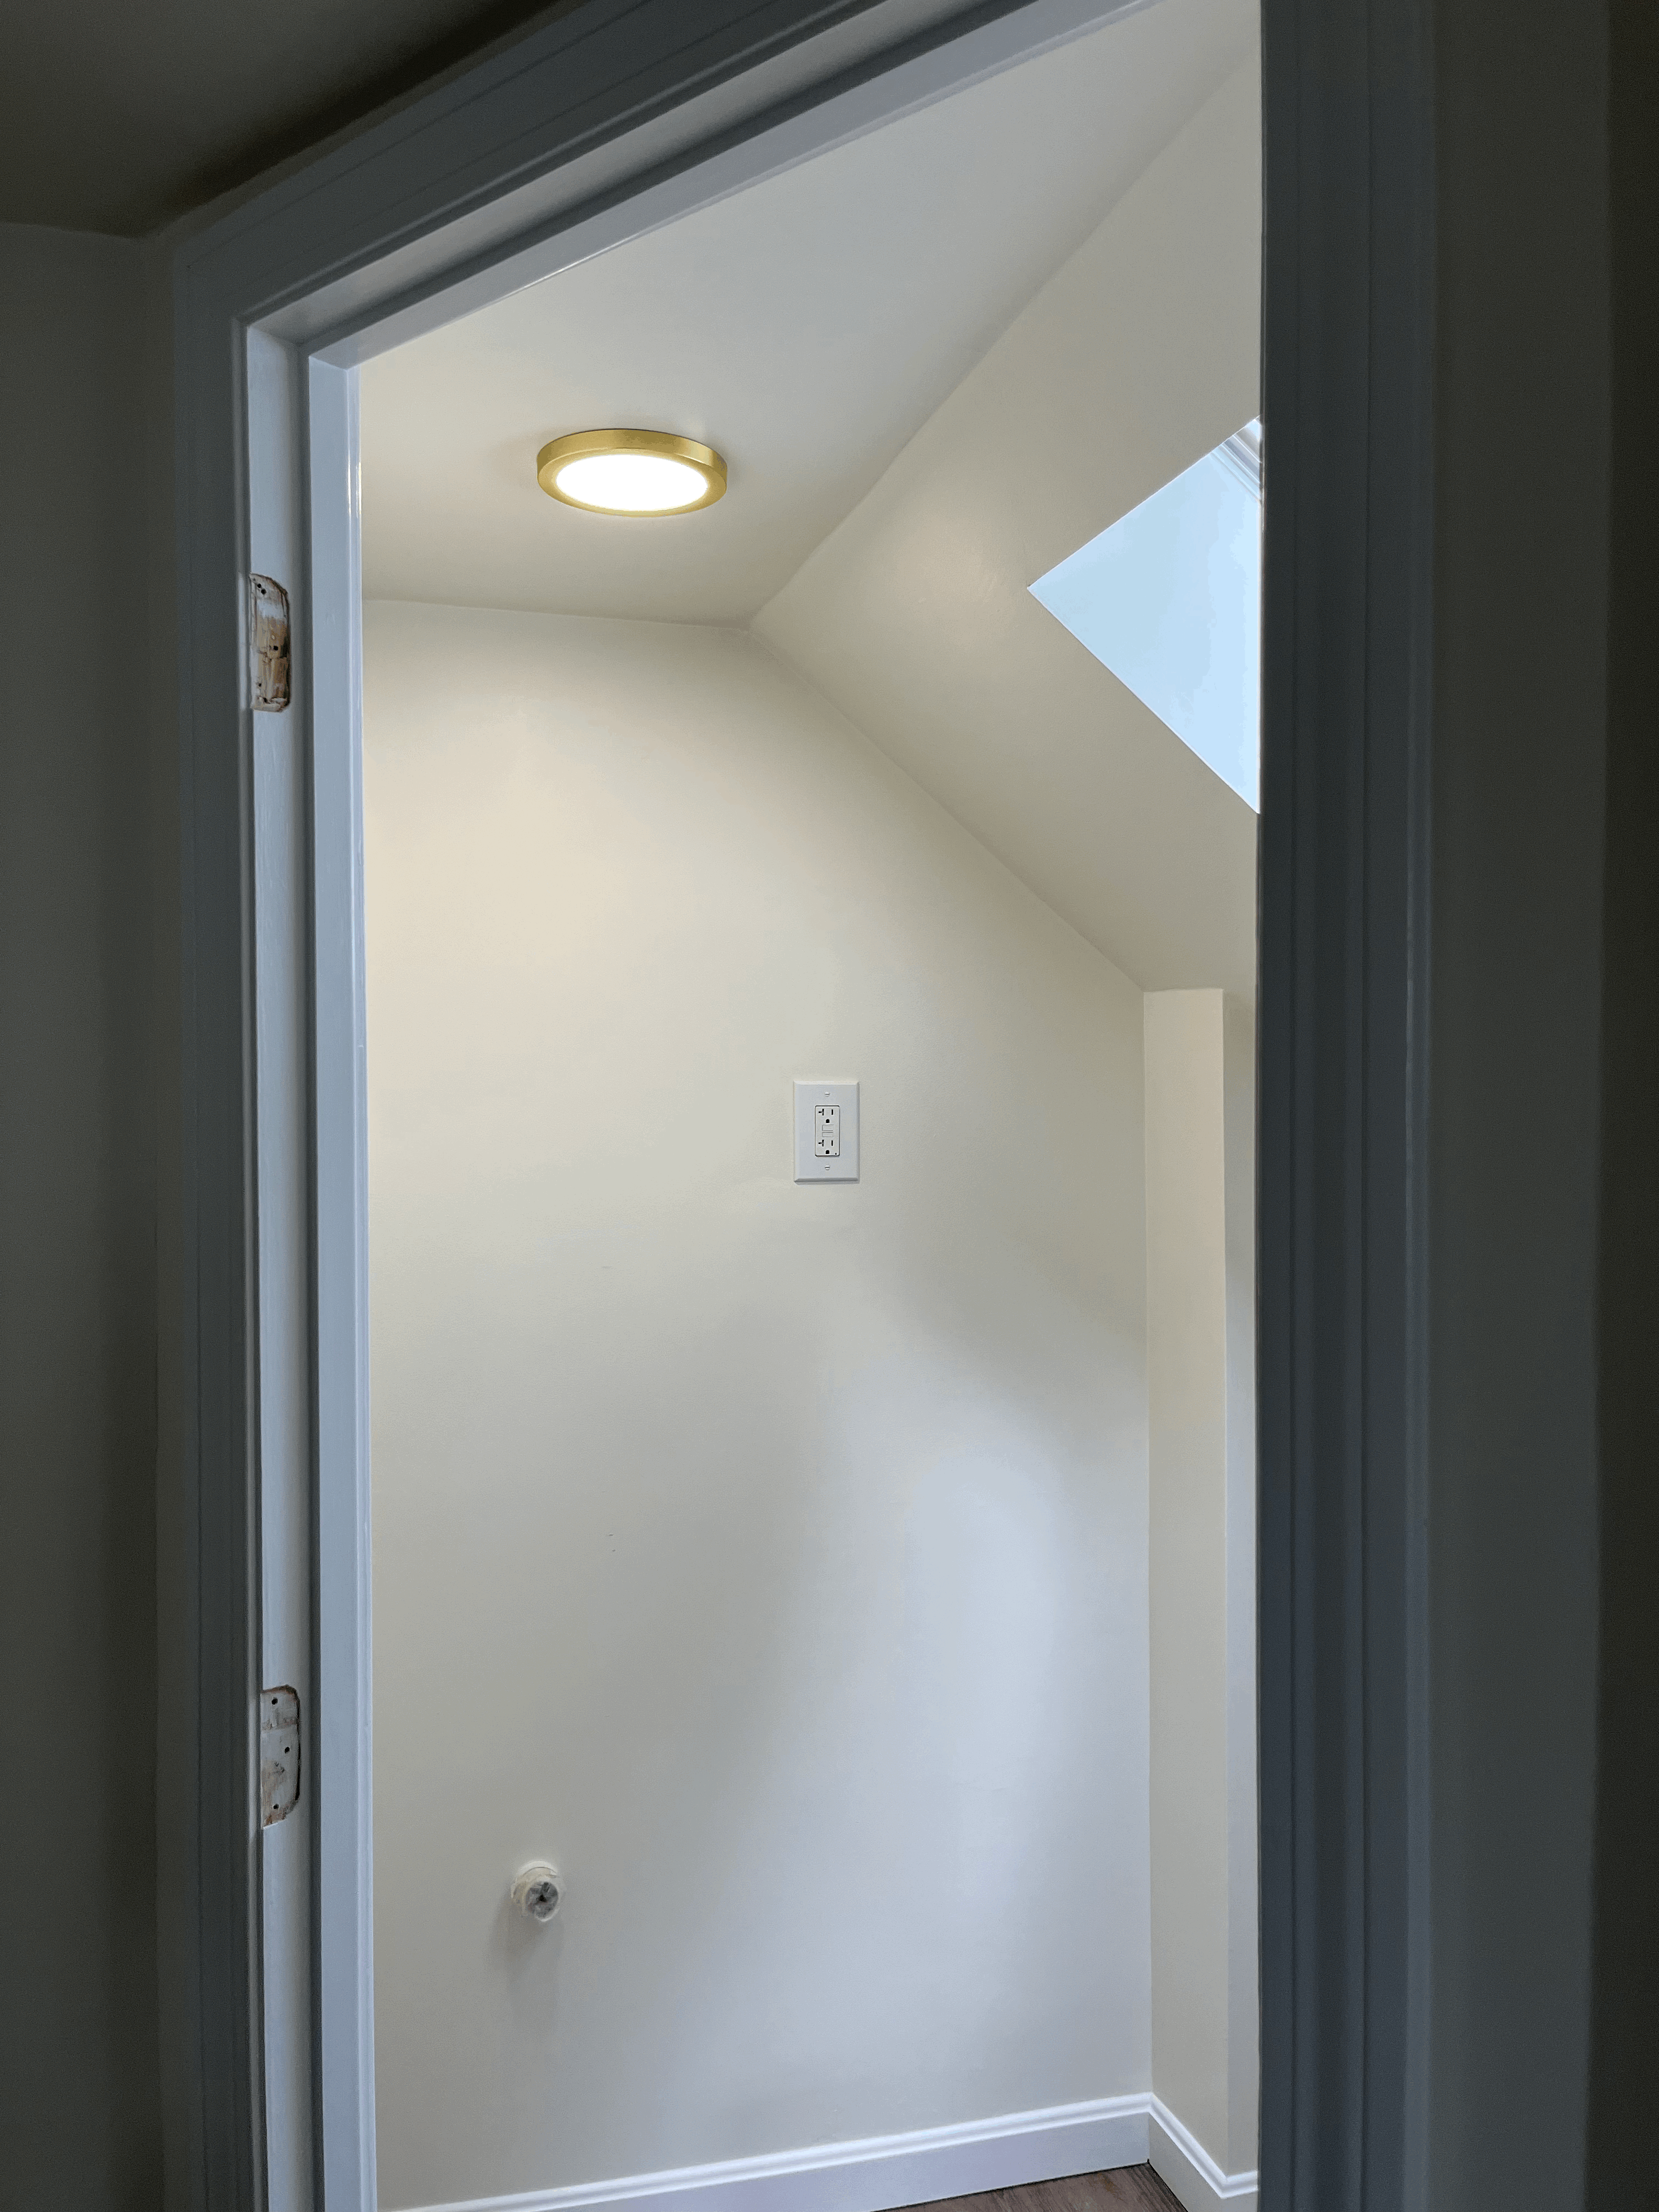
It's a really nice light for my bathroom. I love it!
The size and color, everythig is perfect.
If you are looking for a low profile and brushed gold finish ceiling light, I 100% recommend this one.
For the next post, I am going to share how I built my vanity.
See you soon!