2023. 8. 25. 22:44ㆍDIY projects
When it comes to furniture, it's always hard to find exactly the one I want at an affordable price. That's why I started to build my own furniture. I built the whole set of kitchen cabinets and bathroom vanities so far, but I'd like to do more variety of furniture in the future like dressers, TV console, dining table and so on.
My attic bathroom vanity was another of my DIY projects.
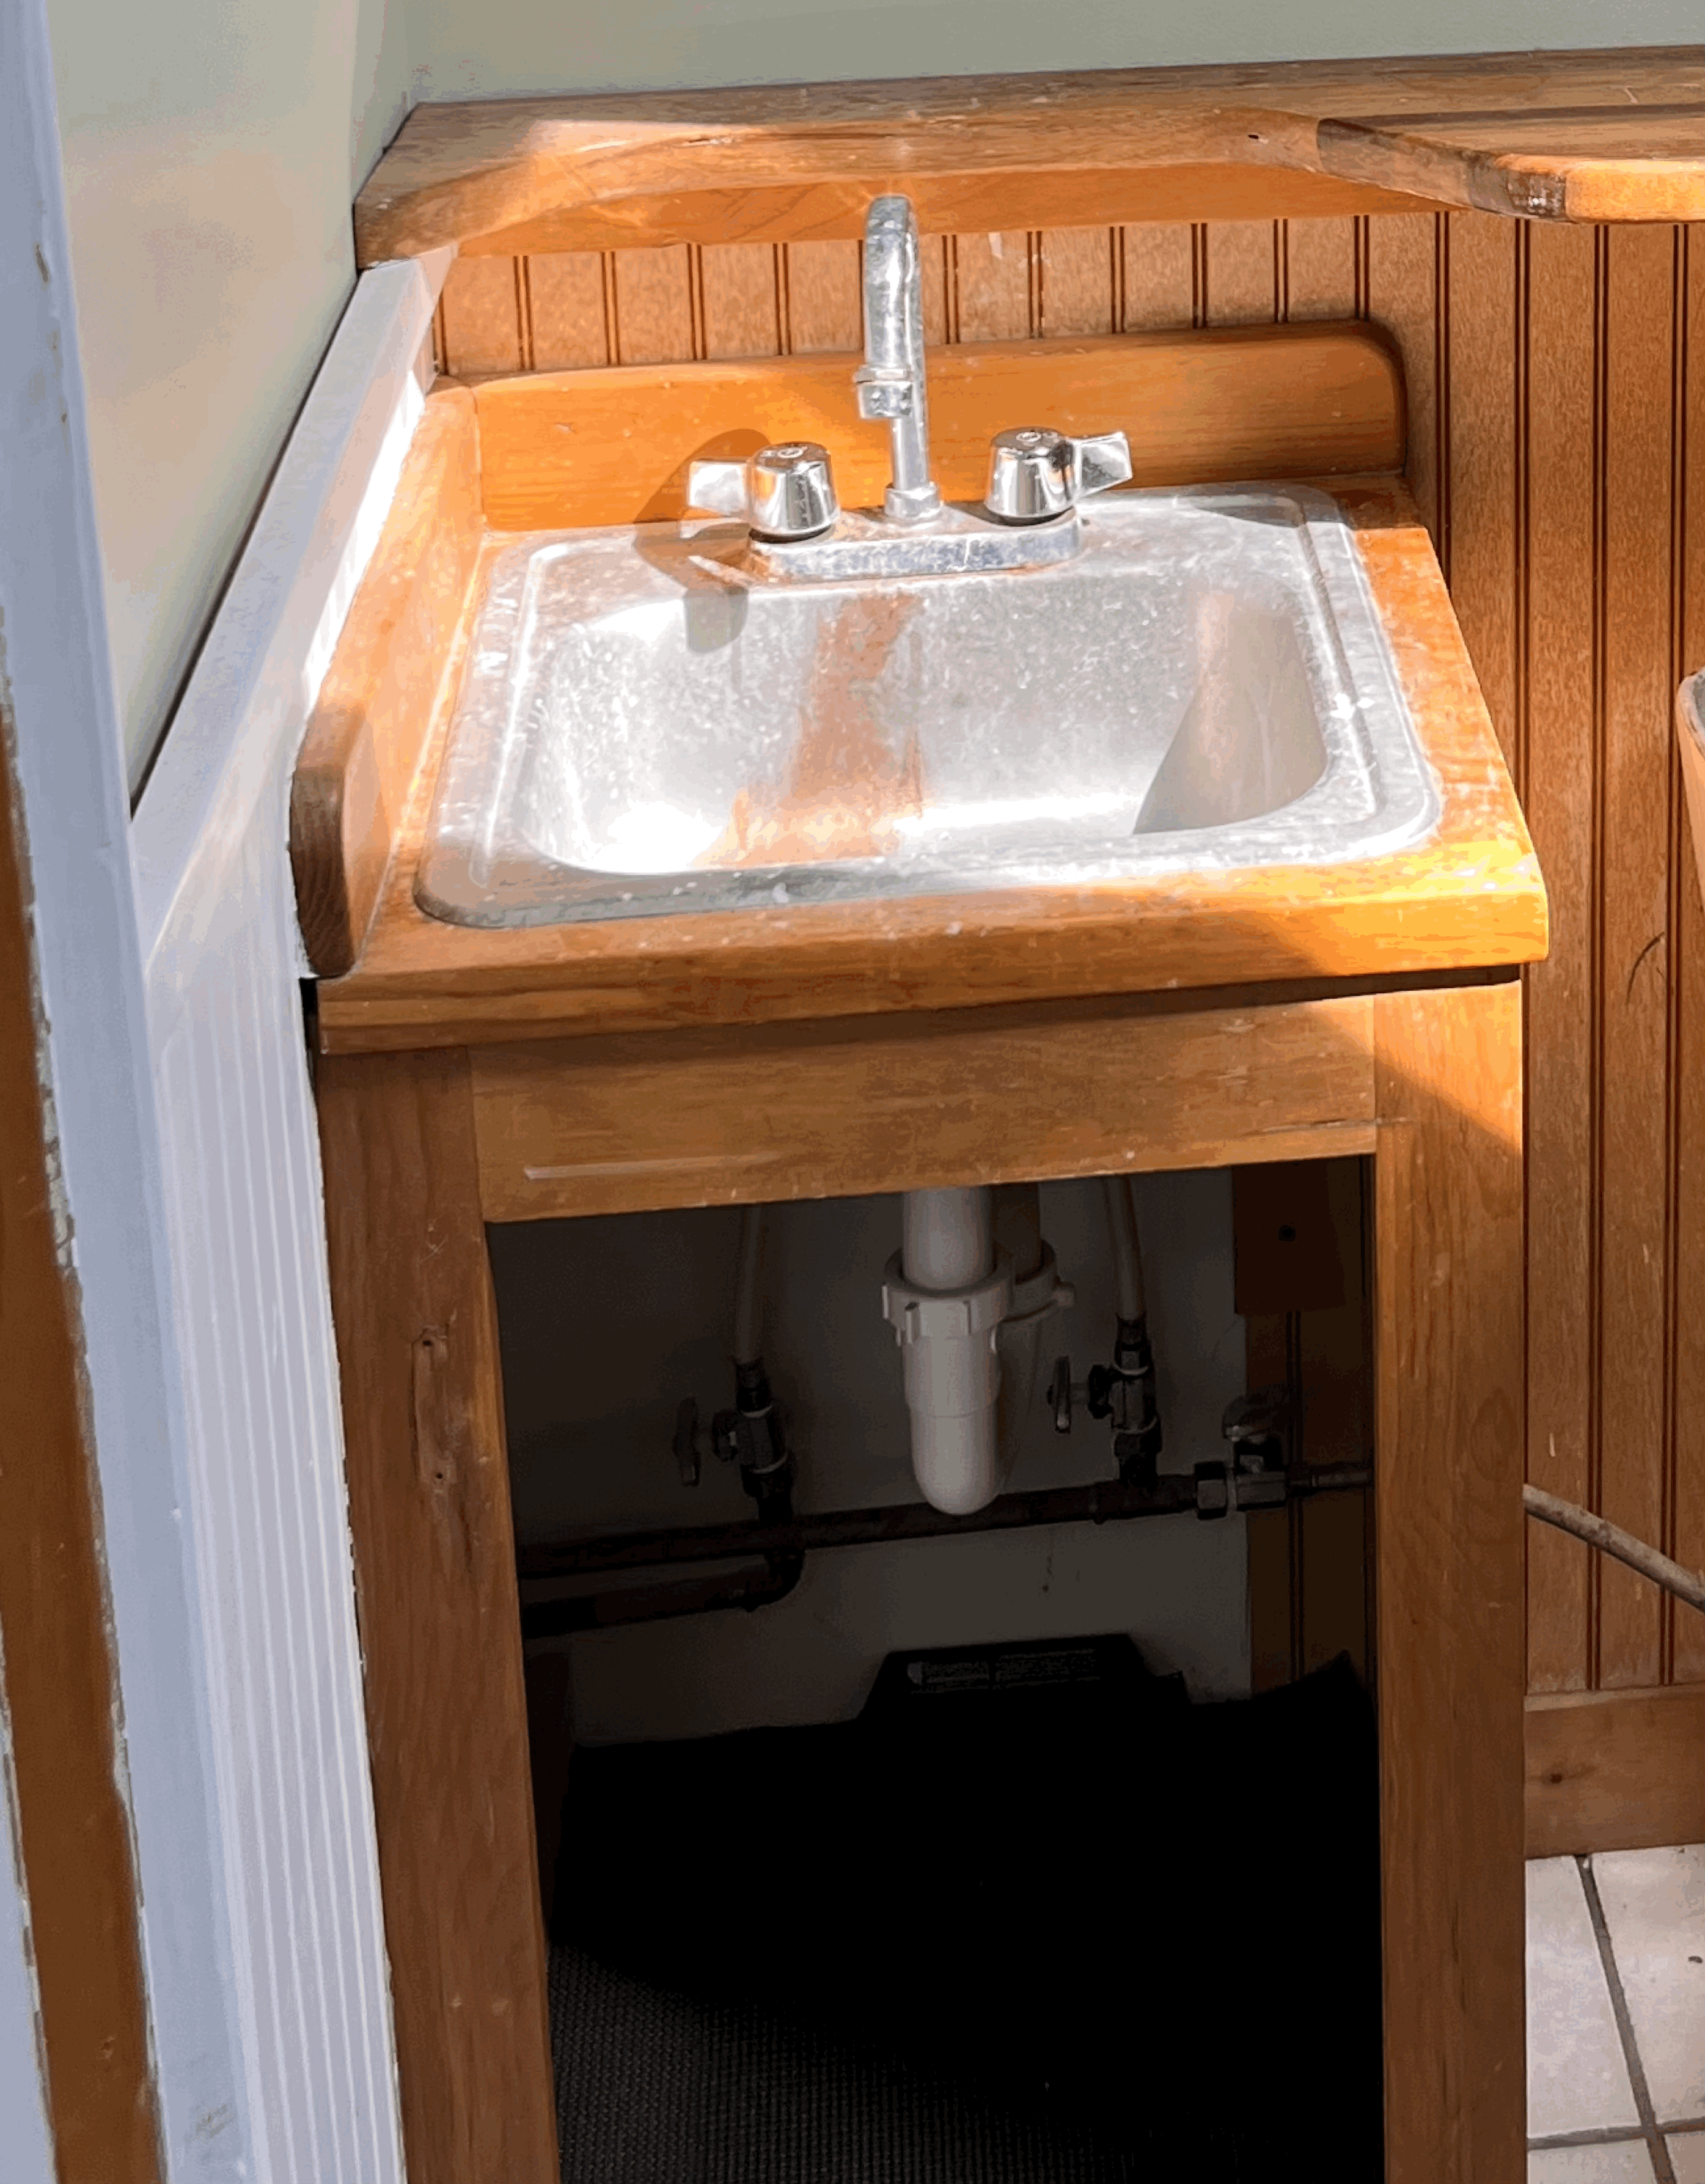
This picture is the original vanity with a stainless steel sink. It was disgusting....
My plan was to have a full ceramic sink on the top of the vanity. I love ceramic sinks for bathrooms. Its glossy and white surface gives you the cleanest and sleek look. Also I thought one full ceramic sink that covers the whole vanity top might be bigger than different materals mixed like the orginal vanity.
So I purchased a ceramic sink first and then started to build a vanity to fit it.
To build the vanity....
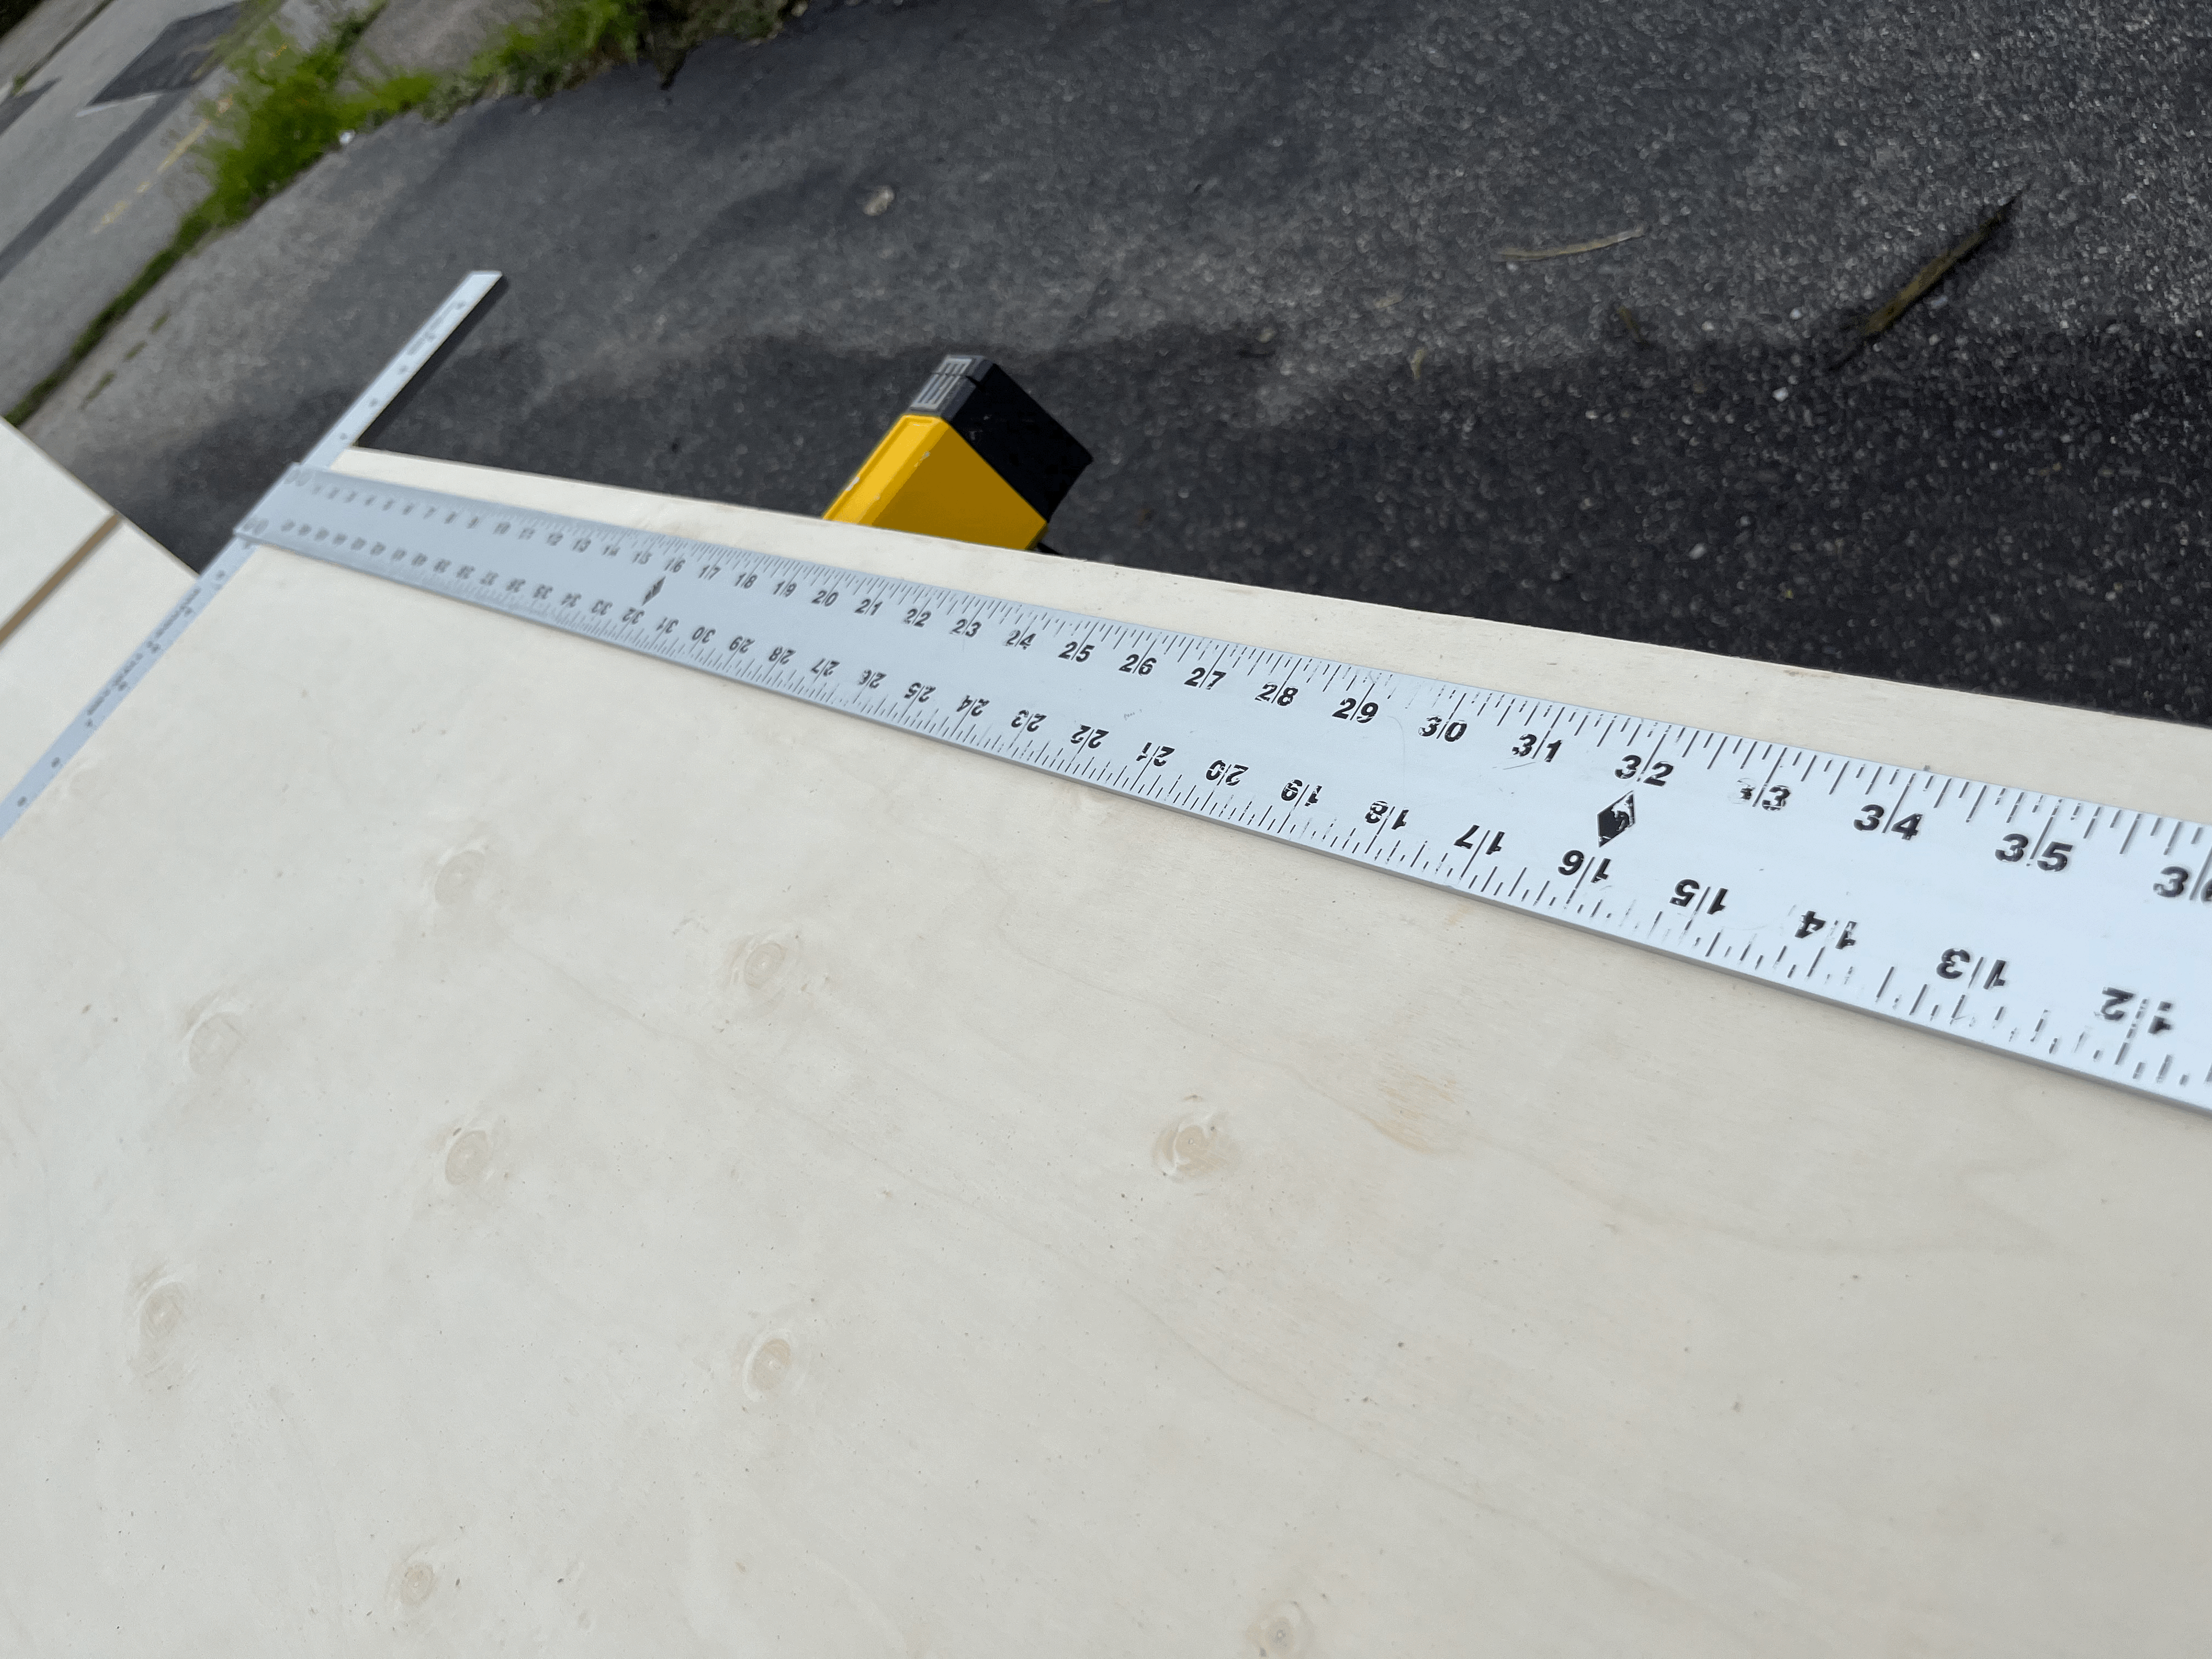
First, I put the plywood on top of the saw horses or some studs laying on the ground and measured the size with a T-Square to cut it.

After marking where I wanted to cut, I set up my circular saw with the right blade(rip cutting or cross cutting).
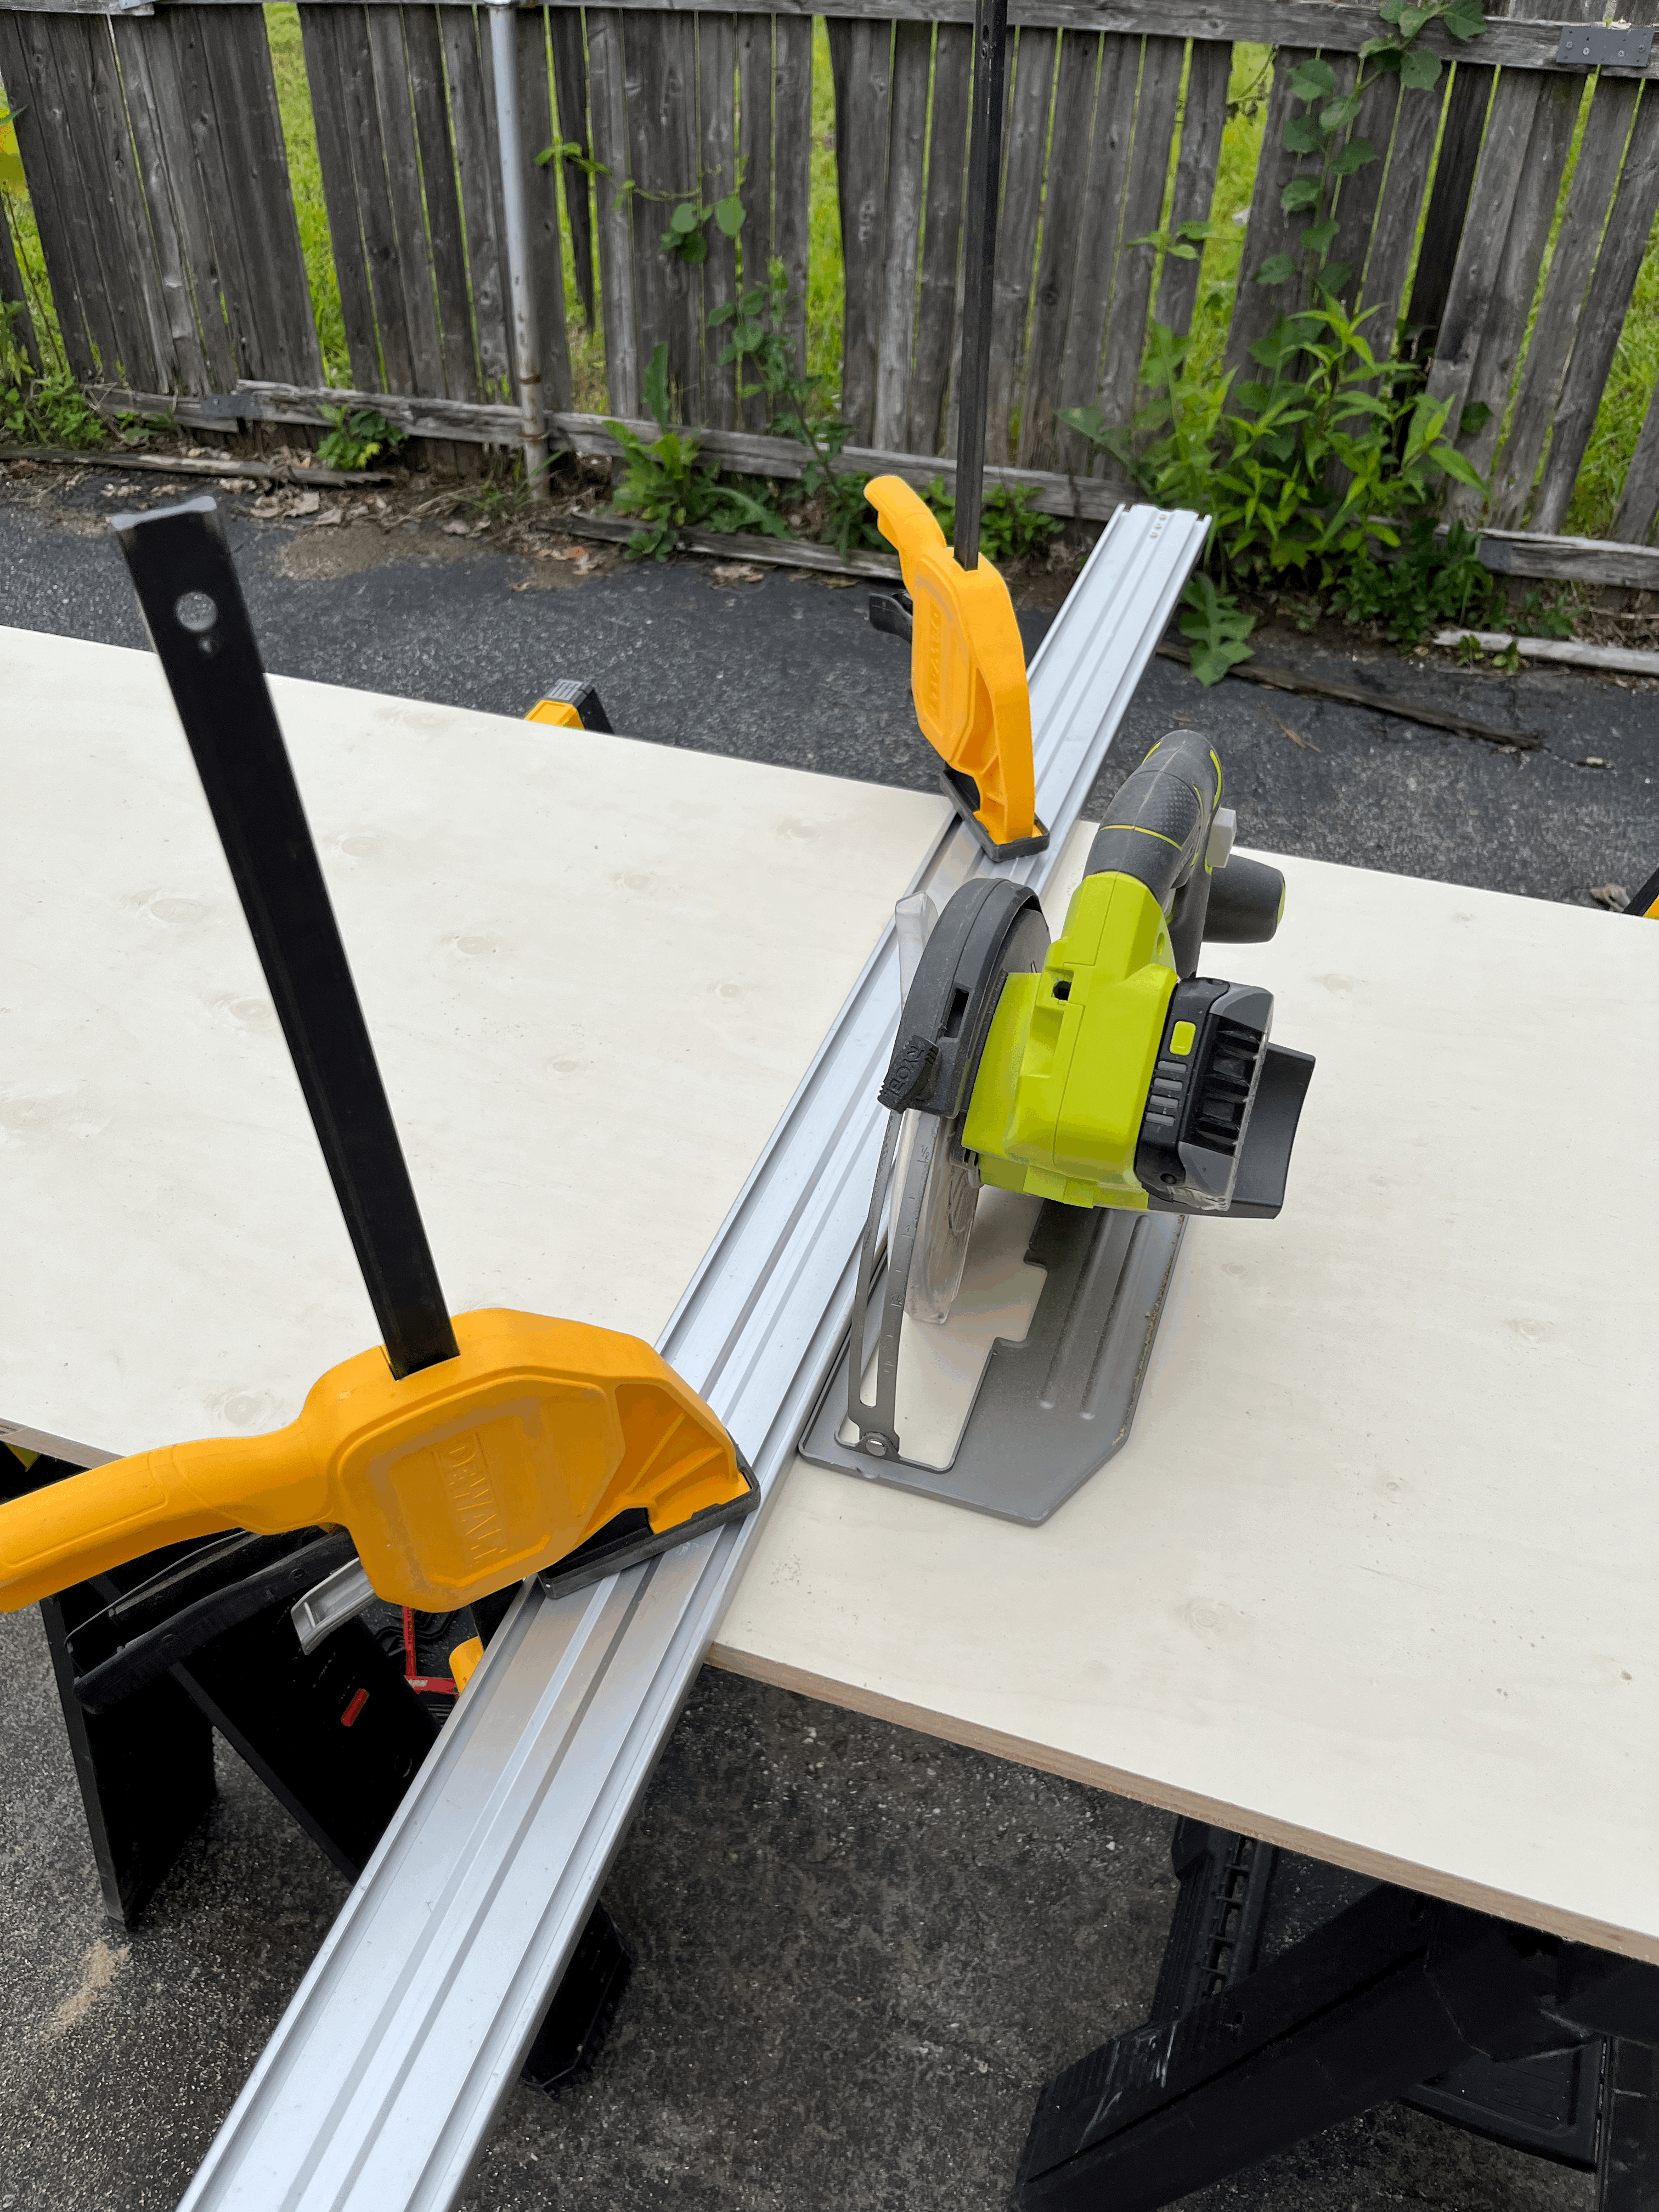
Then I placed my extension cutting guide along with the circular saw on the top of the plywood and fixed it with 2 clamps. When you actually cut the wood, you need to make sure the surface is flat the whole time you're cutting. Otherwise the saw will not work properly(It will stop before finishing the cut).
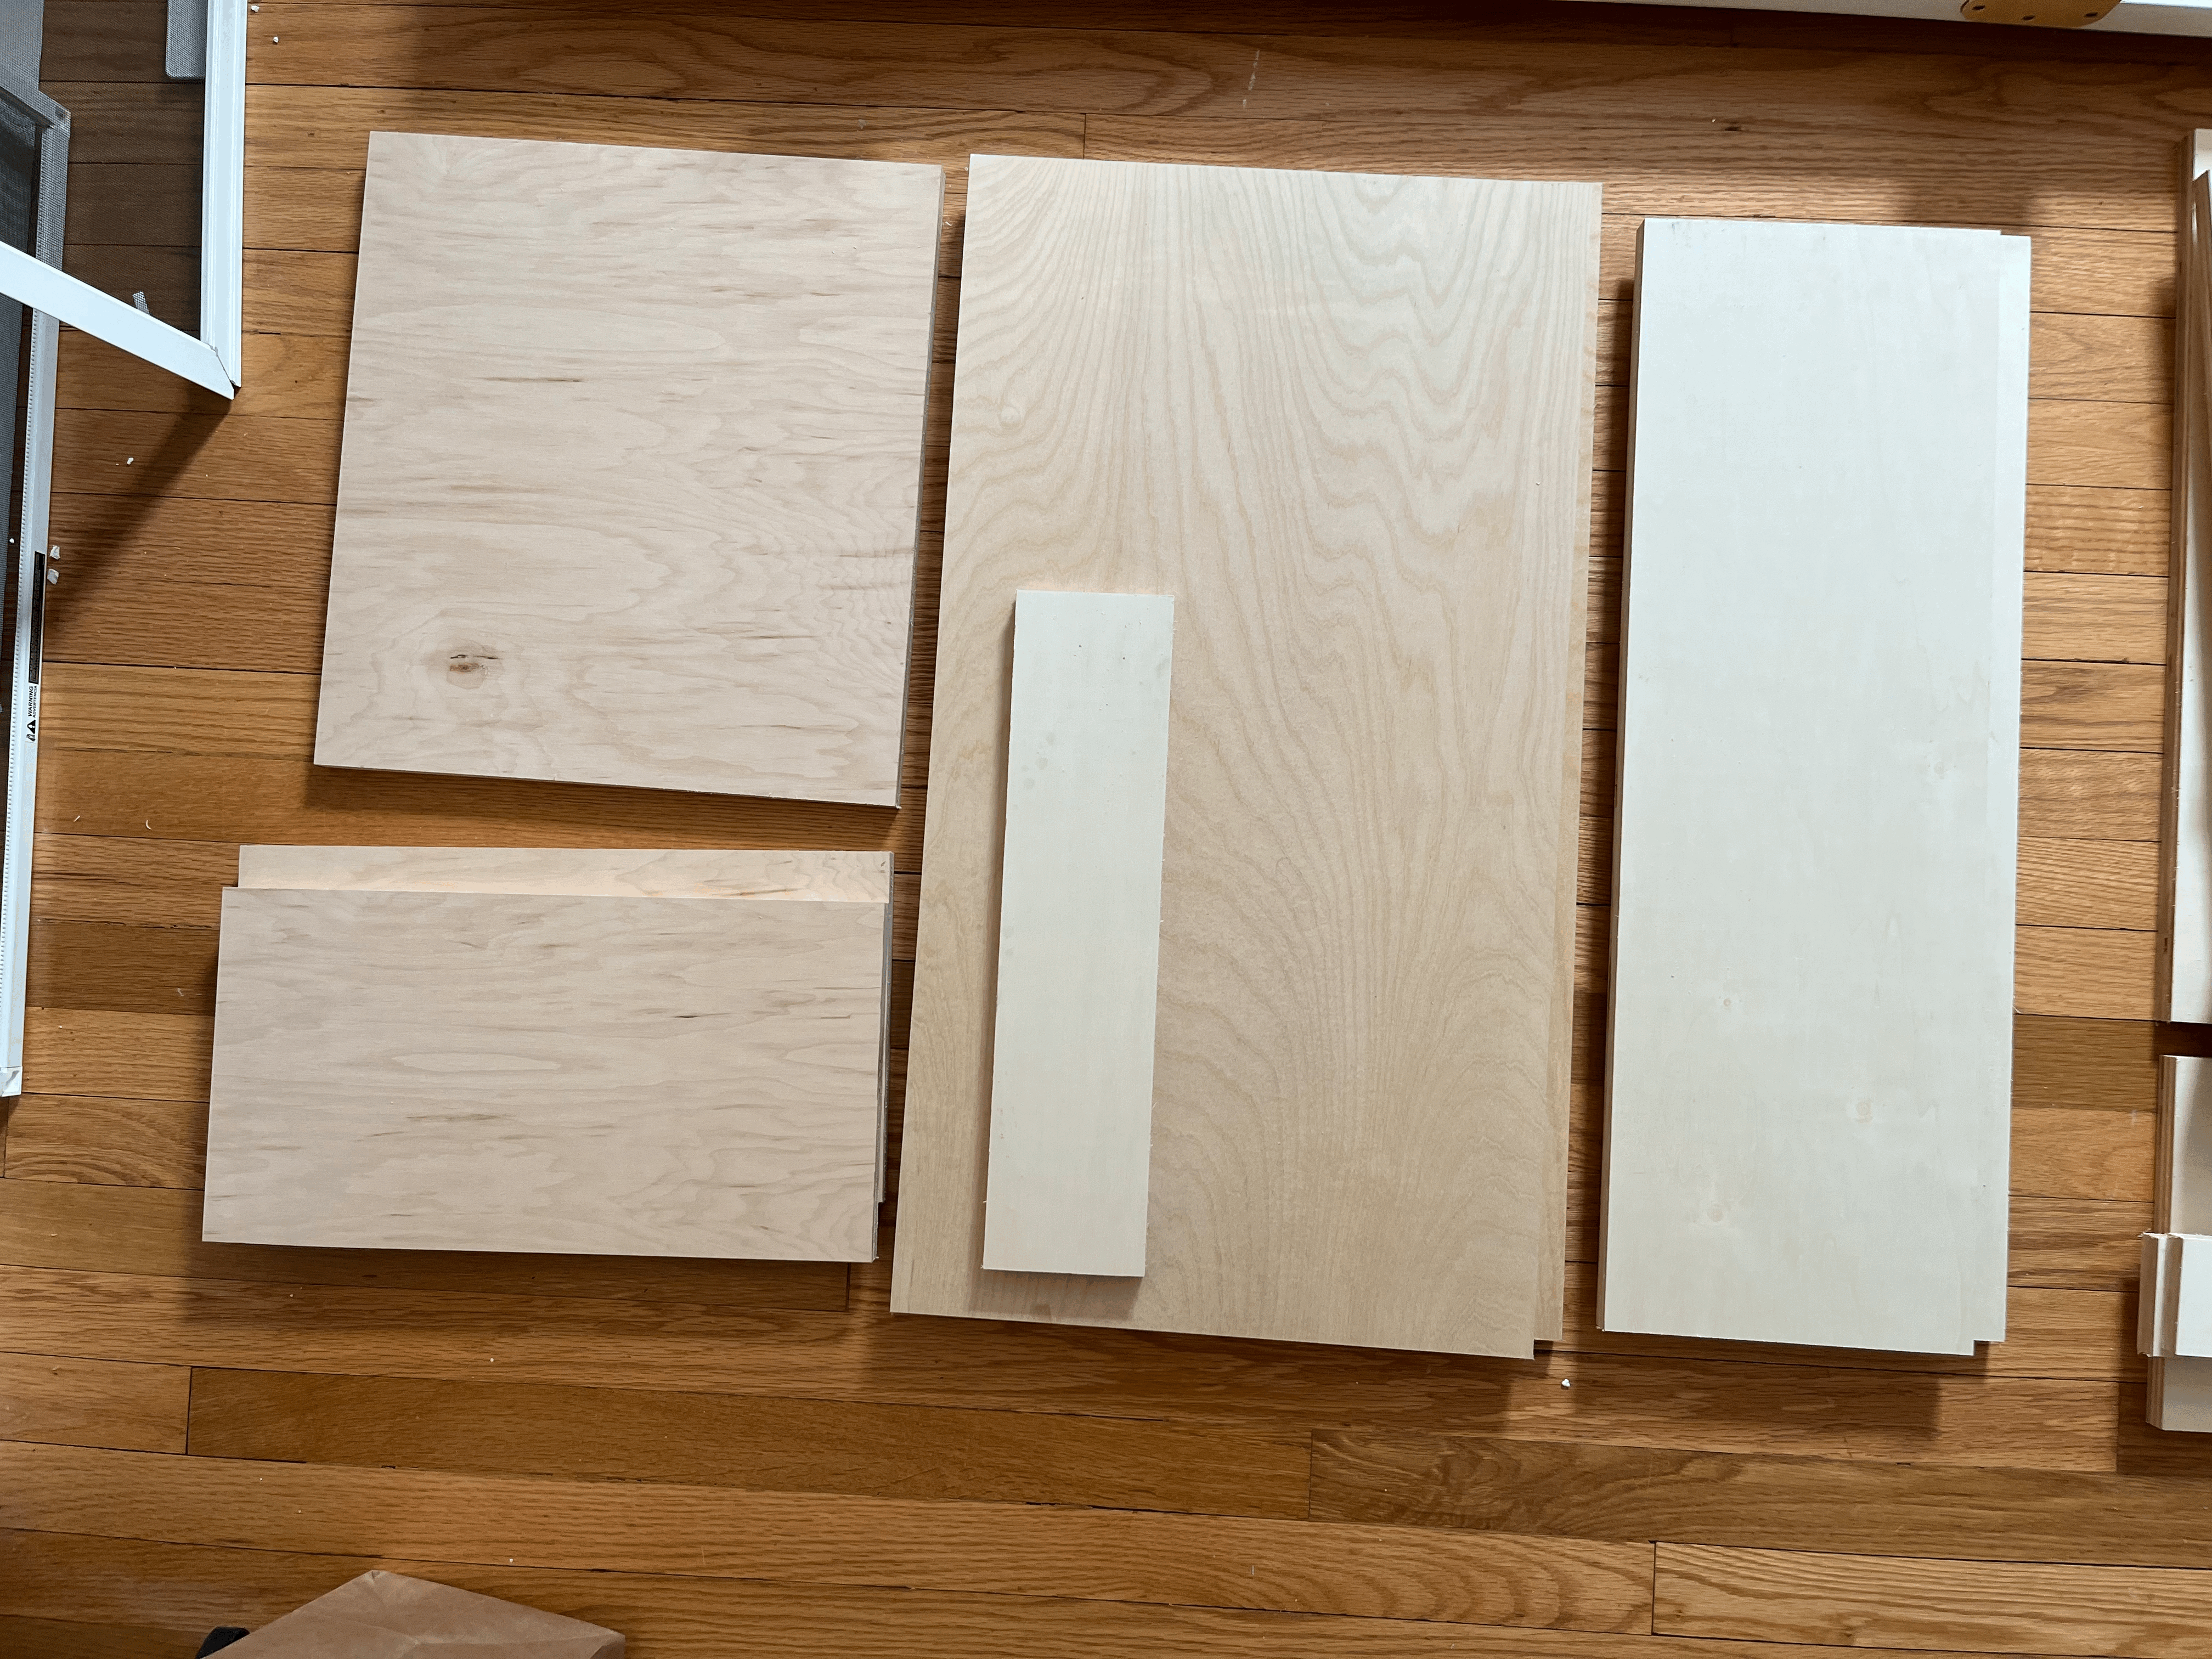
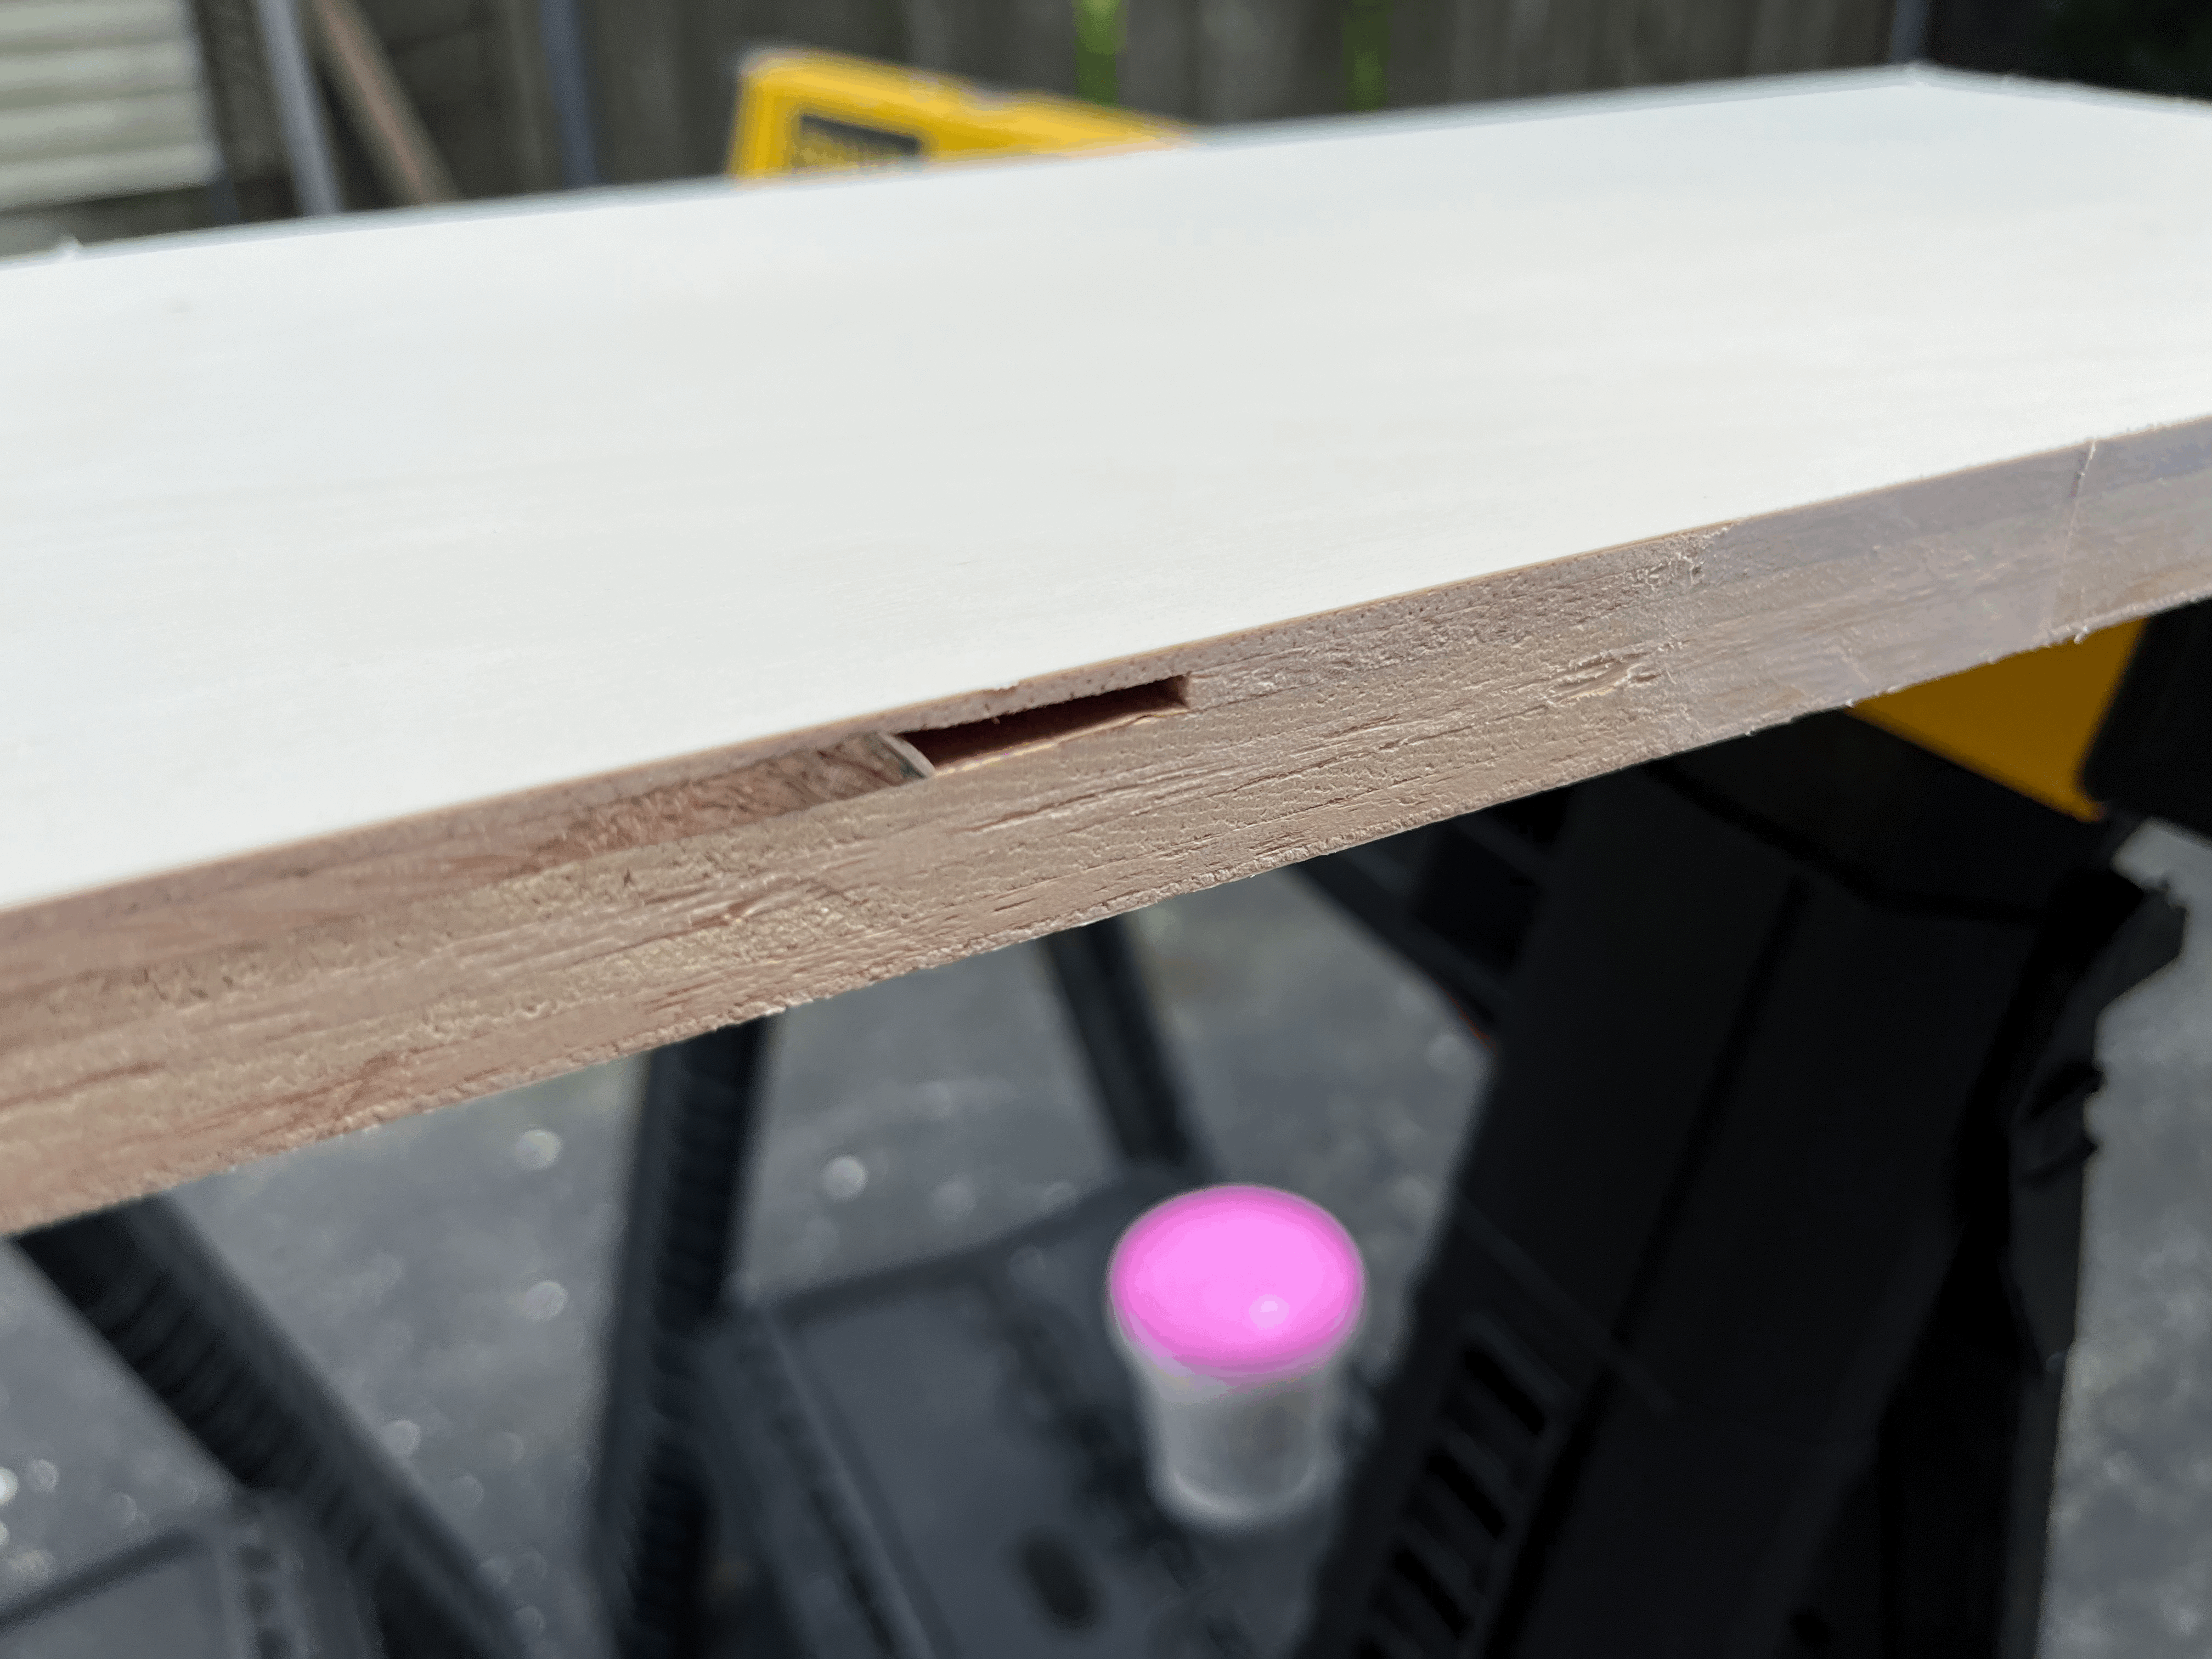
These are all the pieces that I cut for the bathroom vanity : 2 for the sides, 1 for the bottom, 2 for the back(because of the drain pipe. You will see what I mean at the end of the post), 2 for the doors, 1 for the upper front.
Second, I sanded all the panels and patched the end grain and any knots.
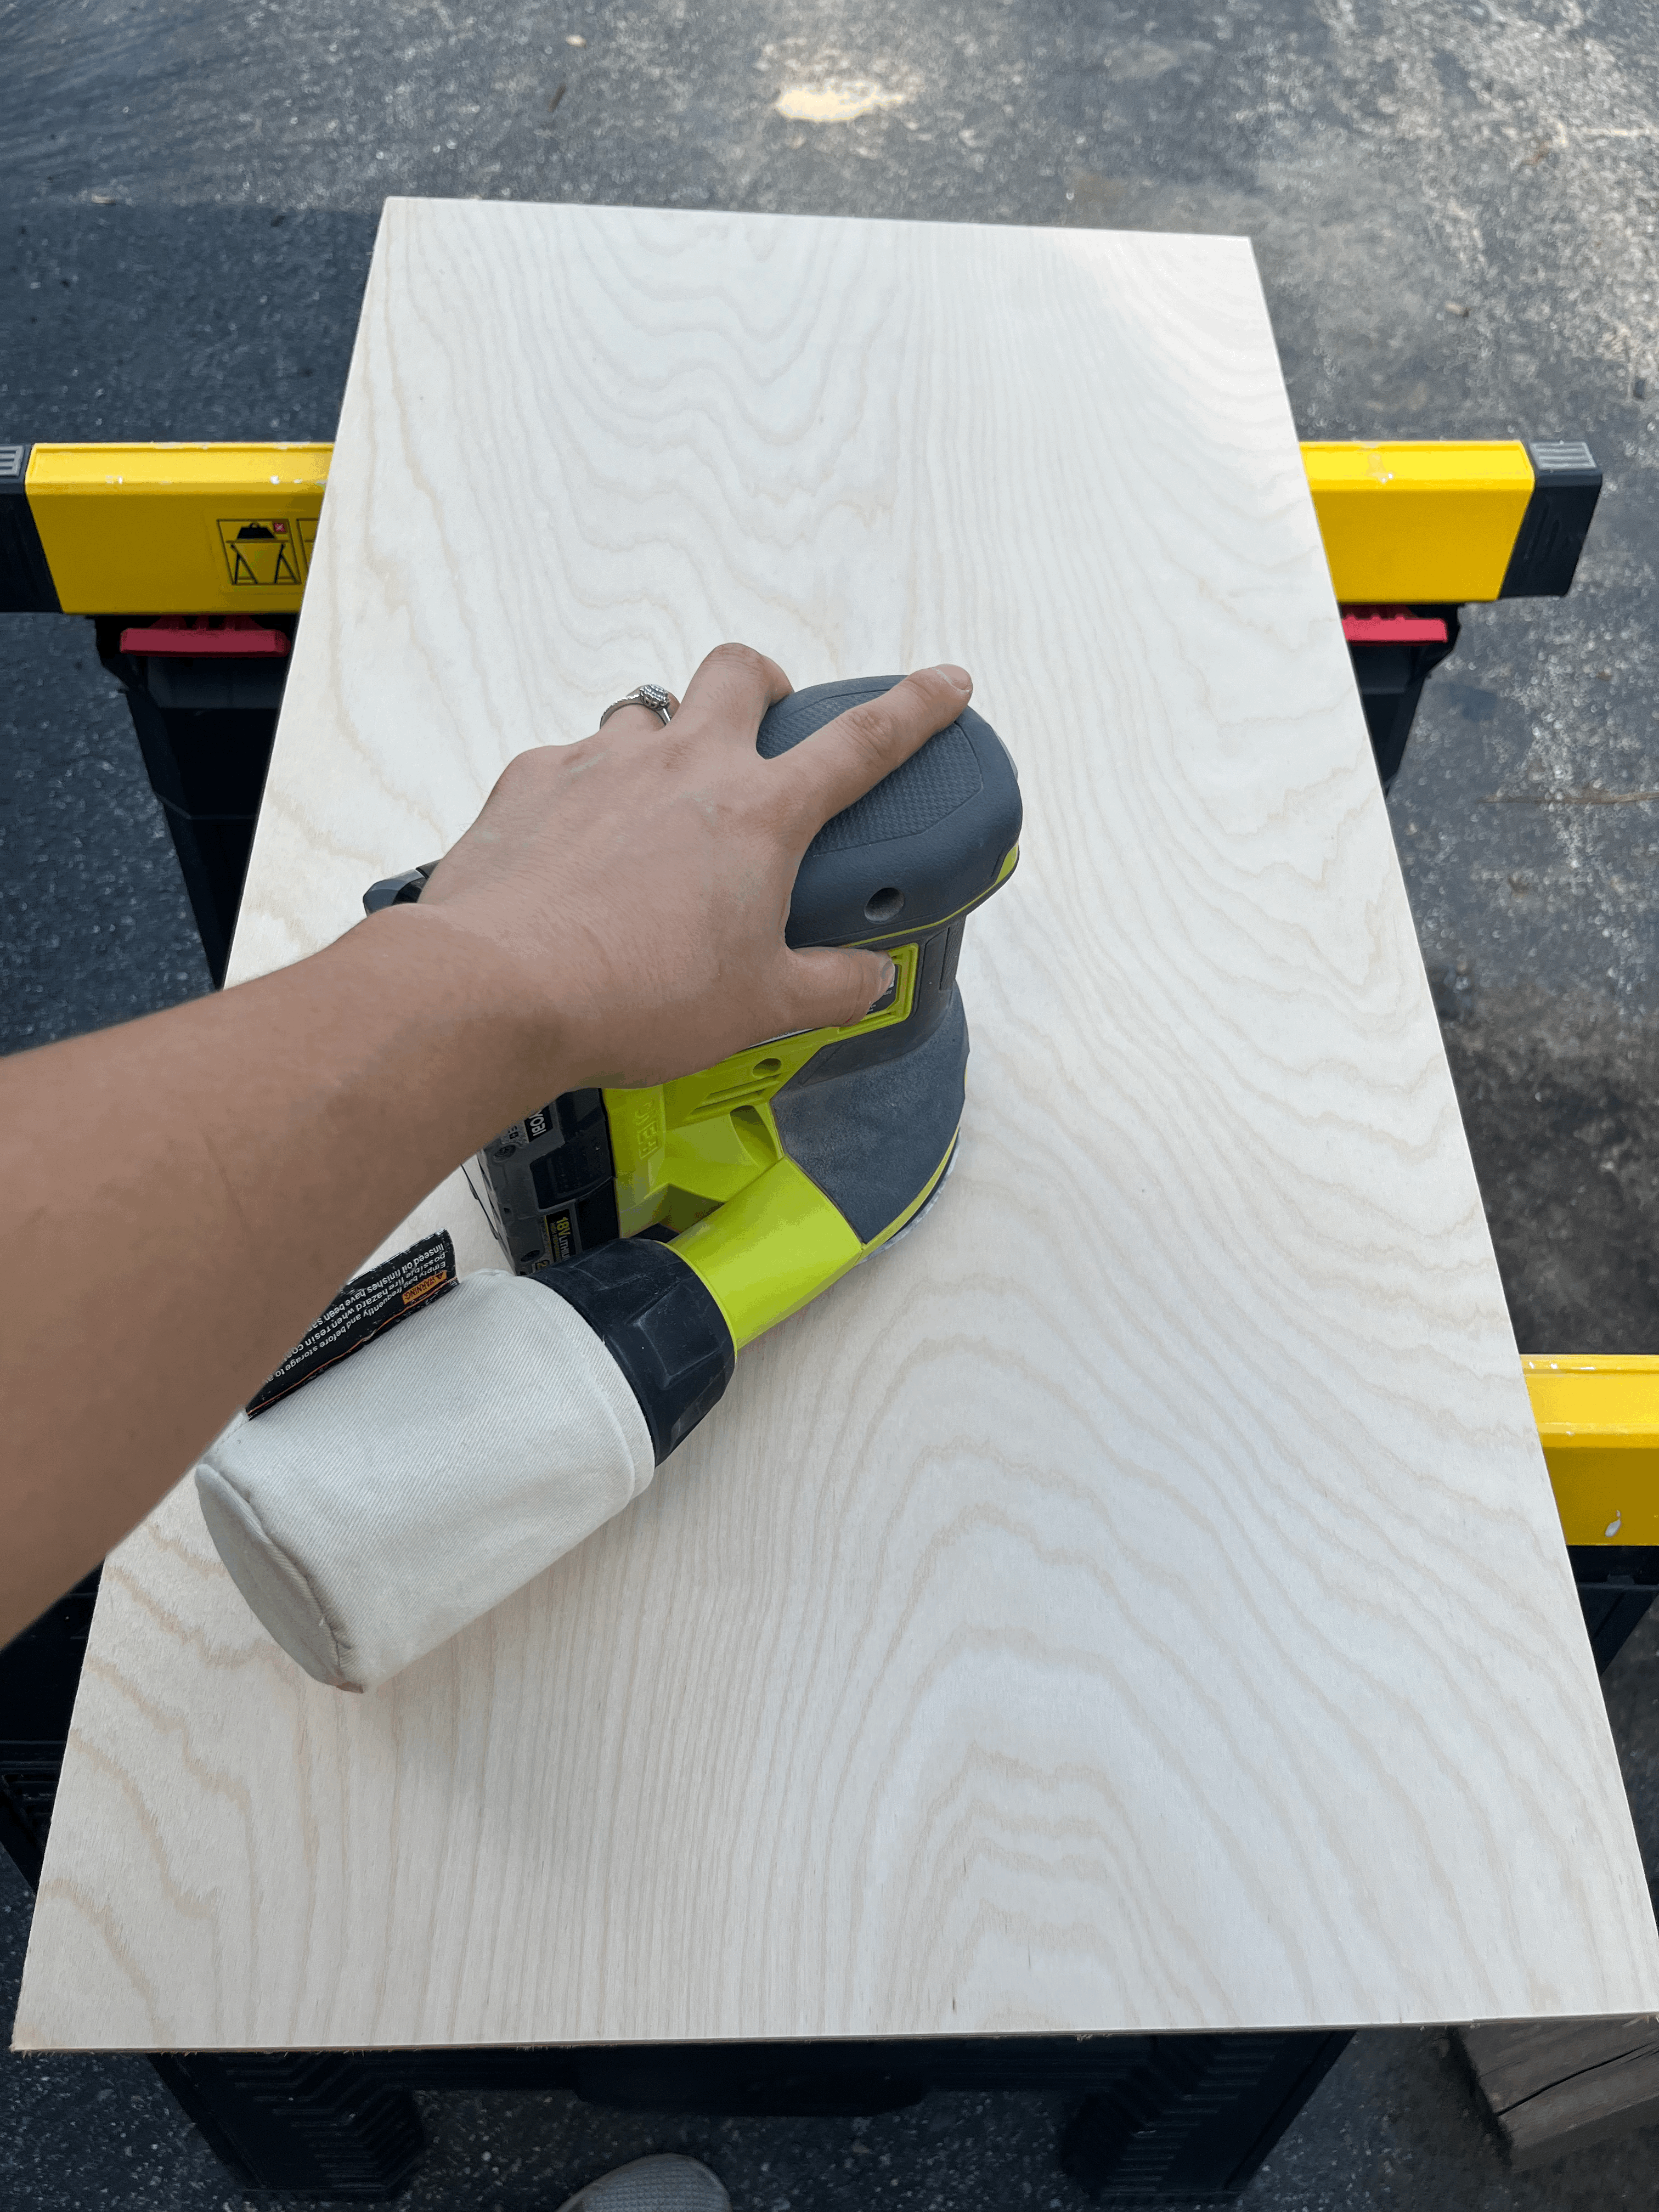
I sanded every surface and end grain with 220 grit sand paper. It's important to make all the surfaces smooth, but the end grains are more important especially if you are planning to patch them with spackling or wood filler instead of using edge band.

After sanding, I filled the holes or bumpy areas on the end grain with spackling. The point of this process is to make them feel smooth and flat, and not to cover the layers of plywood or the wood grain completely. It's ok that they are still seen through the spackling because paint can cover them later if you plan to. However painting can not cover the bumpy texture. That's why it is important to sand and paint until they "feel" smooth and flat with your fingers.
Third, I spot-prime the spackling areas.
Before I prime anything with a roller, I always spot-prime with a brush where I patched with spackling. It's becasue the spackling sometimes peels off with the roller if it's not coated. So I always spot-prime those areas(usually end grain, knots, or anywhere I patched to fix) with a brush lightly first, and then prime the whole surface normally.
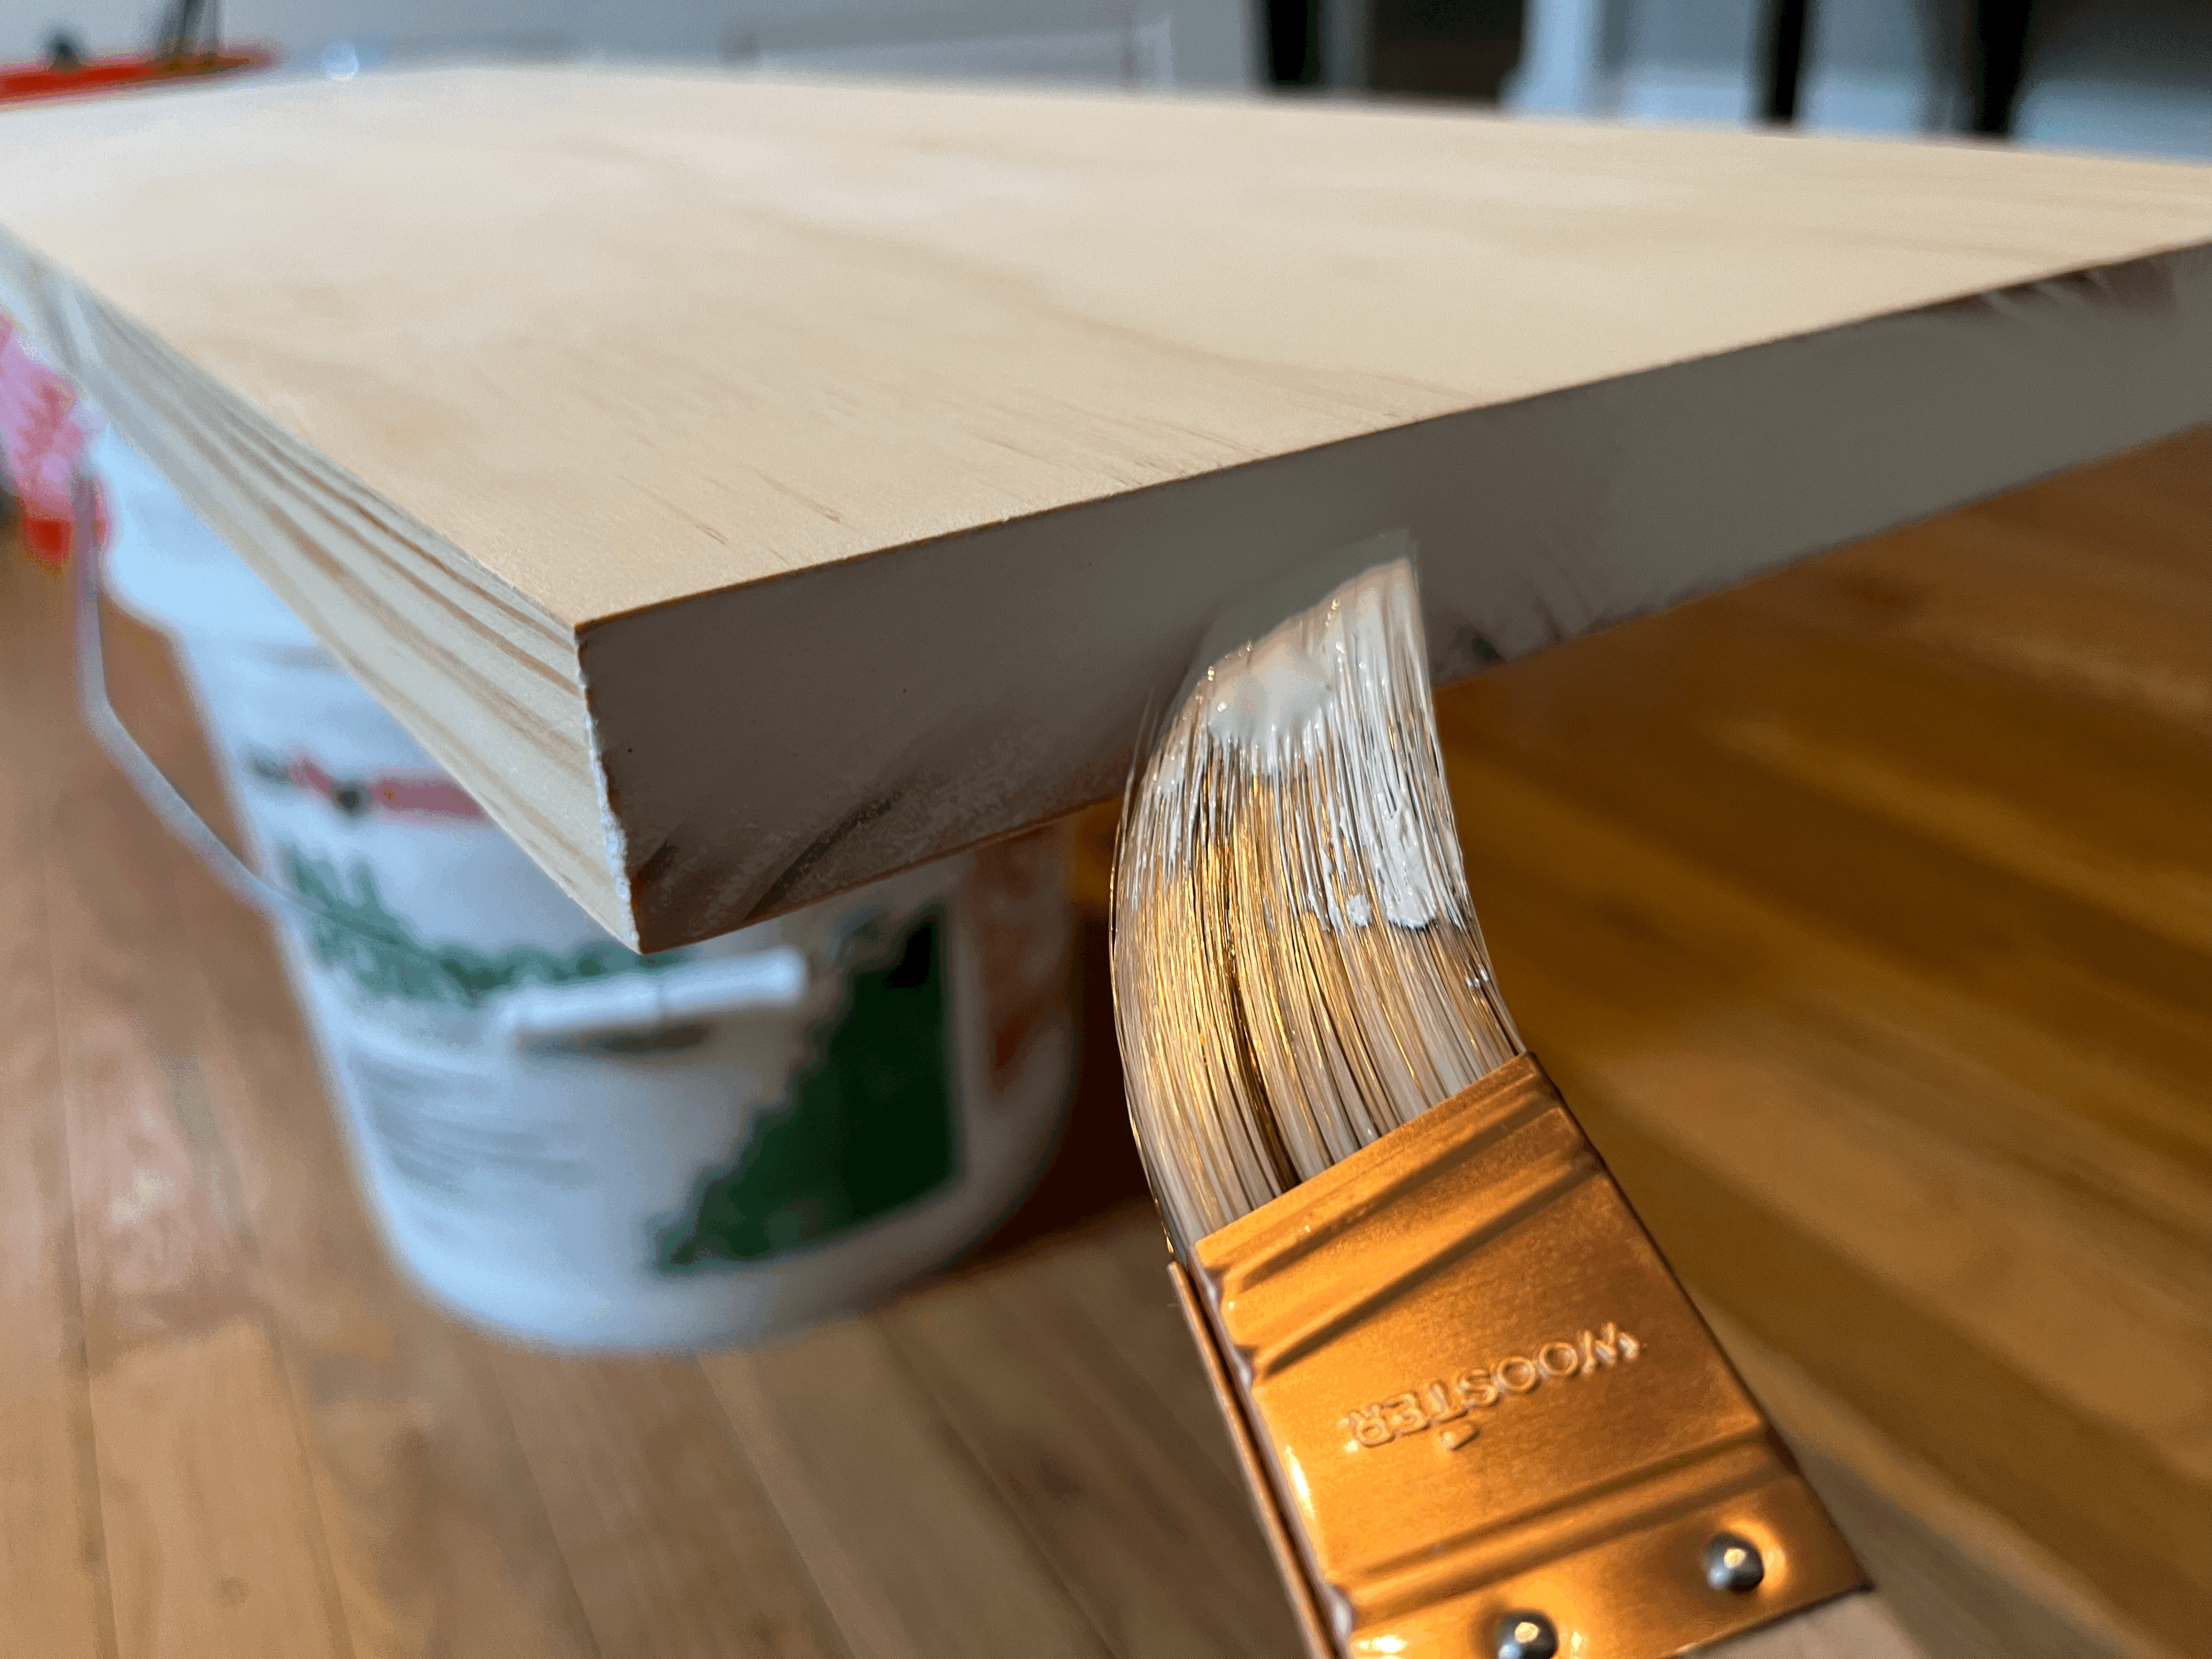
If I'm only going to paint the end grains and not the entire piece of wood. (usually it's going to be the side and bottom panels of the vanity unless you plan to paint inside too), I tape around where I don't want to paint on.

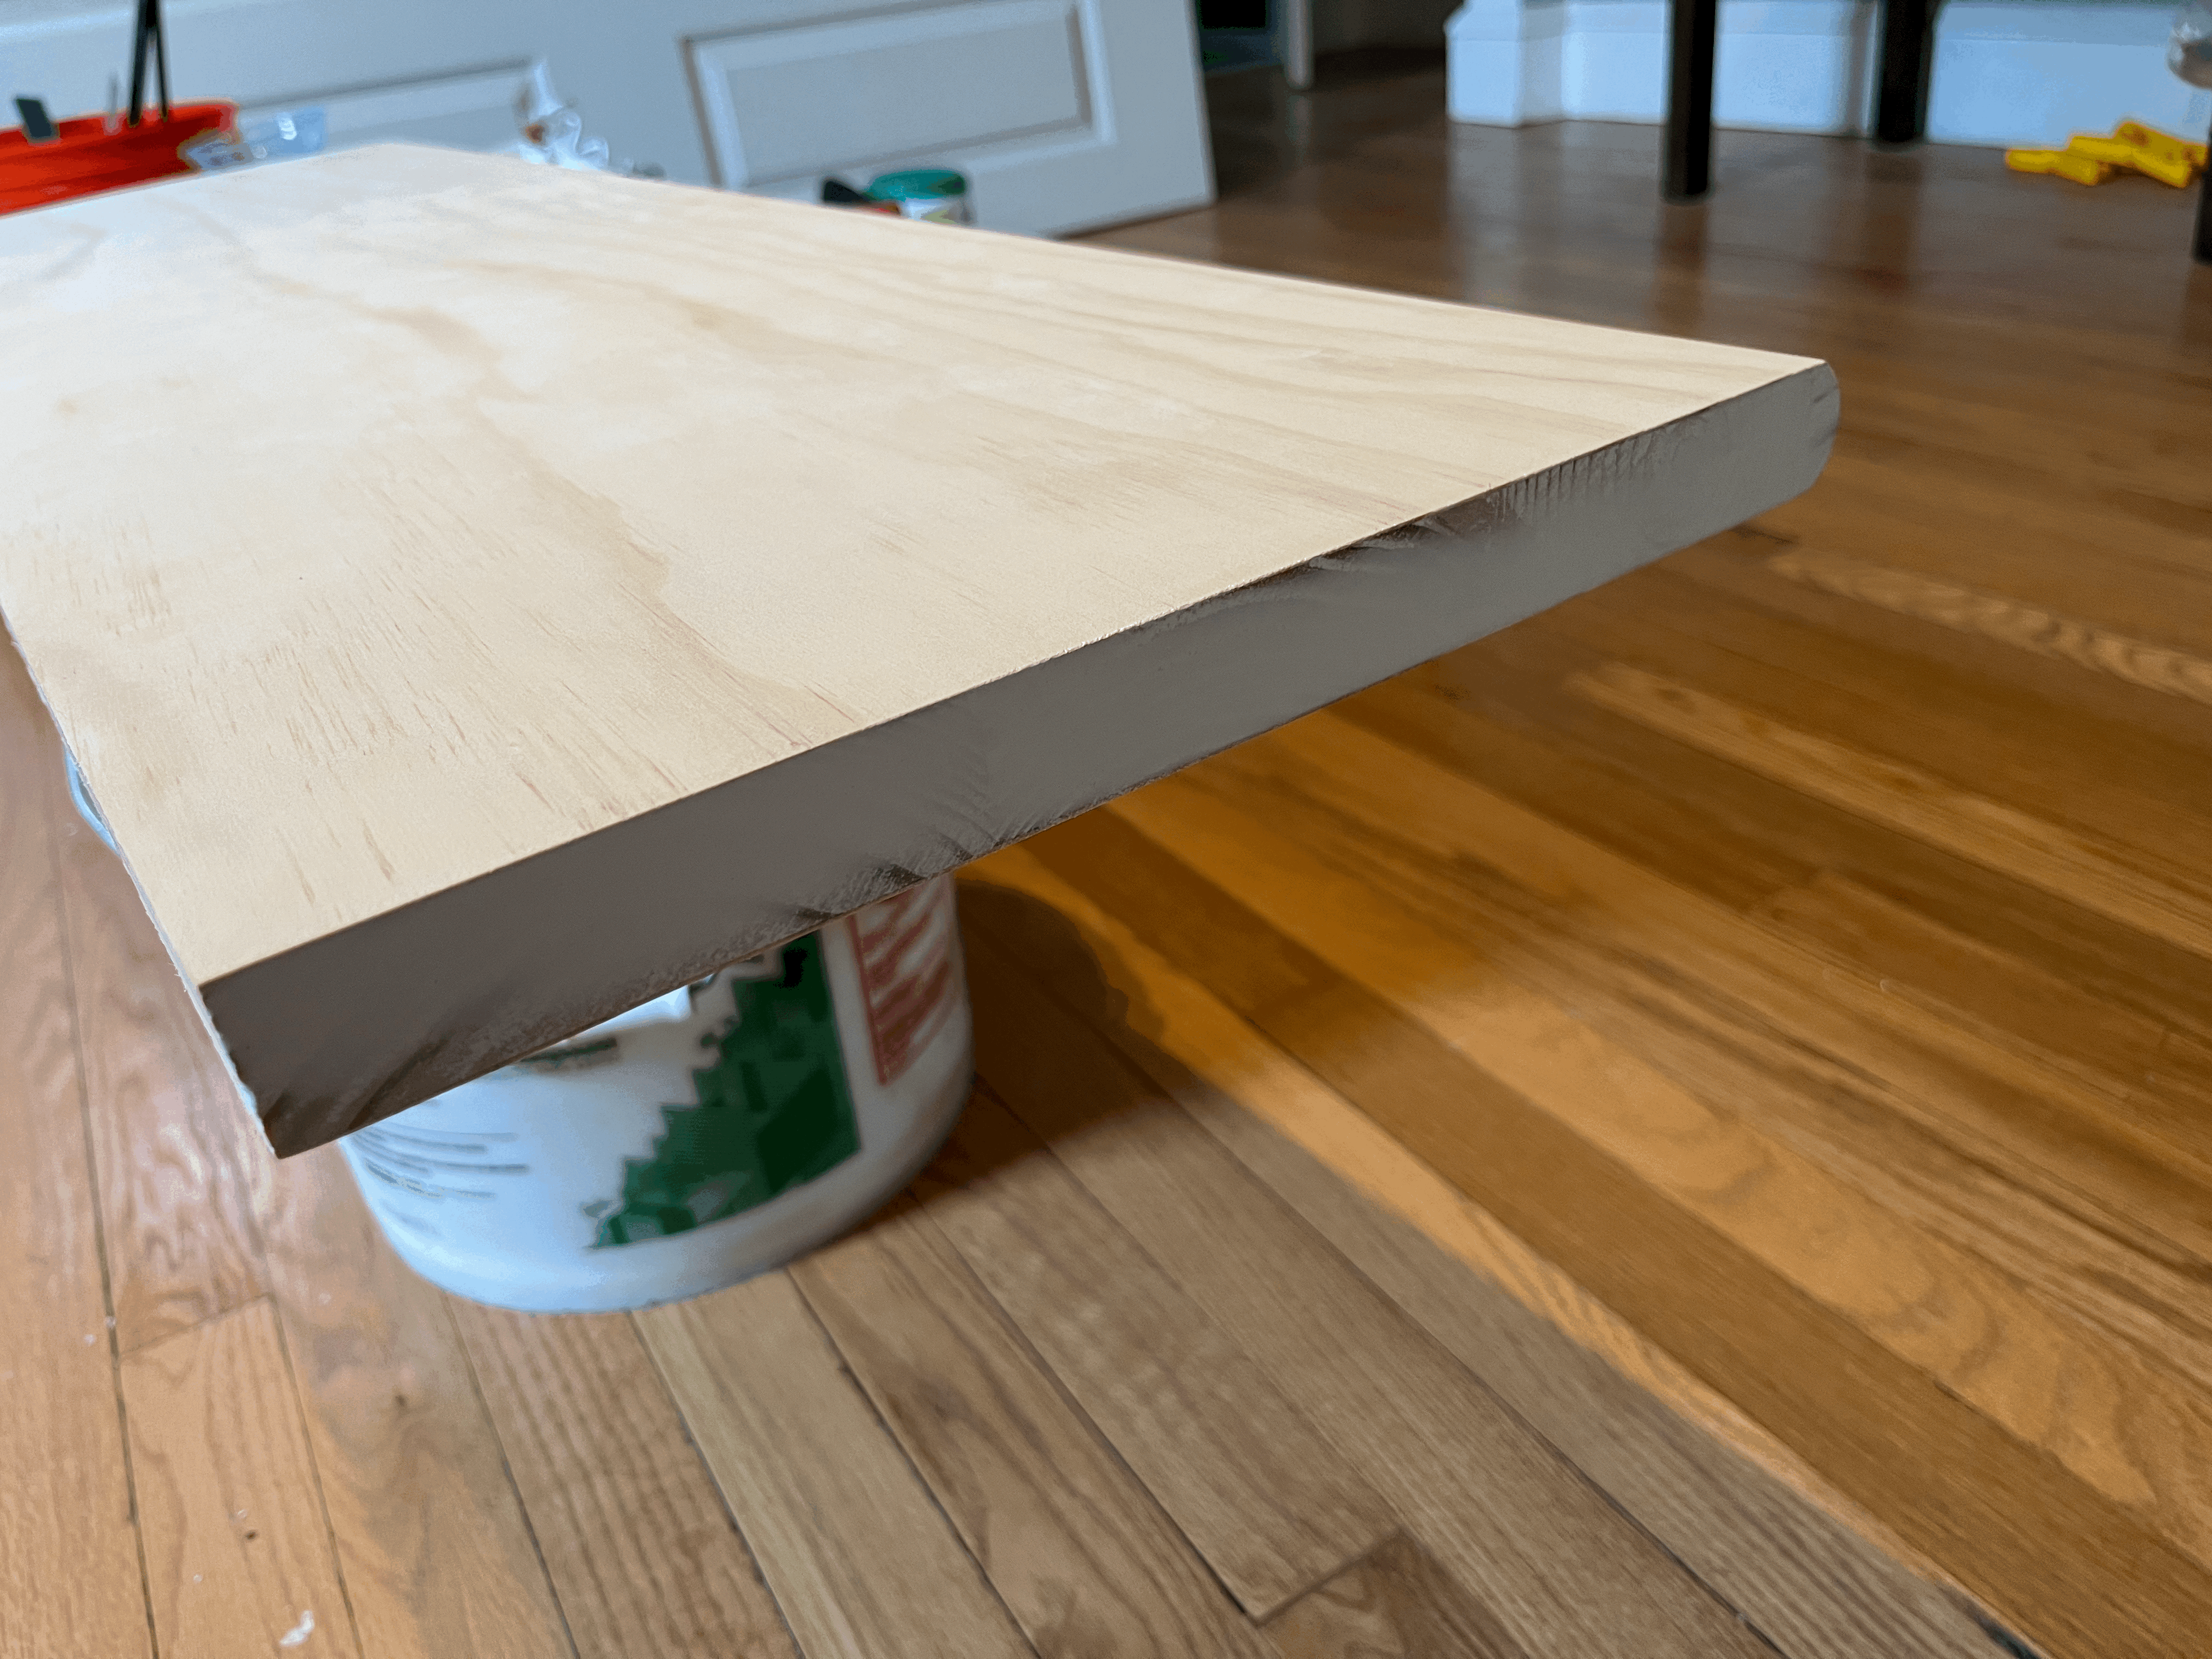
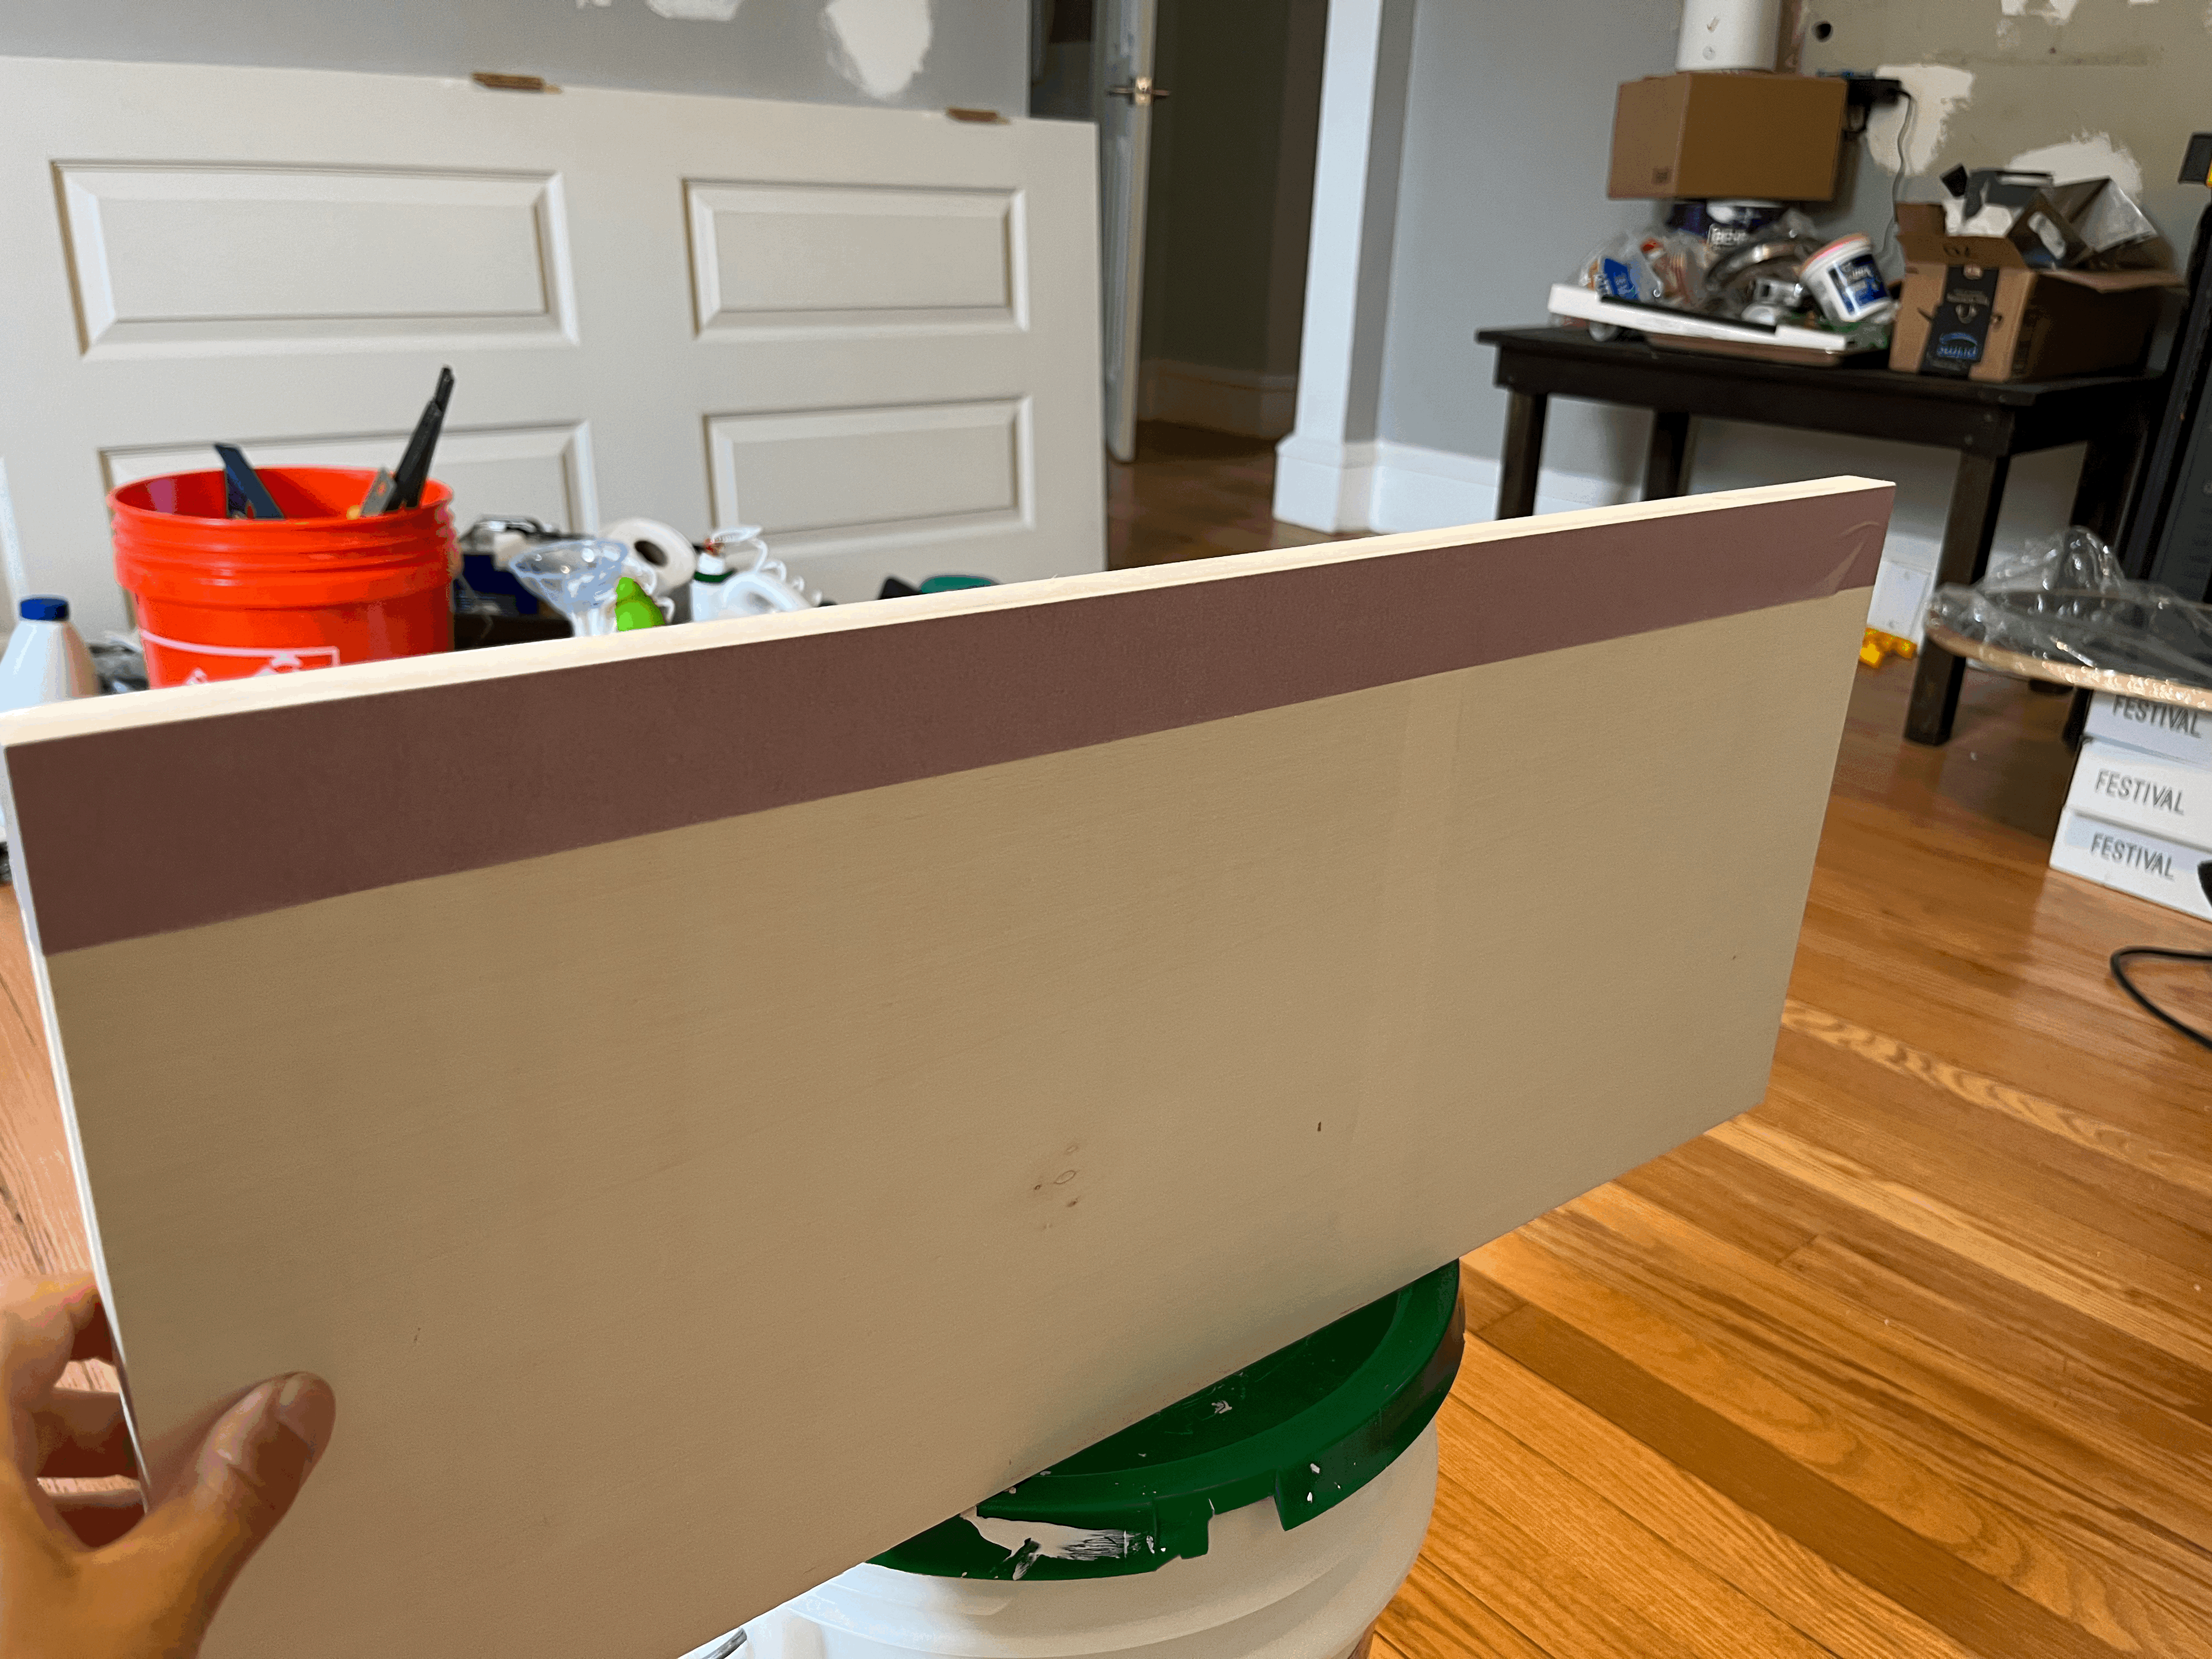
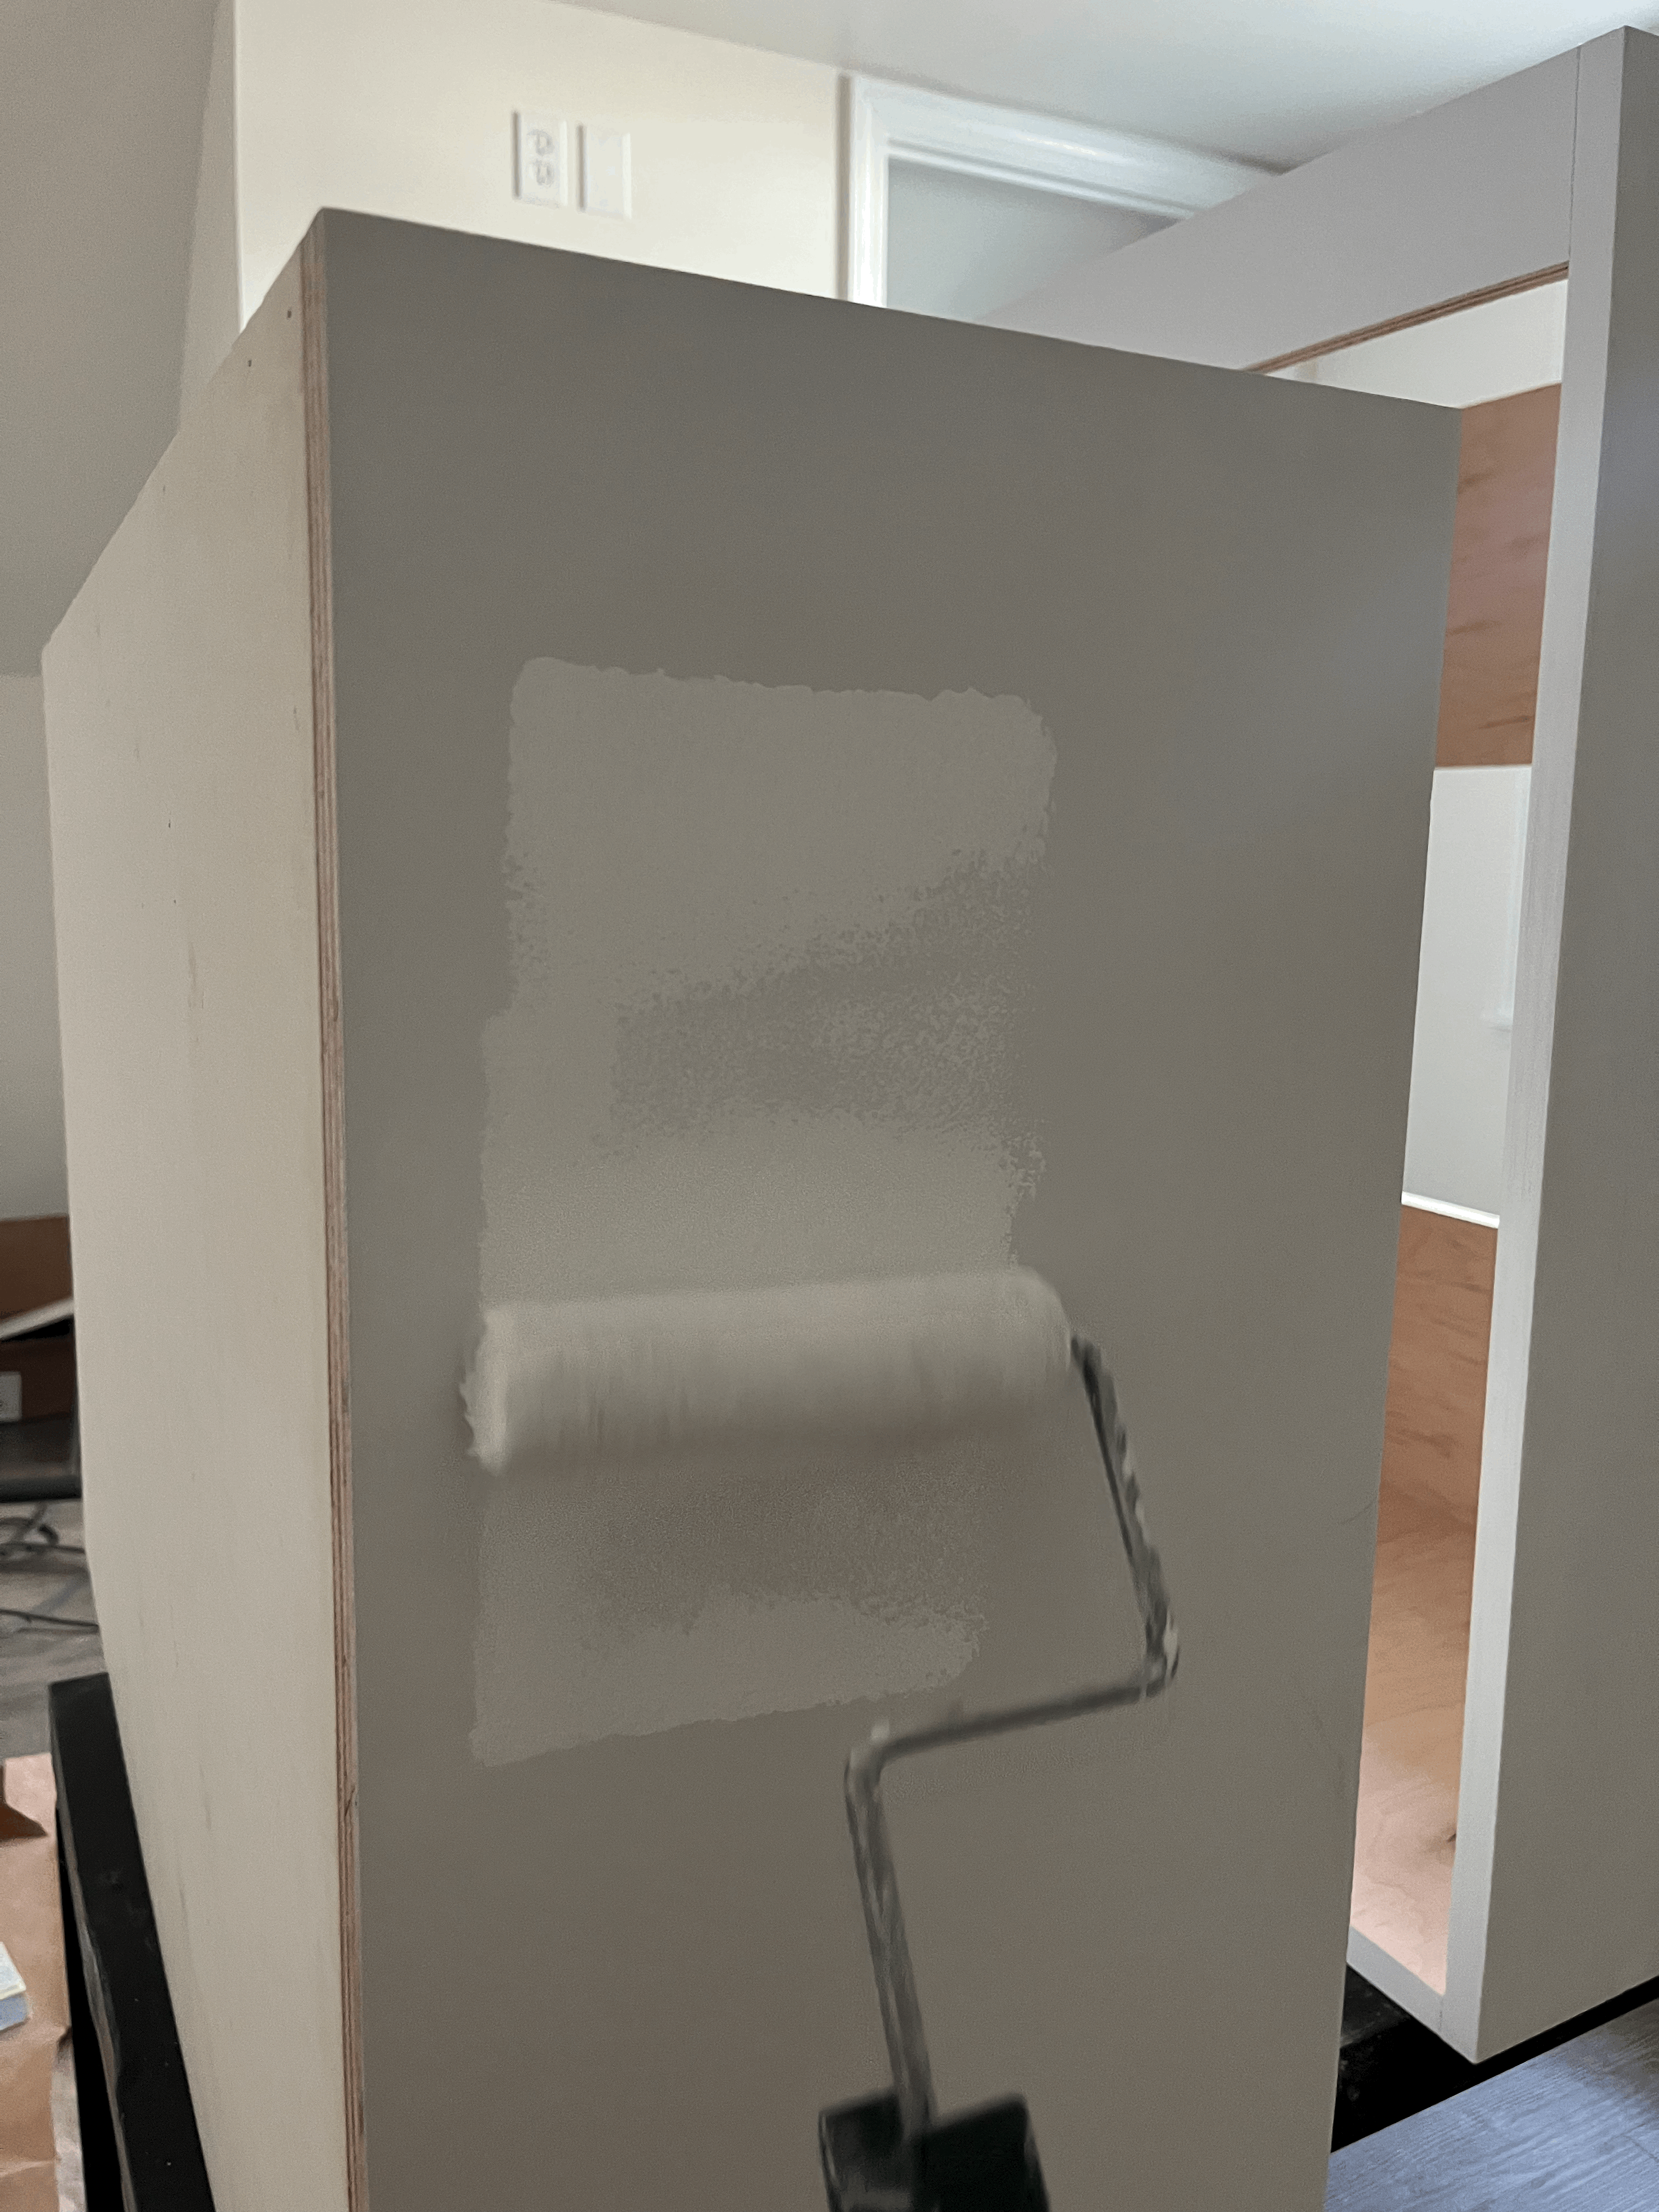
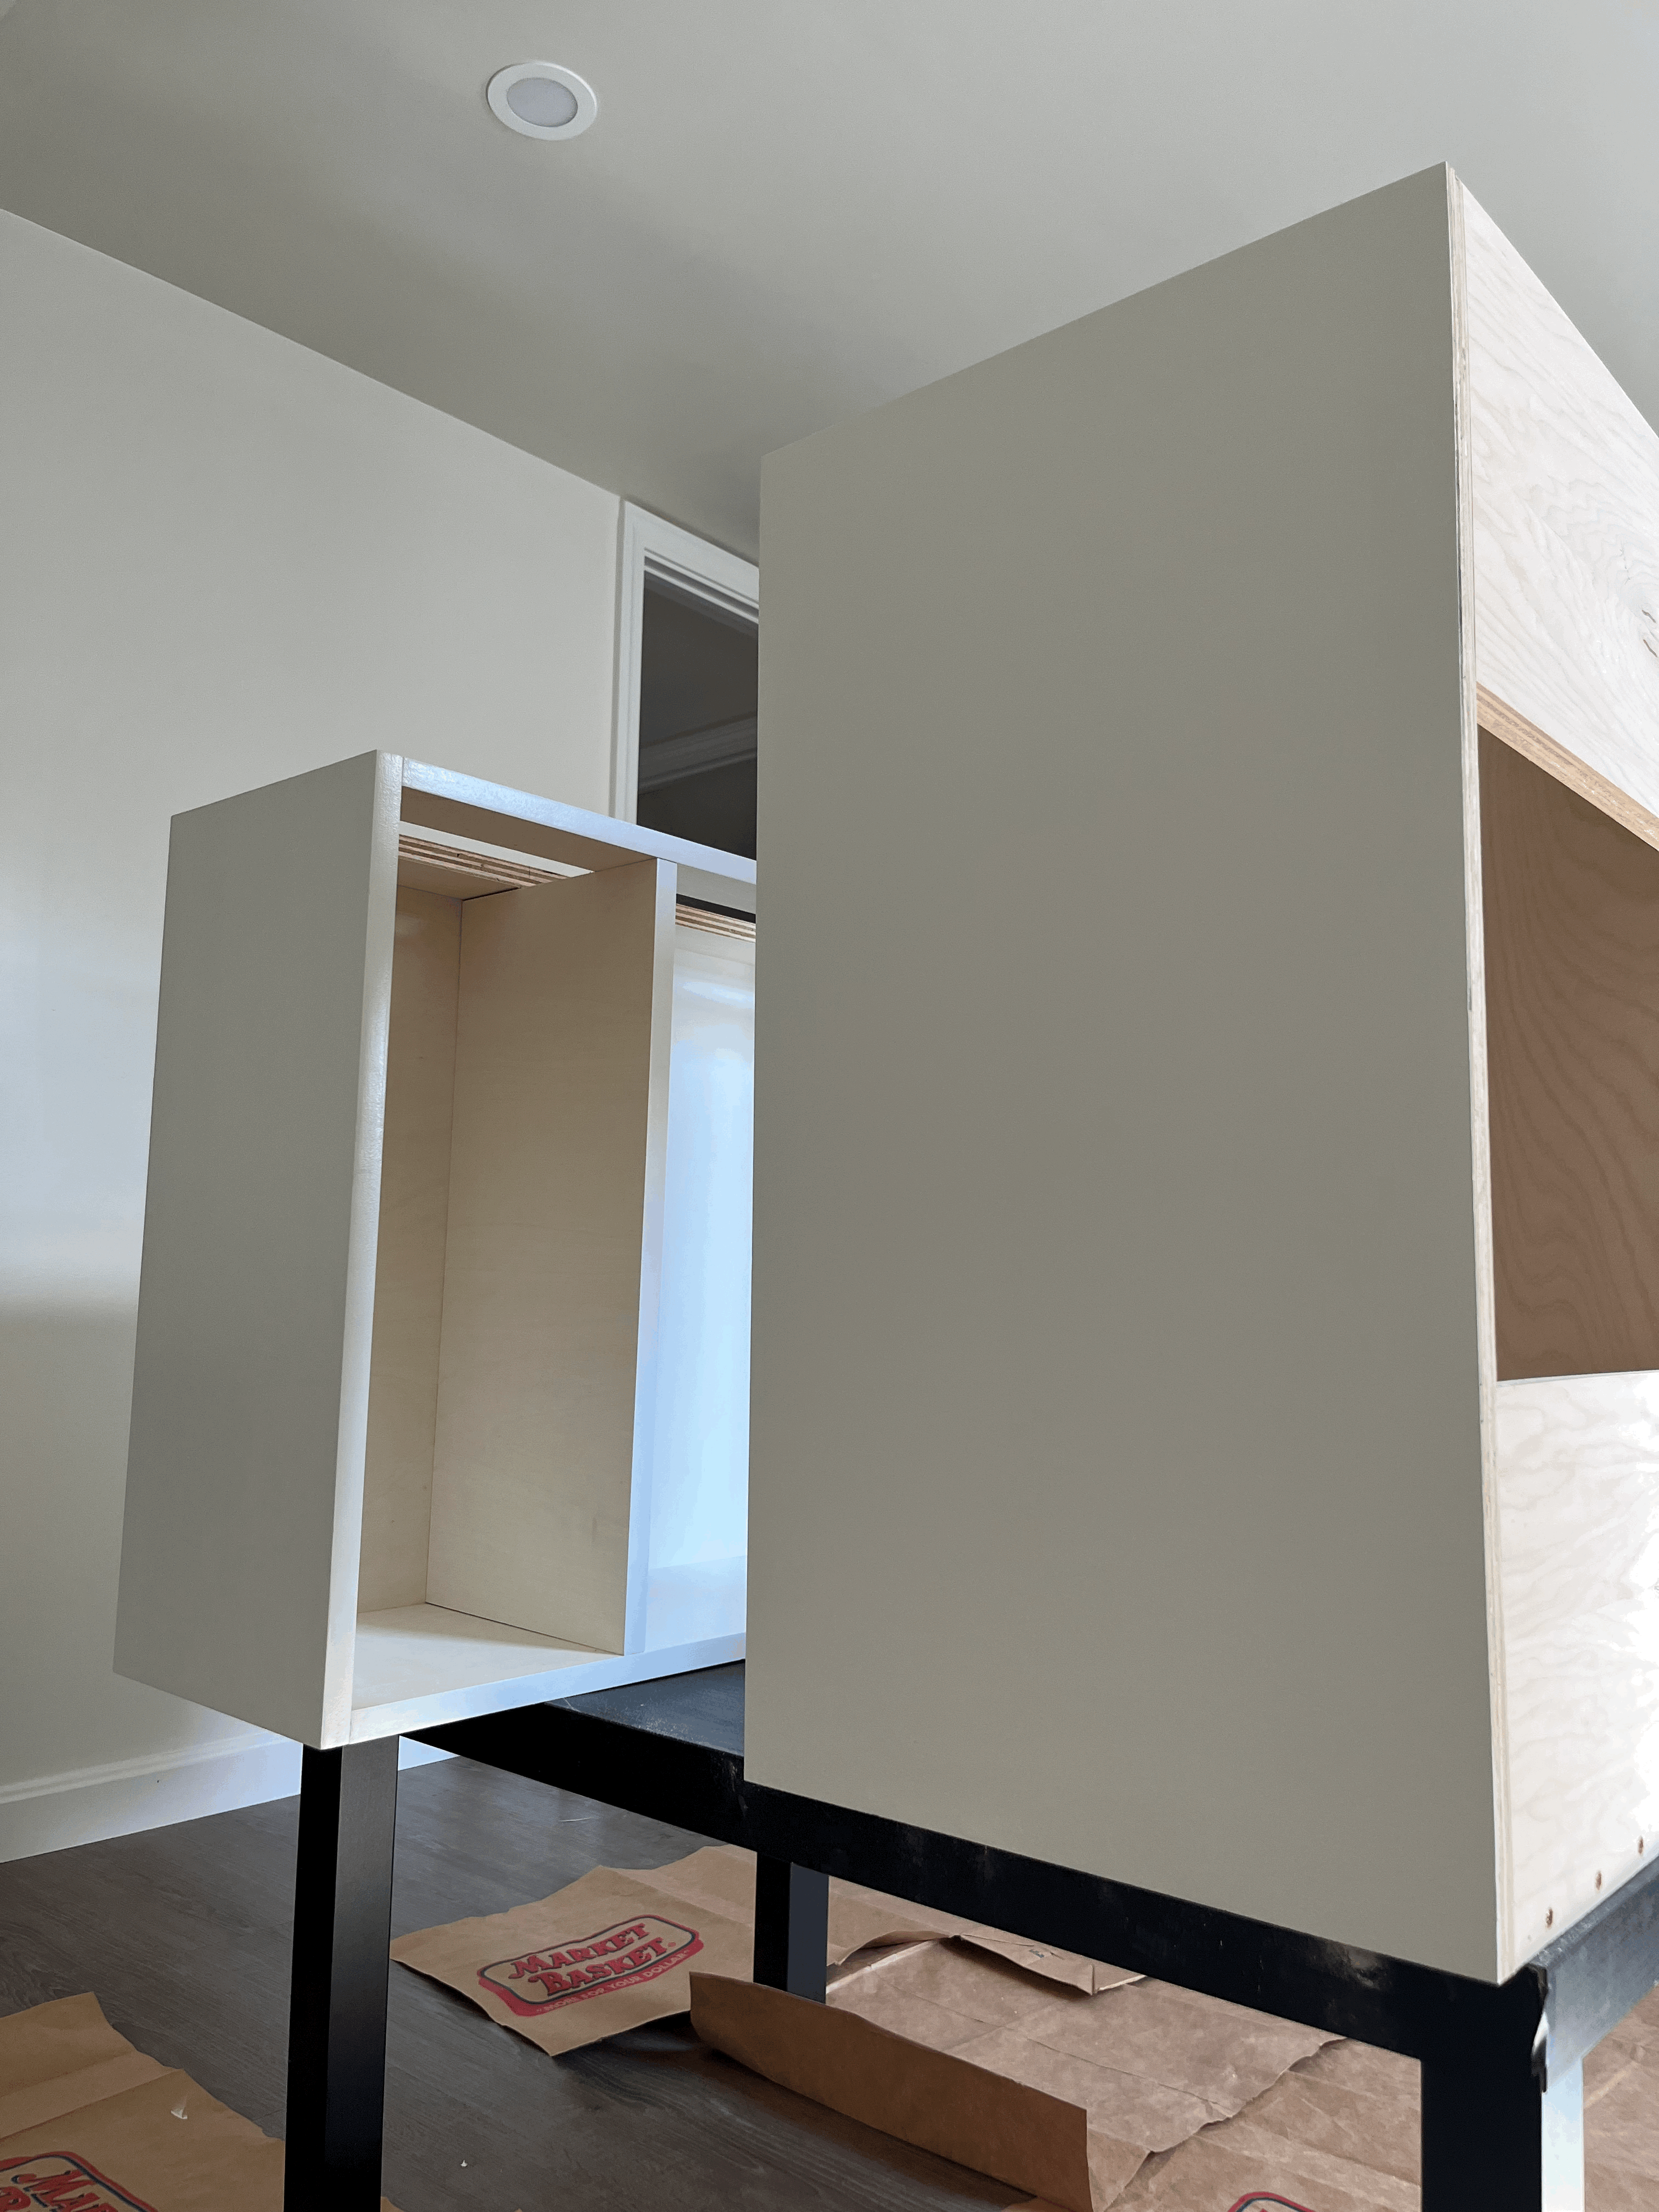
After spot-priming, I sanded those areas with a 220 grit sand paper and prime with a roller. Furthermore, I painted everything except for the side of the vanity and surface that is not going to be visible once it's installed in the bathroom. That is, I painted the front end grain of the side panels, the front end grain of the bottom panel, the front surface of the upper front panel, and doors. It's kind of annoying for me to paint the end grain once the vanity is assembled, because I have to tape the inside of the vanity so the inside doesn't get paint on it (unless you plan to paint there).
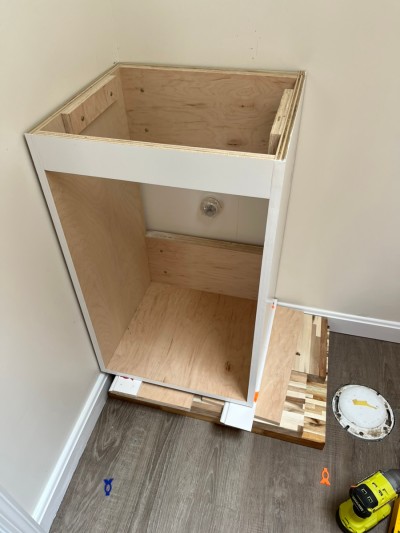
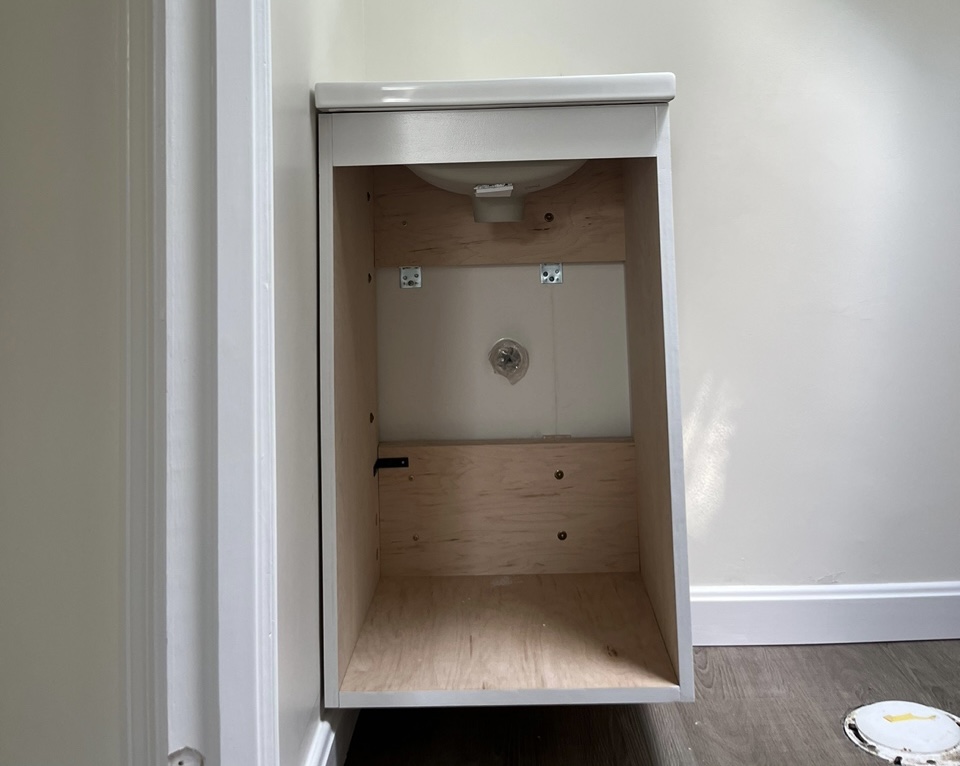
Fourth, I finally assembled the vanity.


When it comes to assembling, the most important tool is a countersink bit. it's important to make screw holes as clean and nice as possible to patch and paint later. It's not necessary if you use a separate side panel, but I try not to so I don't have to spend more money on plywood.
Fifth, I patched any nail and screw holes and painted the vanity.
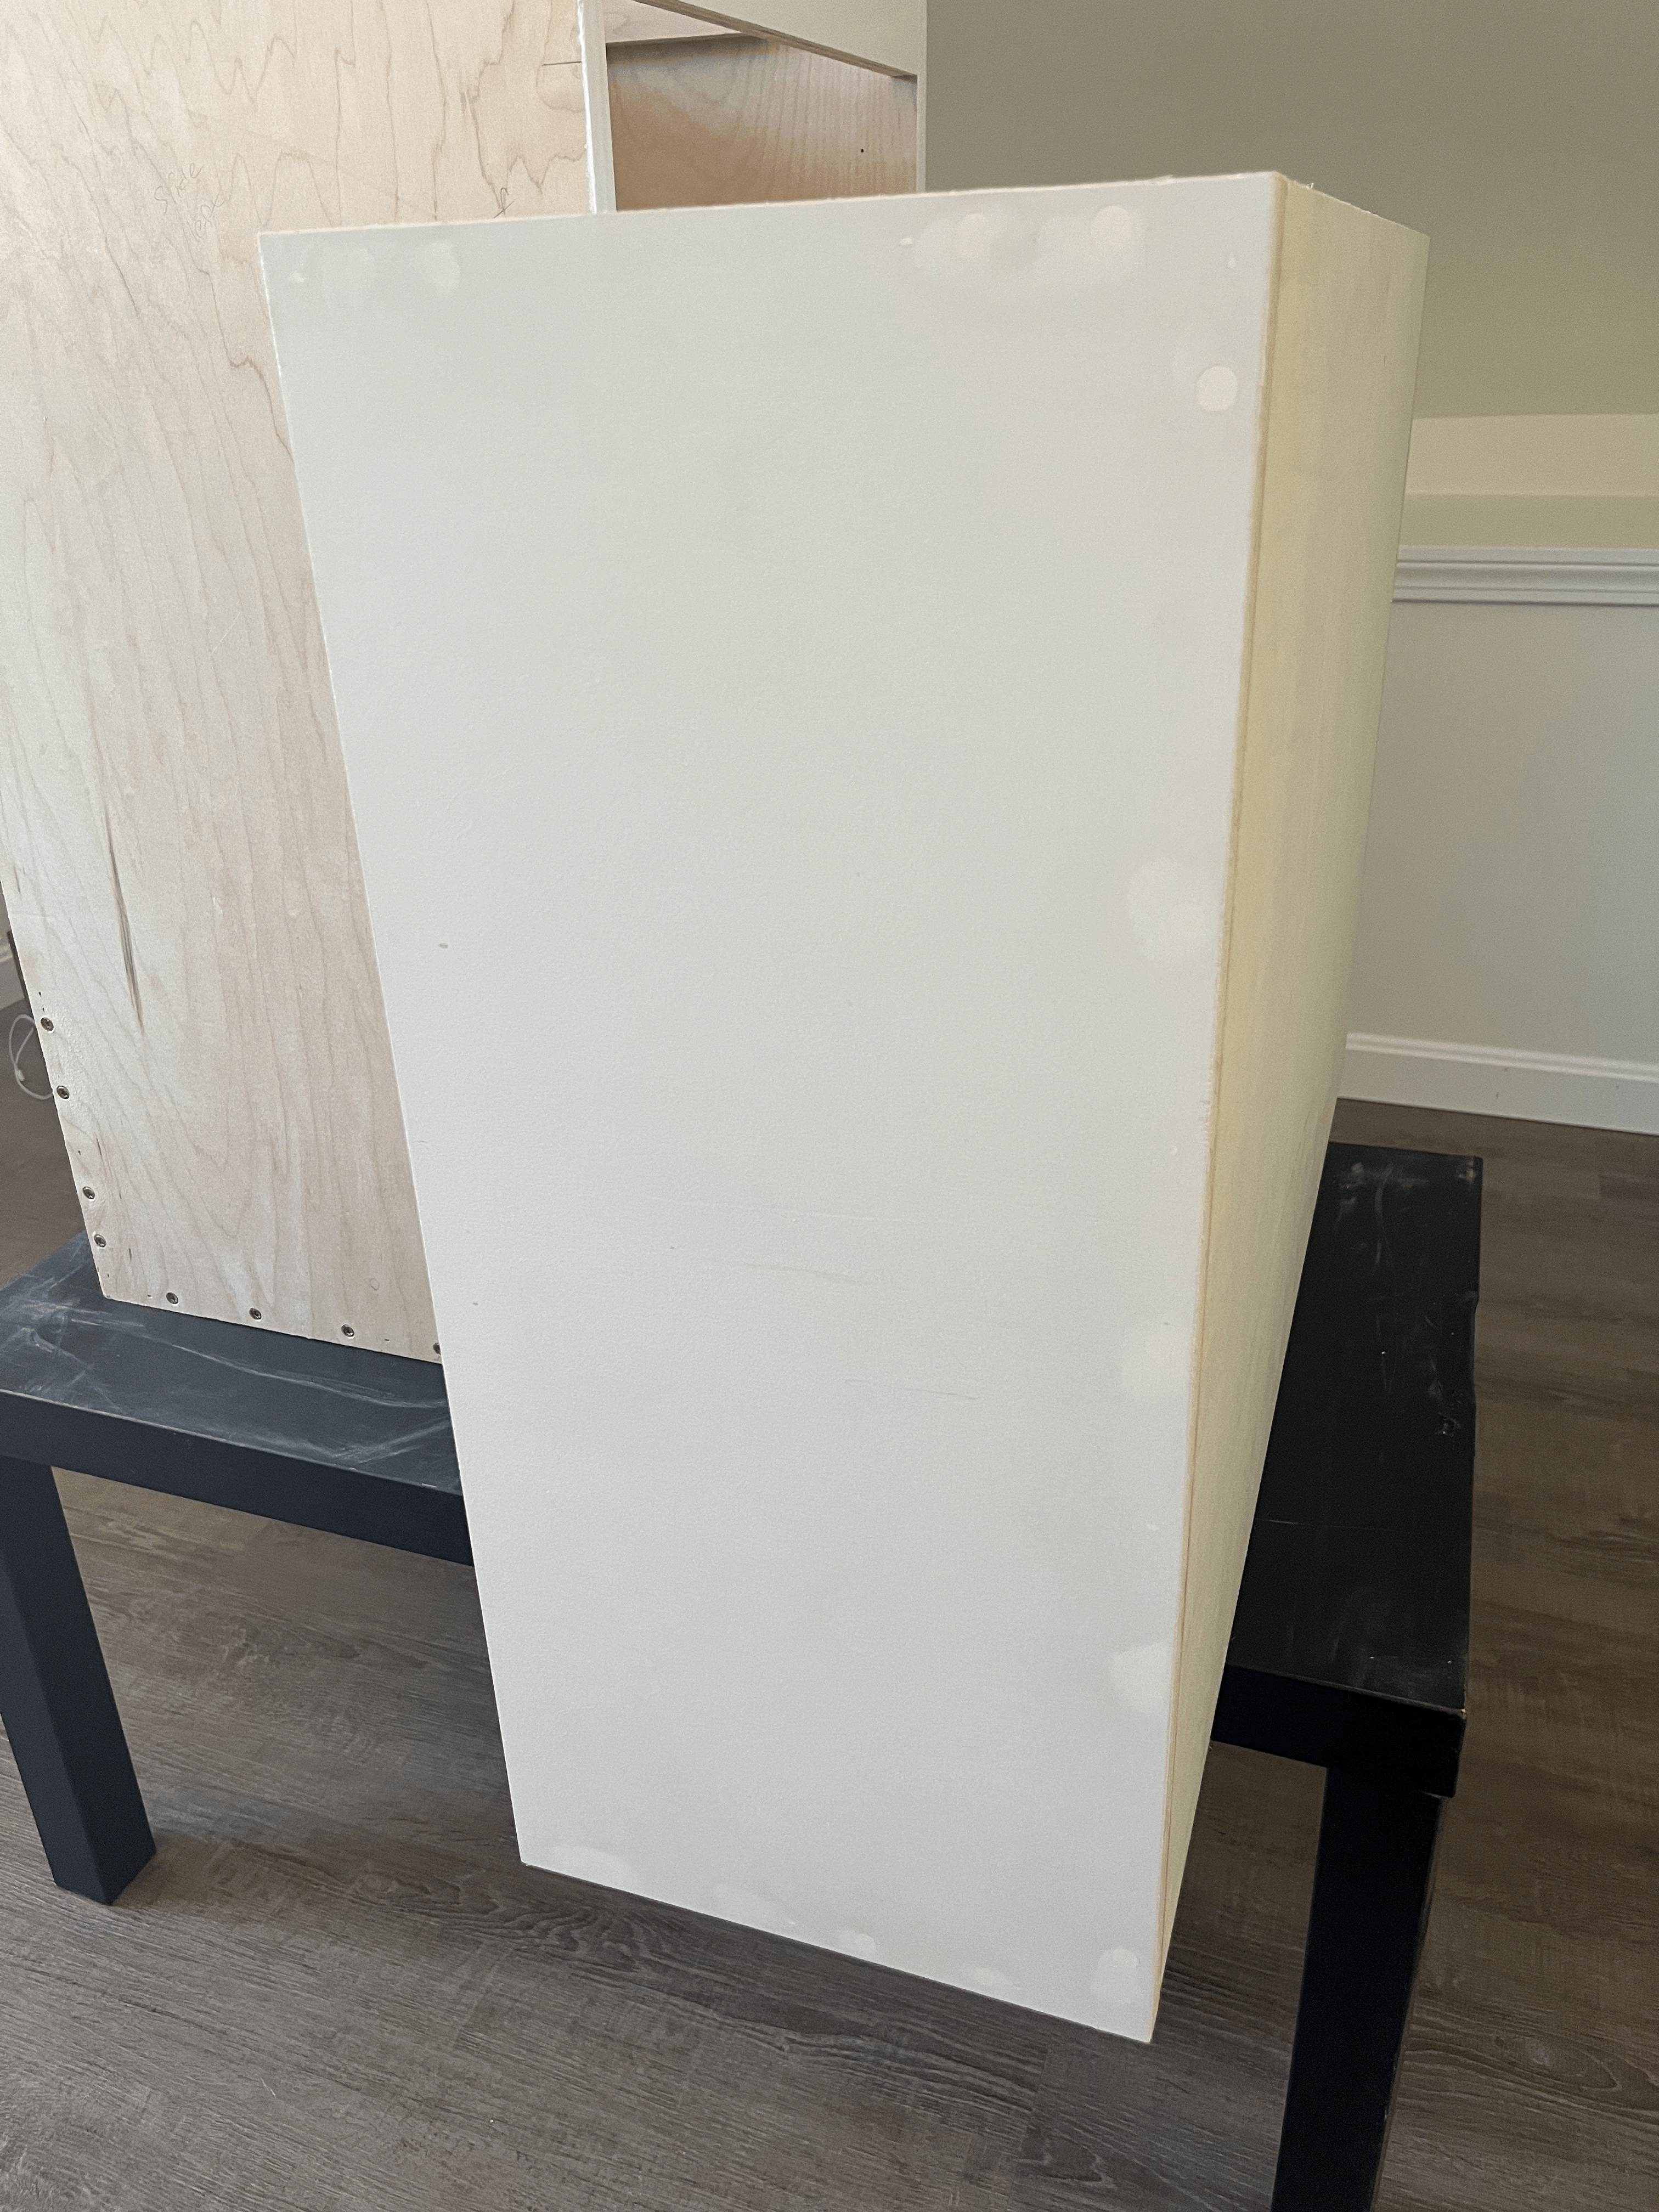

This is where I finally primed and painted the side of the vanity. After patching holes, I spot-primed those areas first just like earlier and then primed again with a roller for the same reason.


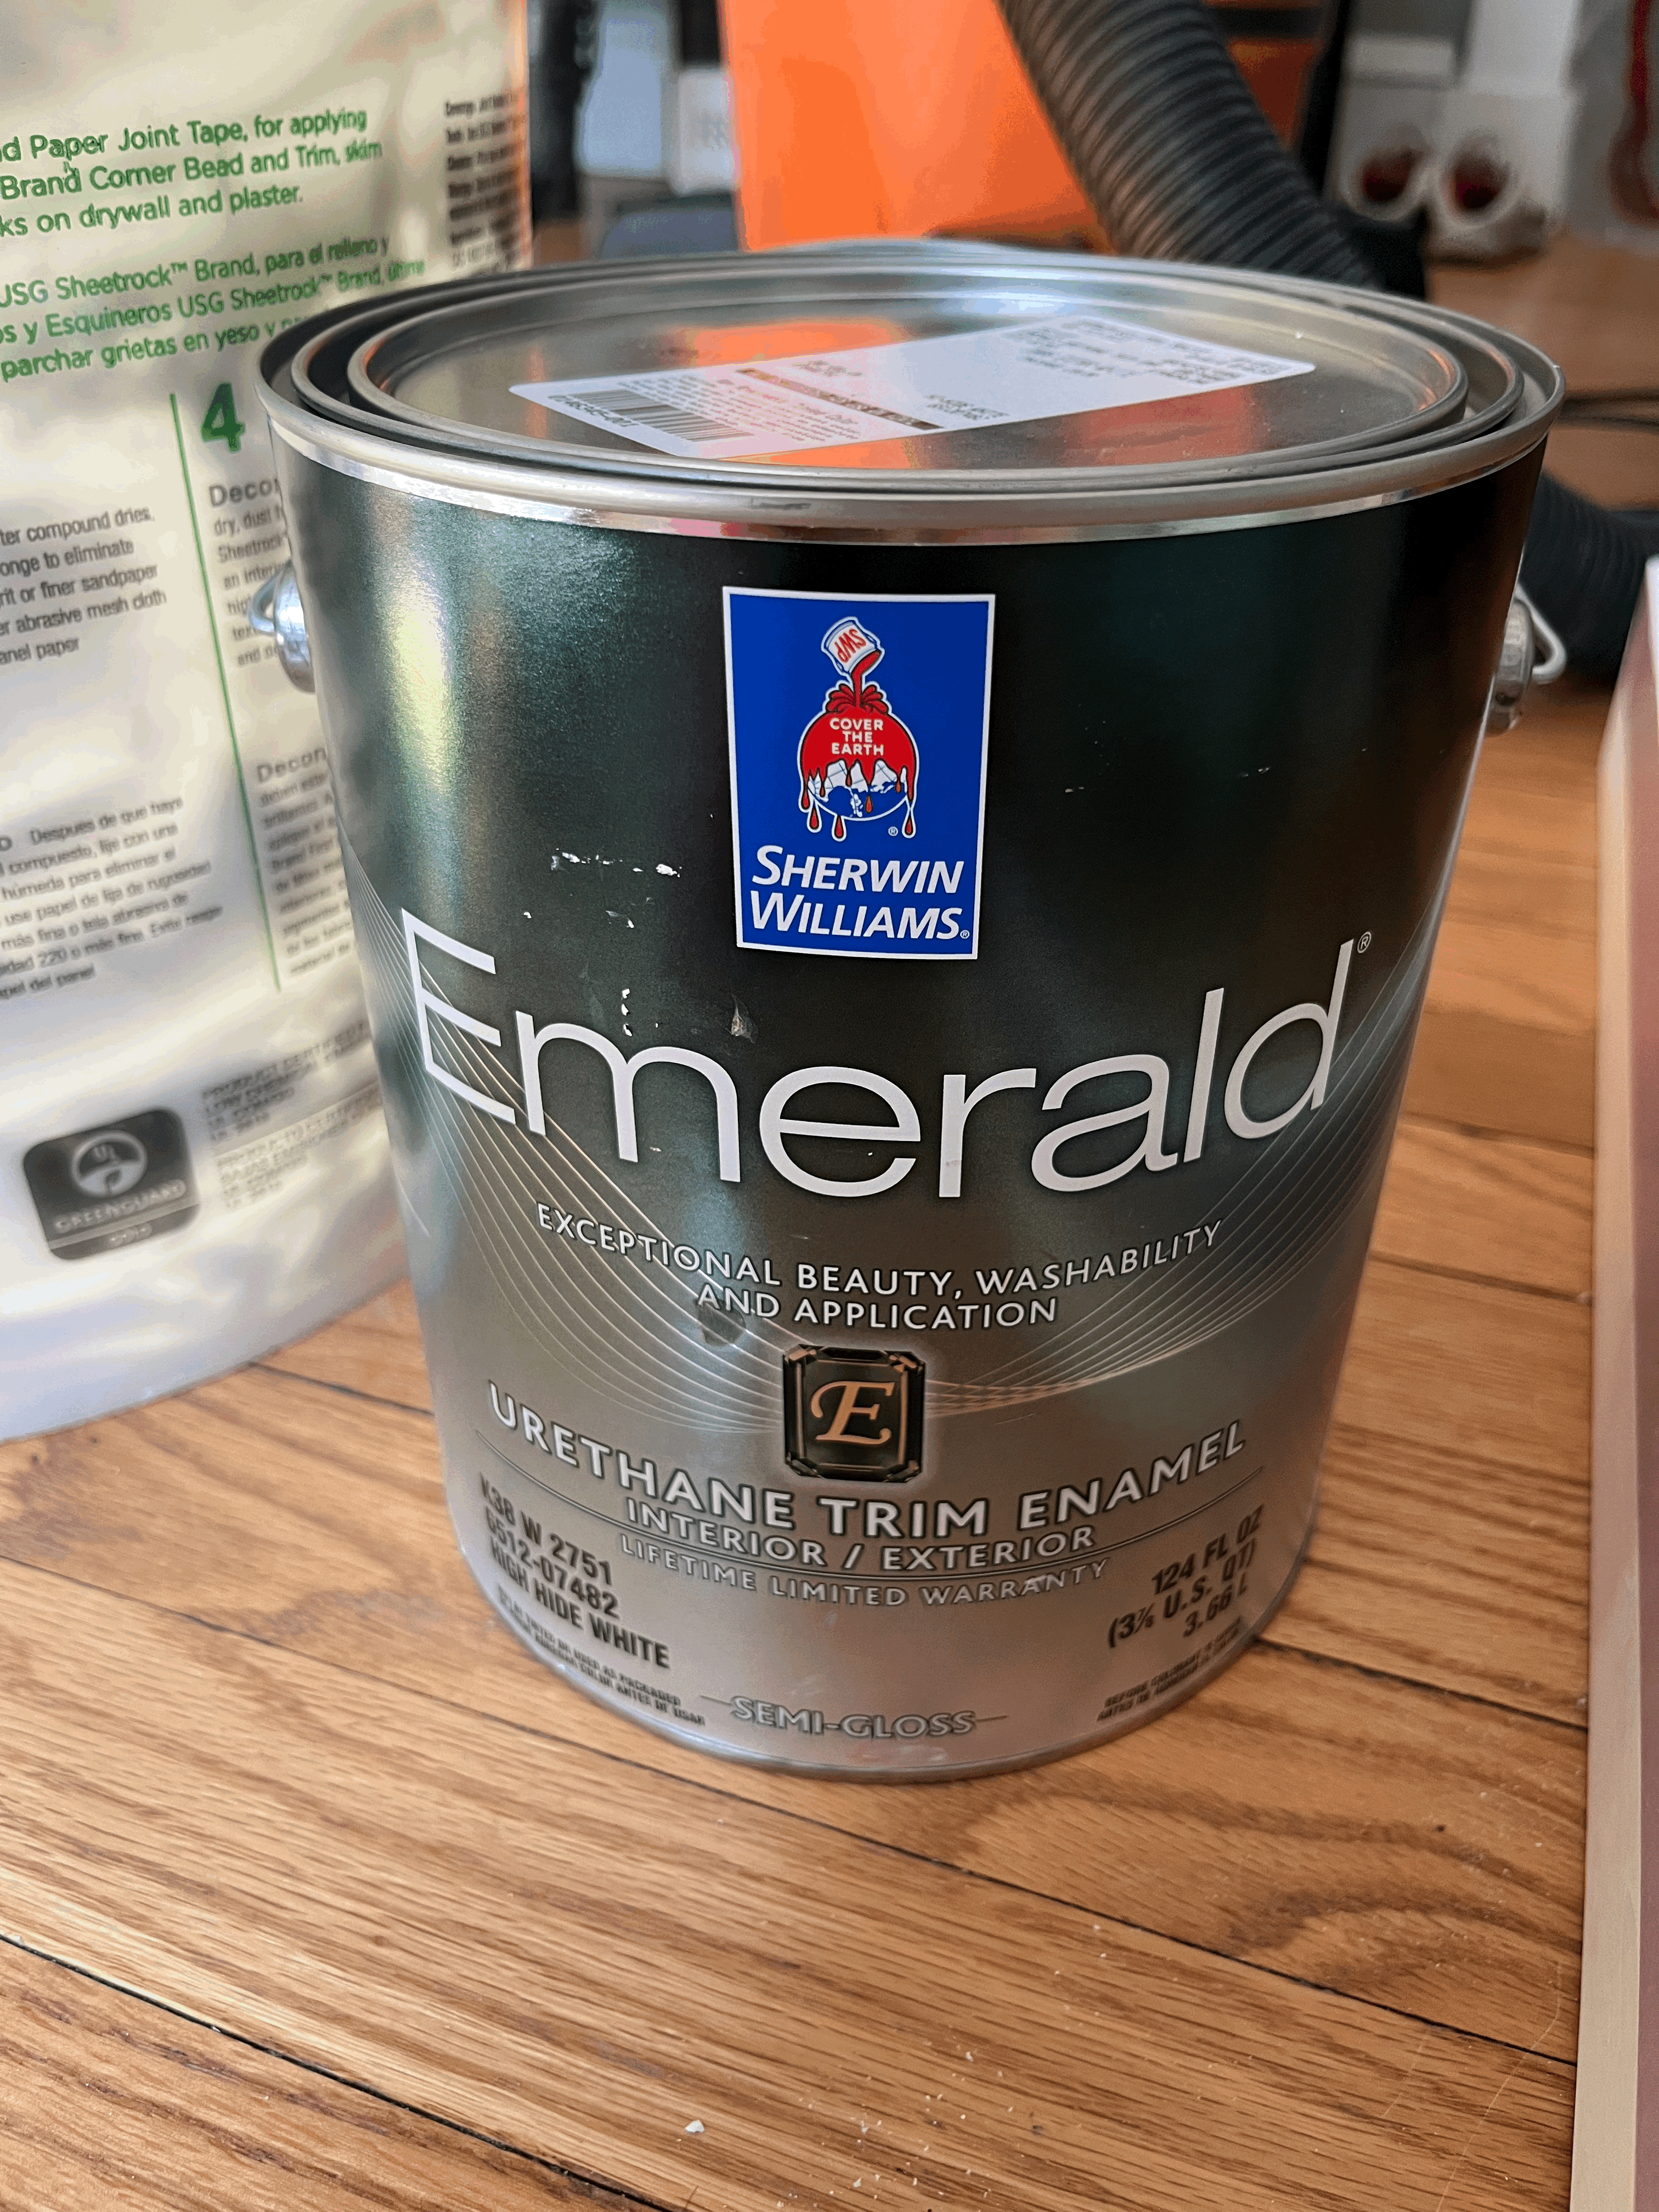

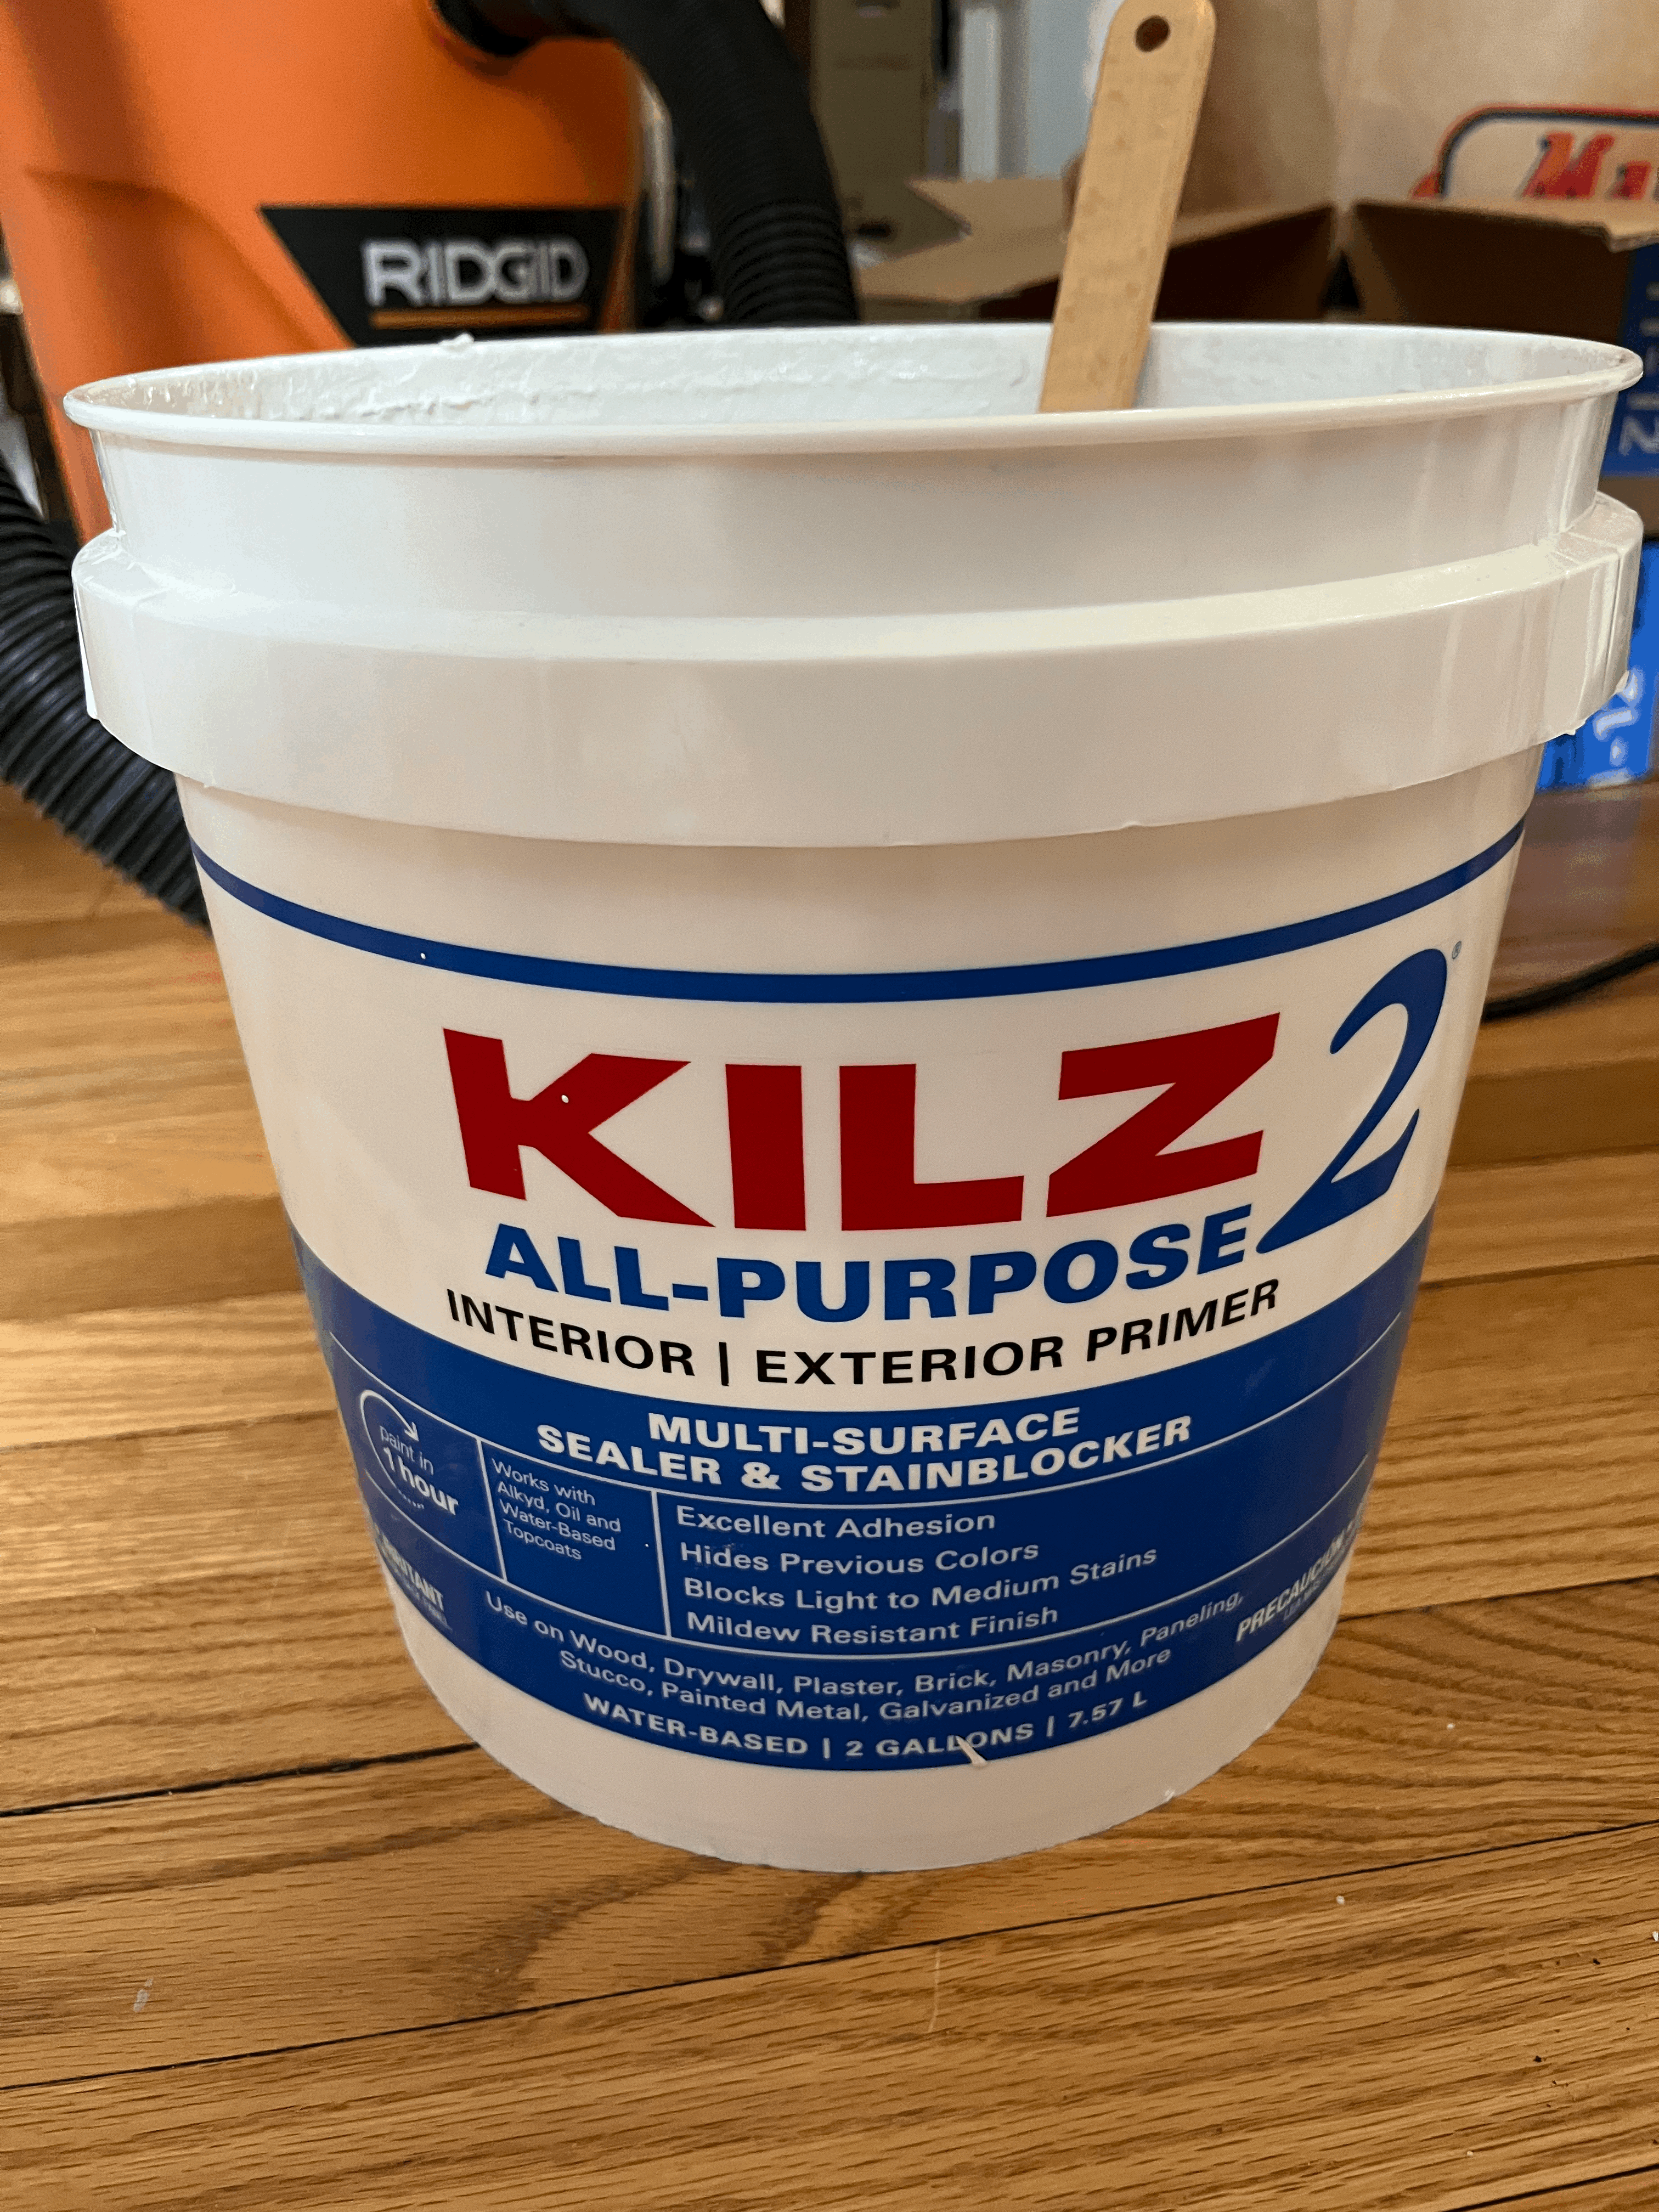
For the paint, I used Sherwin Williams Emerald urethane trim enamel (semi-gloss) and the color I picked was Extra White(SW 7006). I originally wanted to have High Reflective White but it was not available in Emerald unfortunately. So I had to get Extra White which is just a base color (HIGH HIDE WHITE).
It has a light blue tone which I don't like... It's not that the color is ugly, but I just wanted to have a true white color.
It was a big dilemma between; I really wanted to use Emerald and I really wanted to get High Reflective White.
But I ended up choosing Emerald over High Reflective White.
Anyway, after priming I sanded the surface lightly with a 400 grit sand paper and painted two coats of Emerald.
After everyhing was dry, I installed the vanity. To make it floating, I screwed into two studs.
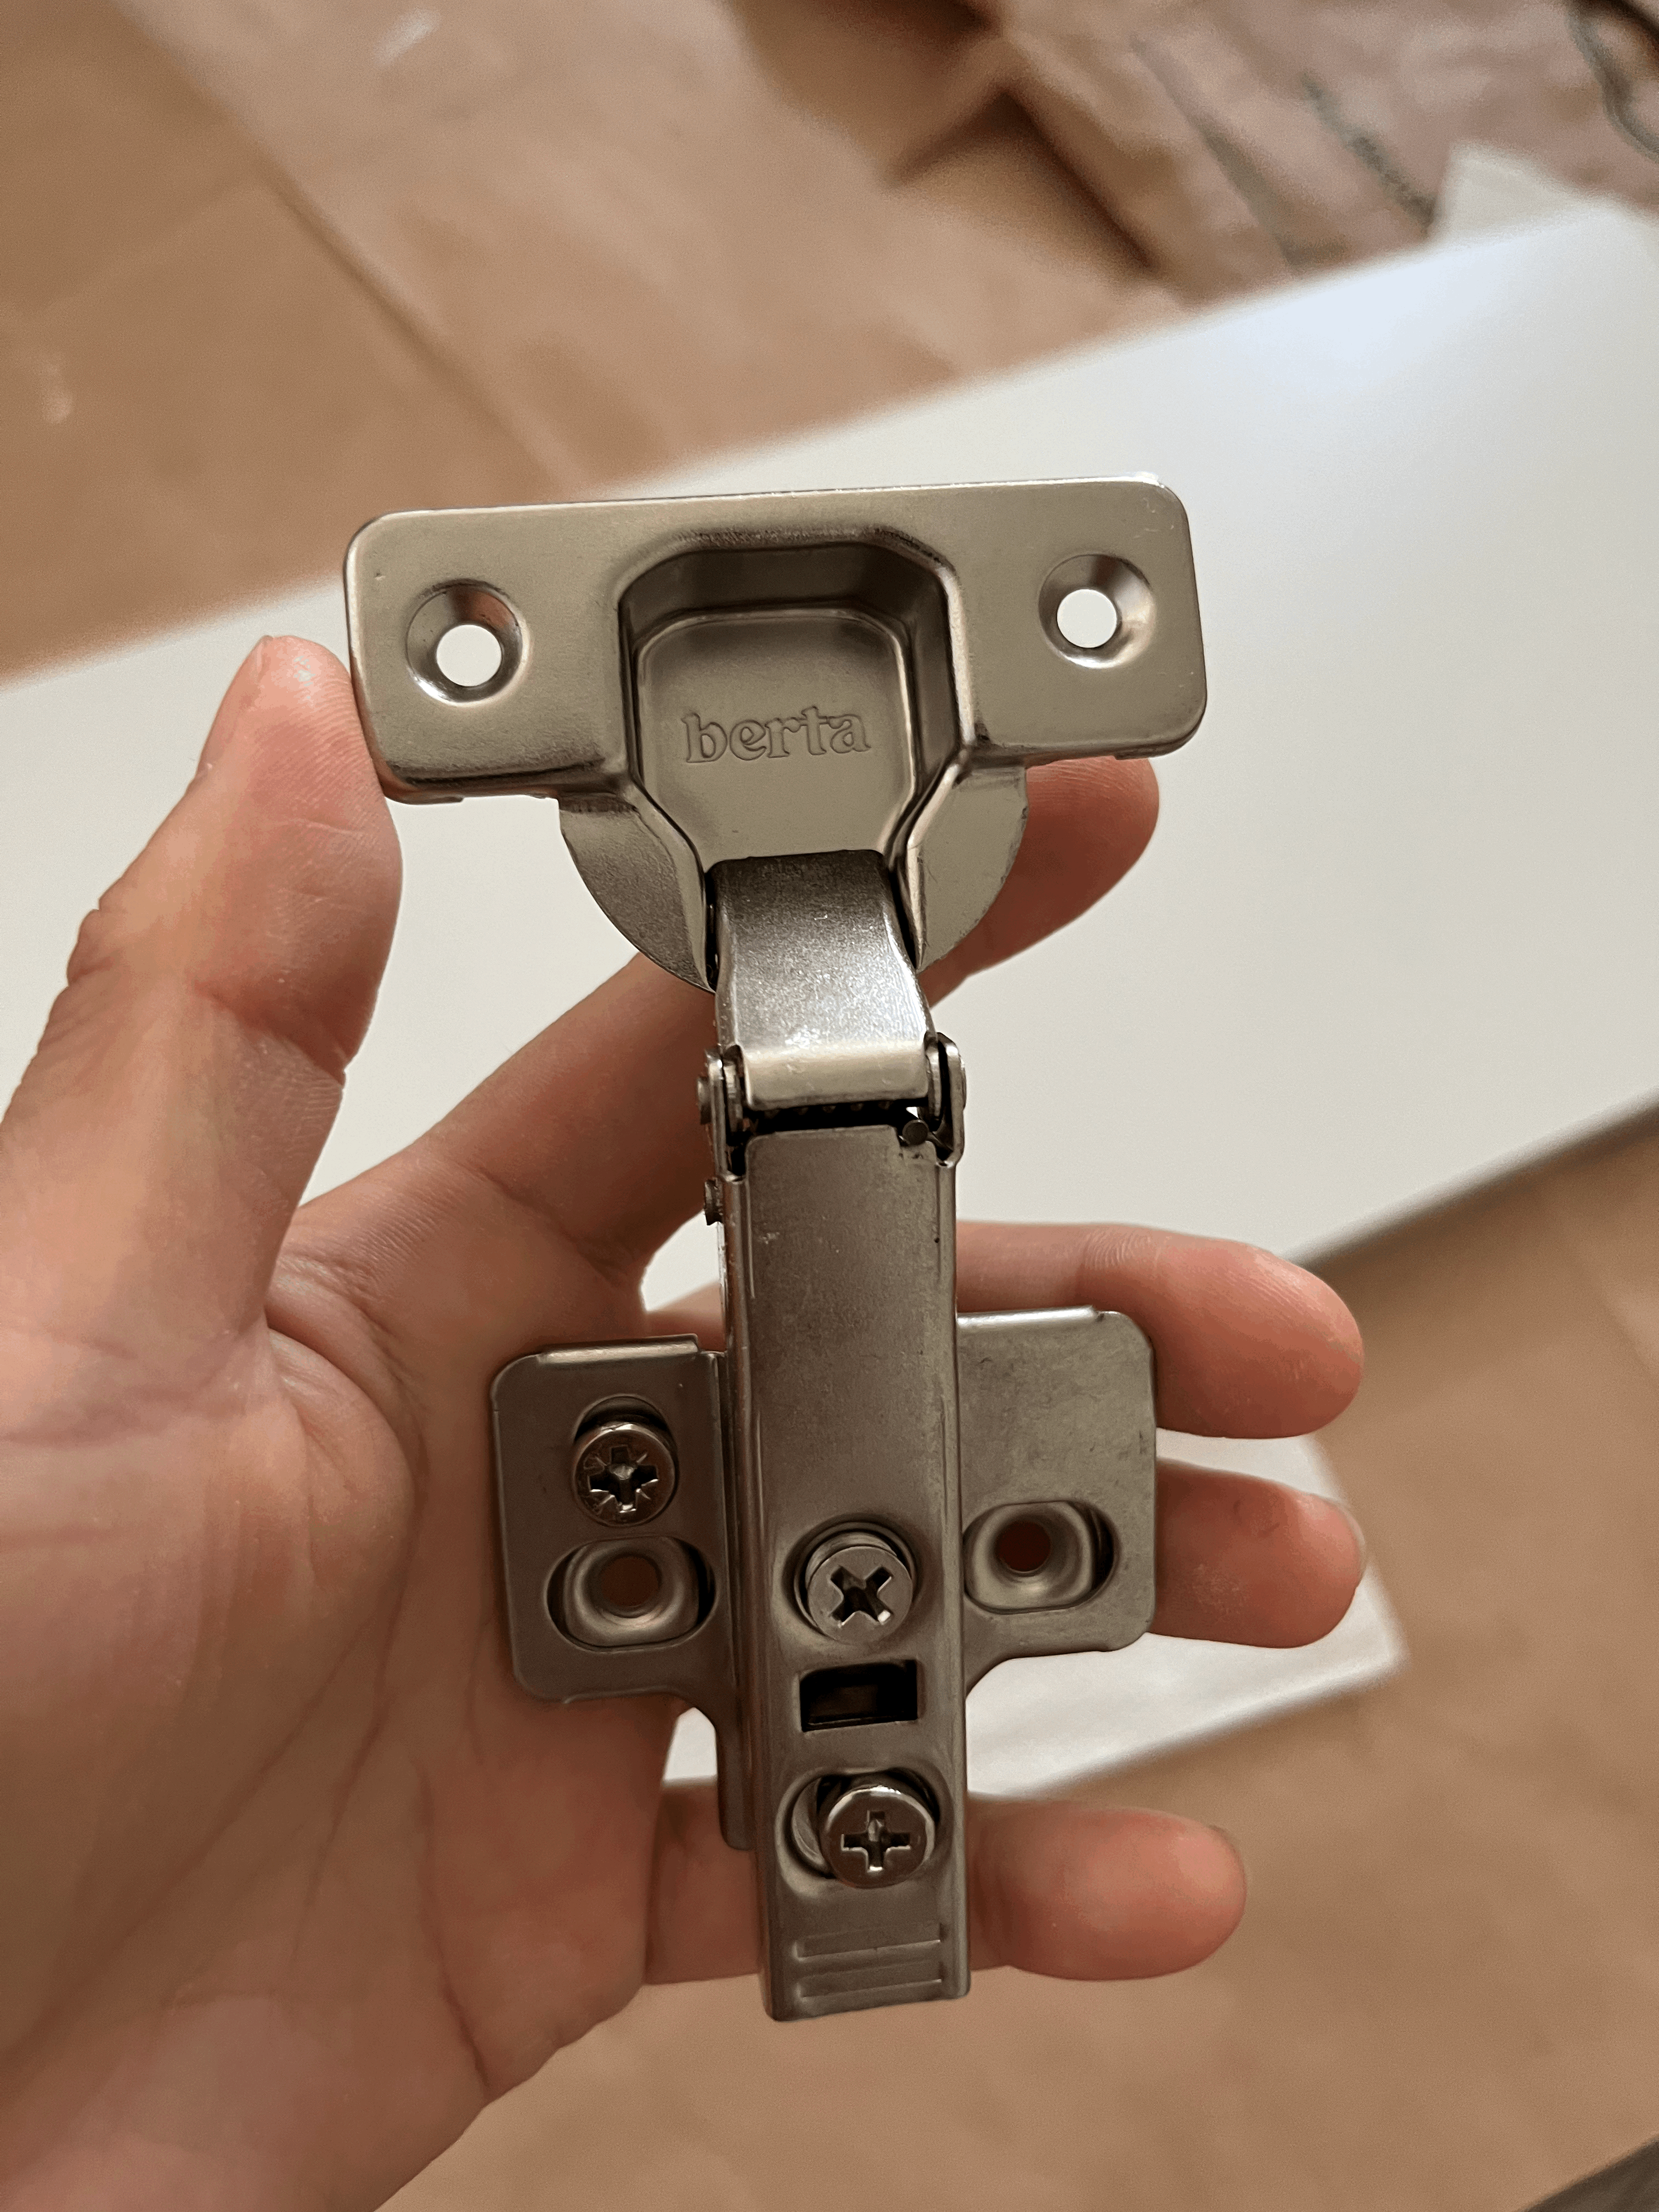

I skipped this door hinge installation part earlier, but I usually set this up right after cutting plywood.
I might have a change to post about how to install cabinet door hinges in the future. So I guess I can explain the details in that post.
I installed the sink right away too. Personally, finding an 18x18 drop-in ceramic sink was not easy. I got that one from Amazon(the brand is Swiss Madison), so if you want to check it out, I will put the link below.
Anyway, for a week after installing the sink I was so worried about the whole vanity falling. I guess it's fine now since it hasn't happend yet...
So this how I built my bathroom vanity and hopefully it helped somehow. :)
*Last Episodes Links*
DIY Attic Small Half Bathroom Renovation 1. From Demolition To Painting
This time, I'd like to share my half bathroom renovation process. I have 2 bed rooms, 1 half bathroom, and 1 extra closet on the second floor. Out of all the second floor projects, I finished the bathroom first. This is the picture of the original bathroom
akoreaninamerica.tistory.com
2023.08.16 - [DIY projects] - DIY Attic Small Half Bathroom Renovation 2. Ceiling Light Installation
DIY Attic Small Half Bathroom Renovation 2. Ceiling Light Installation
After setting up the bathroom with the new stuff, I wanted to install the ceiling light first. Originally the bathroom had a wall mounted light fixture and vent fan on the ceiling. I removed both of them and decided to have just one ceiling light. I though
akoreaninamerica.tistory.com
*Swiss Madison 18x18 ceramic sink*
https://www.amazon.com/dp/B0B6Q63GRG?psc=1&ref=ppx_yo2ov_dt_b_product_details